West Marine will be expensive - if you feel confident in your skills/abilities, contact Eastern Burlap in Norfolk, Virginia.
http://www.easternburlap.com/
But you should be able to source quality polyester fiberglass resin & cloth locally.
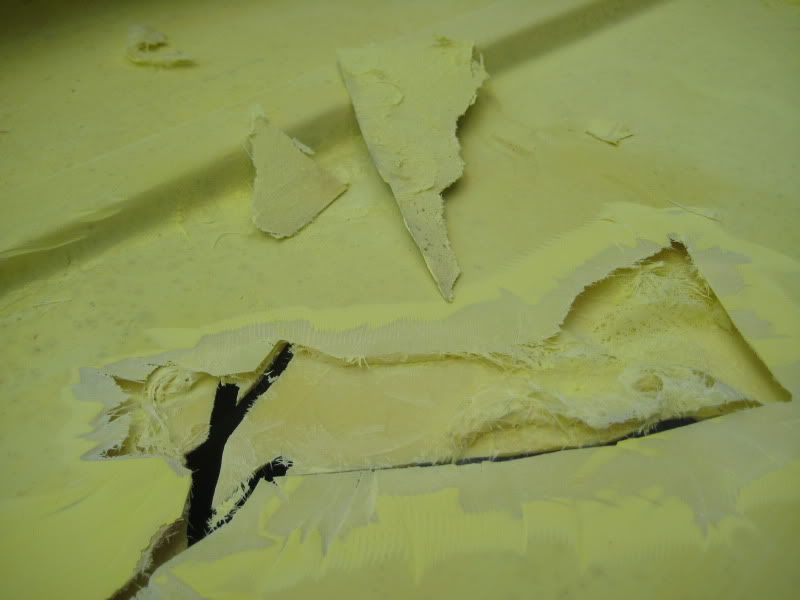
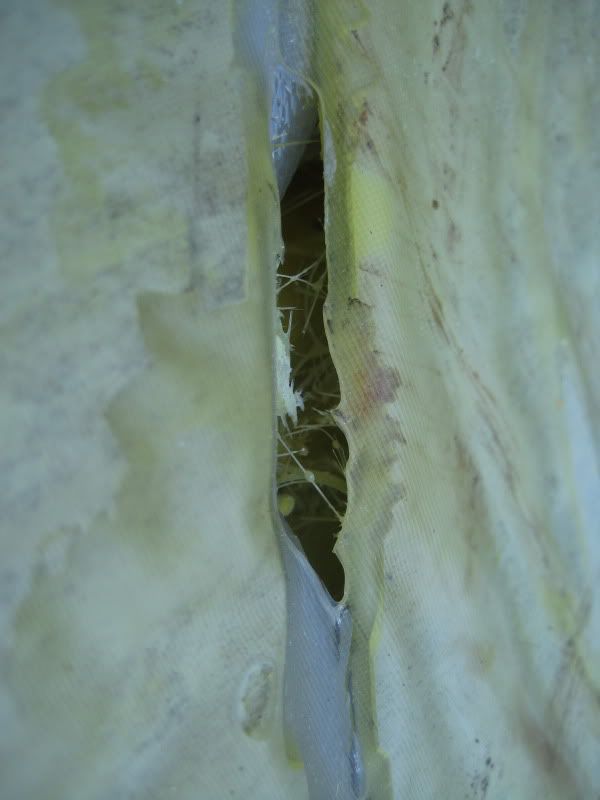
I'm currently repairing a fiberglass dune buggy body & have a good deal of experience in the making fiberglass repairs.I'll add some info -
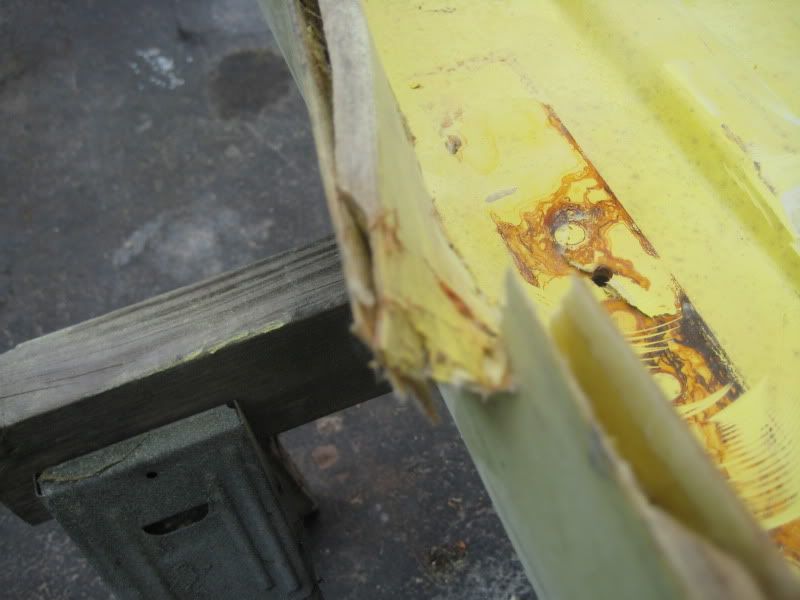
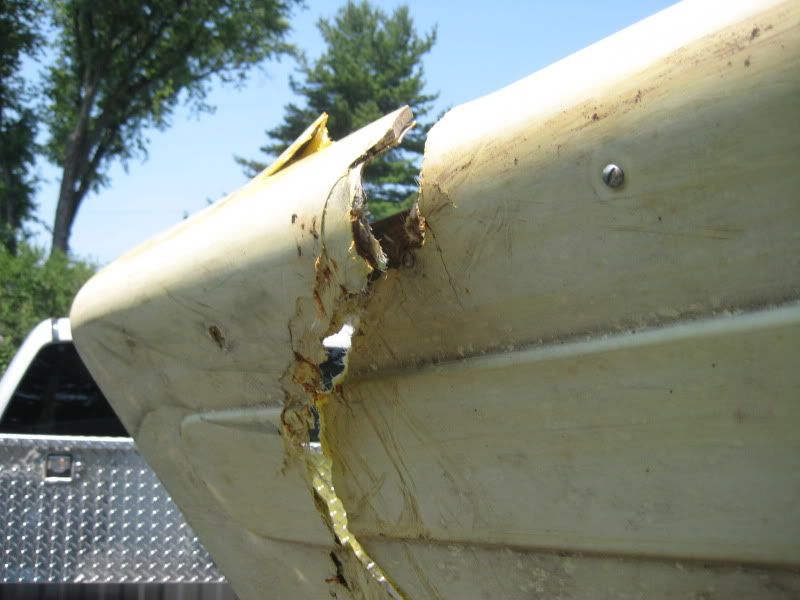
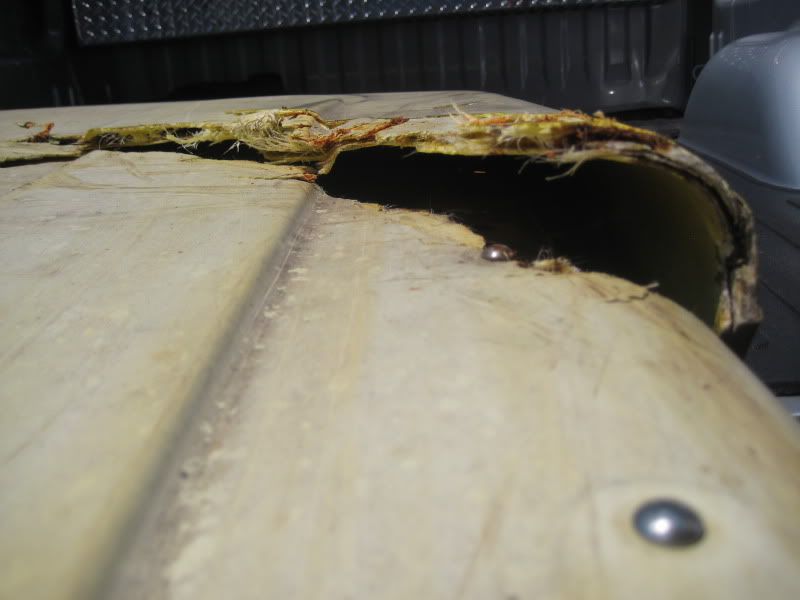
At end / 'V' of crack damaged area, at the vertex of the crack, I drill a hole maybe 1/2" in diameter to stop the crack from progressing further. Do NOT use resin alone in thicknesses more than 1/8", as the resin has no strength without using fiberglass mat or fiberglass cloth. Polyester resin is fine to use on the repair area; it'll be less expensive than epoxy resin. I'll agree with sanding the edges of damaged area by feathering them back from line of crack - you only need to go back 4"-6" total on width of repair (2"-3" feathering on each side of damaged area). Use a 60-80 grit disc sander (I use a flap-wheel 80 grit disc in a 4" grinder) for cutting back the damaged area on top side & bottom side of repair area.
You want it to look like this in cross-section when done ><
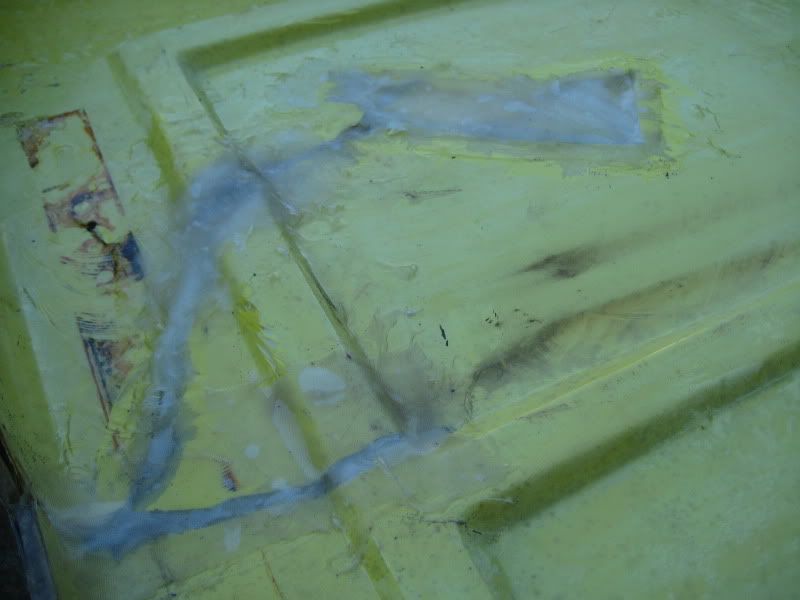
Wipe the sanded area down with acetone to clean out the debris/dirt/etc, then wipe dry. I buy disposable thin plastic cutting boards to tape to underside of area to be repaired to provide support for first glass layer, then I glass in my first 1"-2" layer of fiberglass & mix enough resin to join the crack. I let this harden. Most of the resin you'll buy locally has wax added to assist in drying the resin, as the wax rises to surface on repair & assists in curing the resin. After the first layer solidifies, I scuff sand it, then wipe it down with acetone to remove the wax. I want the first layer to hold the repair in place. Then, I pre-cut all of my fiberglass in wider widths (if I started with a 2" wide strip, then I have next layer 1/2" to 3/4" wider on each successive layer, depending on how many layers I need to build up). On successive layers, it's fine to continue laying them up wet on top of one another (outer surface) until you get sufficient thickness to bring repair to slightly higher than top surface. In my repairs, I use a 3"-4" wide aluminum fiberglass roller to roll out the air bubbles between layers, and I buy a dozen or so cheap 1" - 1 1/2" wide wood-handled chip brushes ($0.49 or so each from Home Depot or Lowes) & cut bristles off until they are about 3/4" in length - is use these to dab in/apply resin to cloth.
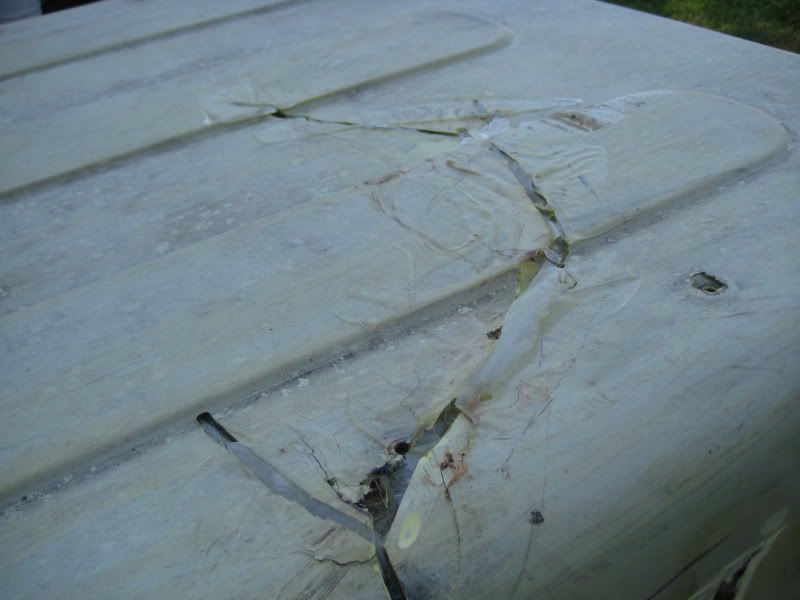
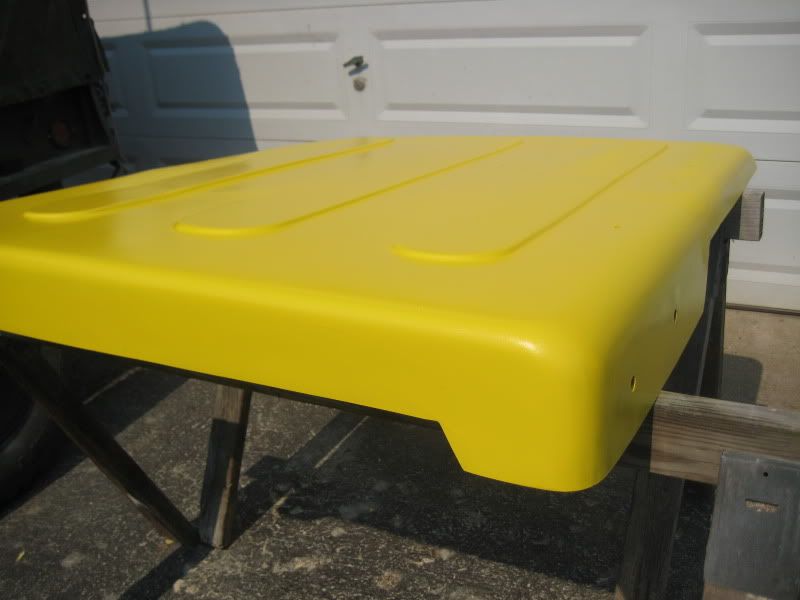
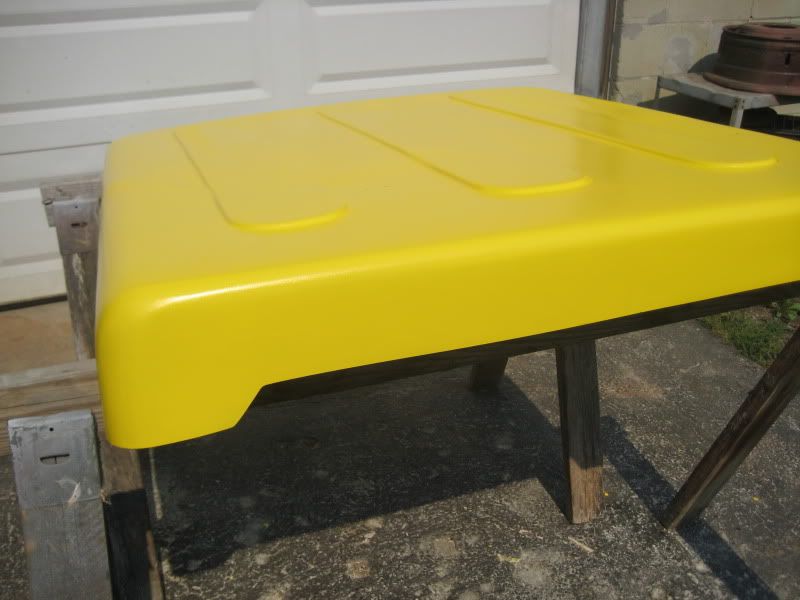
Then, after these layers dry/harden, I flip the panel over & remove the taped plastic support panel, then start doing the layers again; 1" wide/2" wide/4" wide/6" wide until I buildup sufficient thickness to bring repair above the original panel thickness. Then sand both sides until cows come home & you get repaired areas flush with adjoining surfaces.
There are some good tutorials on Youtube detailing fiberglass repair. Biggest mistakes I see people make is in not getting damaged area prepped properly & not getting the layers bonded together as they laminate successive layers together, creating voids or air pockets that weaken the structure.
'Tanner'


 Home
Home