Over the last couple of weekends I completed my Dome Light Installation for the cab of my M-37 / M-42.
I photographed the process for anyone else who might be interested in adding a dome light to their truck.
The weather has warmed up quite a bit since I initially installed just the Dome Light Module with rubber covered wire clamps, which worked fine in cooler weather. On the day I chose to finish the project, it was sunny and over 85 degrees. The dome light rotated downwards and would not maintain position. This was the first design flaw I needed to correct.
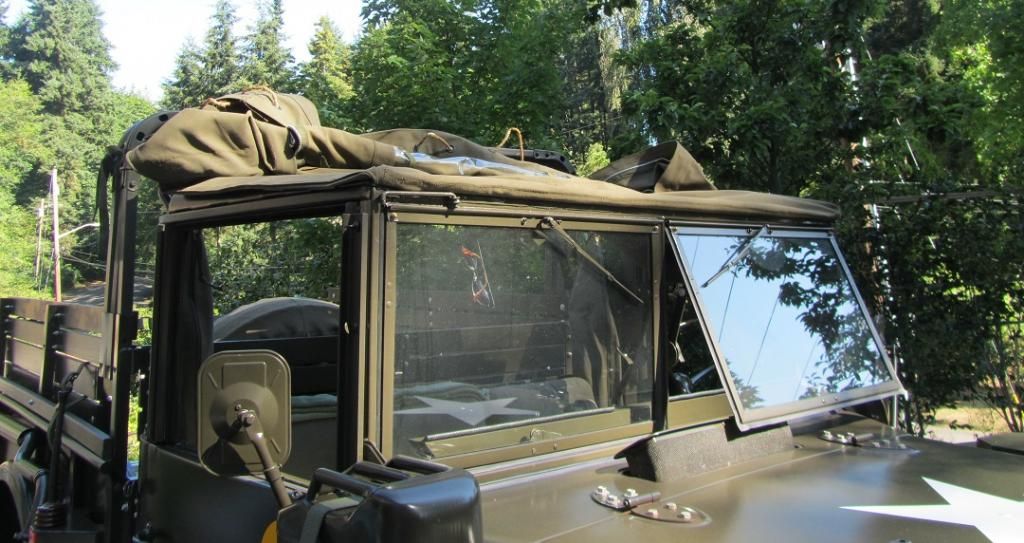
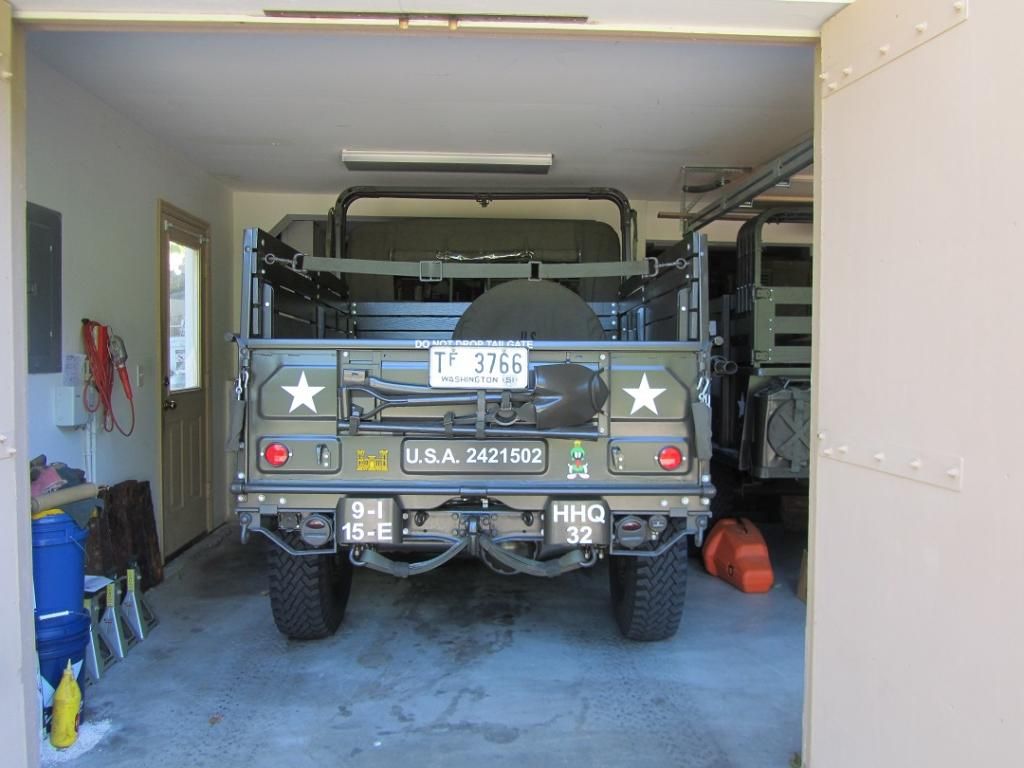
So, starting at the beginning of this Modification Adventure, I prepared the truck by partially removing the cab cover.
Next I tried using silicone tape to provide a better gripping surface for the clamps.
This was not successful. Other tapes, and additional layers, were also unsuccessful. I discovered in my search for a non permanent gripping surface that friction tape is no longer available. There are things that are similar, but old school friction tape is gone.
Eventually I was forced to use # 6 Screws, 3/8 X 32 thread to hold the clamps to the top bar.
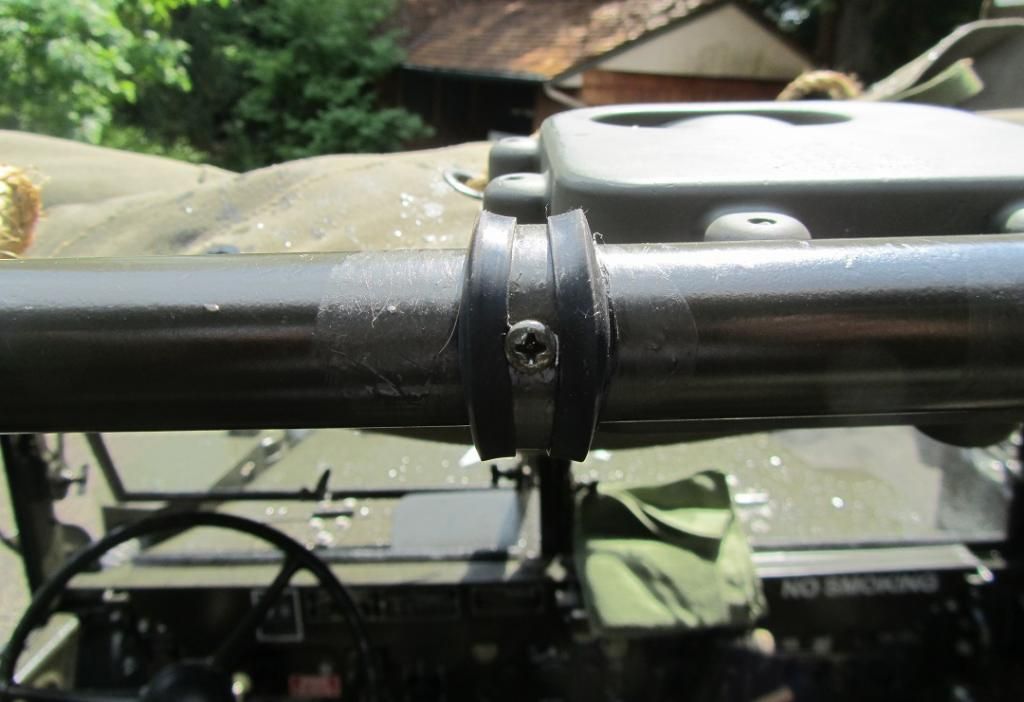
The comprise was that while I had to drill holes in my top bar, they were small holes which can easily be welded shut by someone in the future who wants to restore the truck to a stock configuration. They are also hidden by the cab cover.
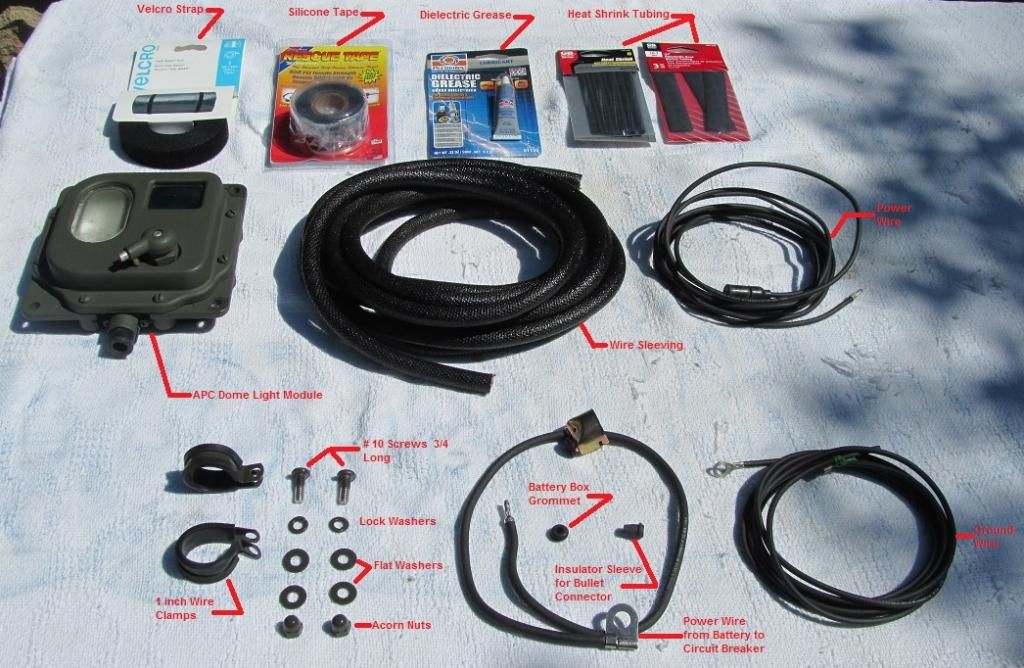
Once I had succeeded in securing the module in the correct position I laid out all the items I would need to complete the wiring installation. The wires were ordered from Vintage Wiring of Maine. Joe was very patient and helpful in the design process, and built and shipped the parts very quickly. He even included the correct numbered aluminum tags for the wires.
Installation components are shown in the picture below.
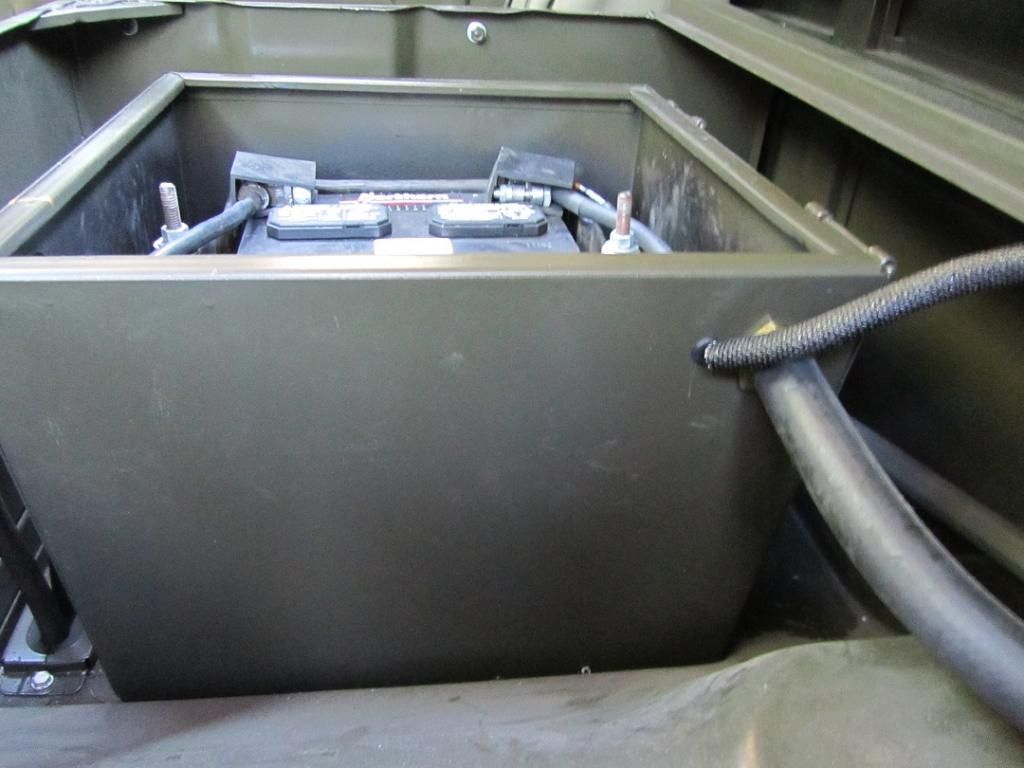
I started the wiring from the Dome light module and worked downward toward the battery box and the circuit breaker.
First, however, I installed the power wire to the light ( # 38) and the ground wire from the light into the wire sleeving. This was more difficult that it sounds.
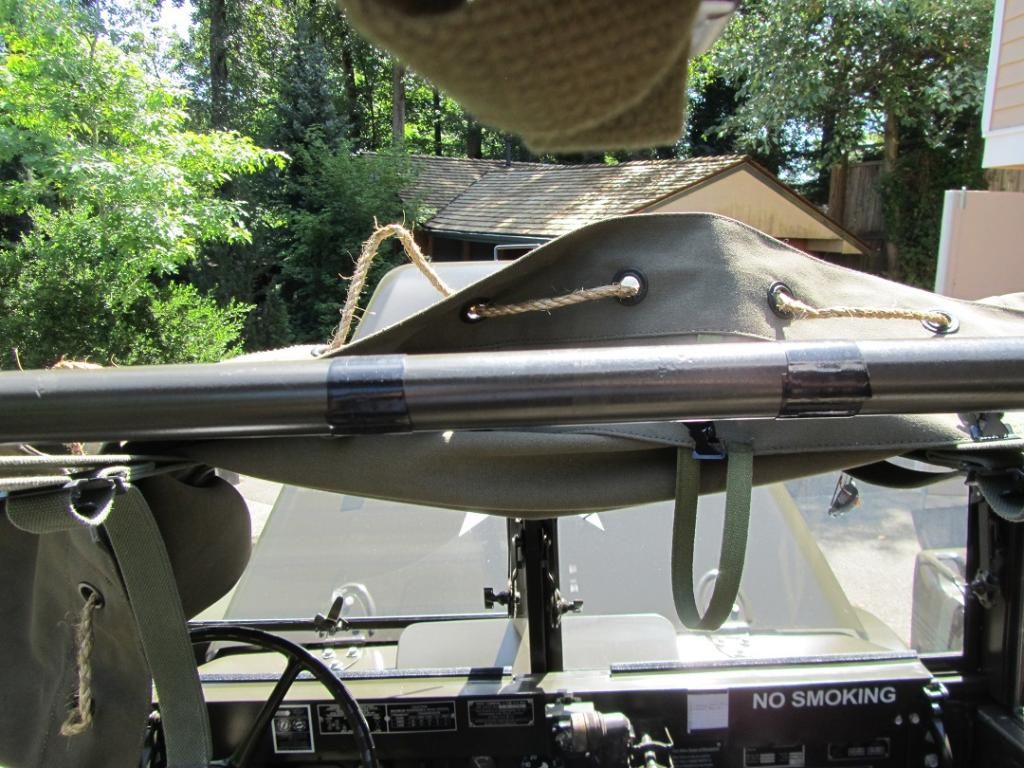
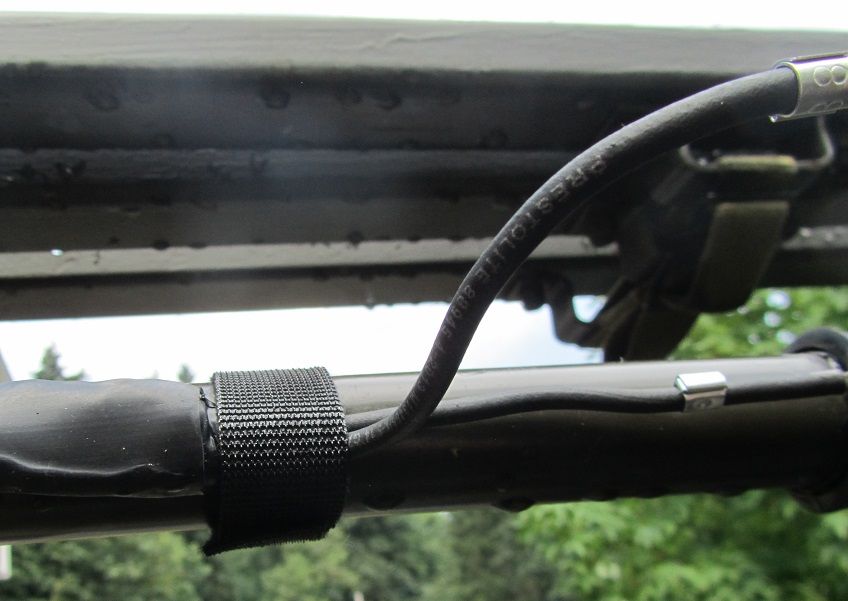
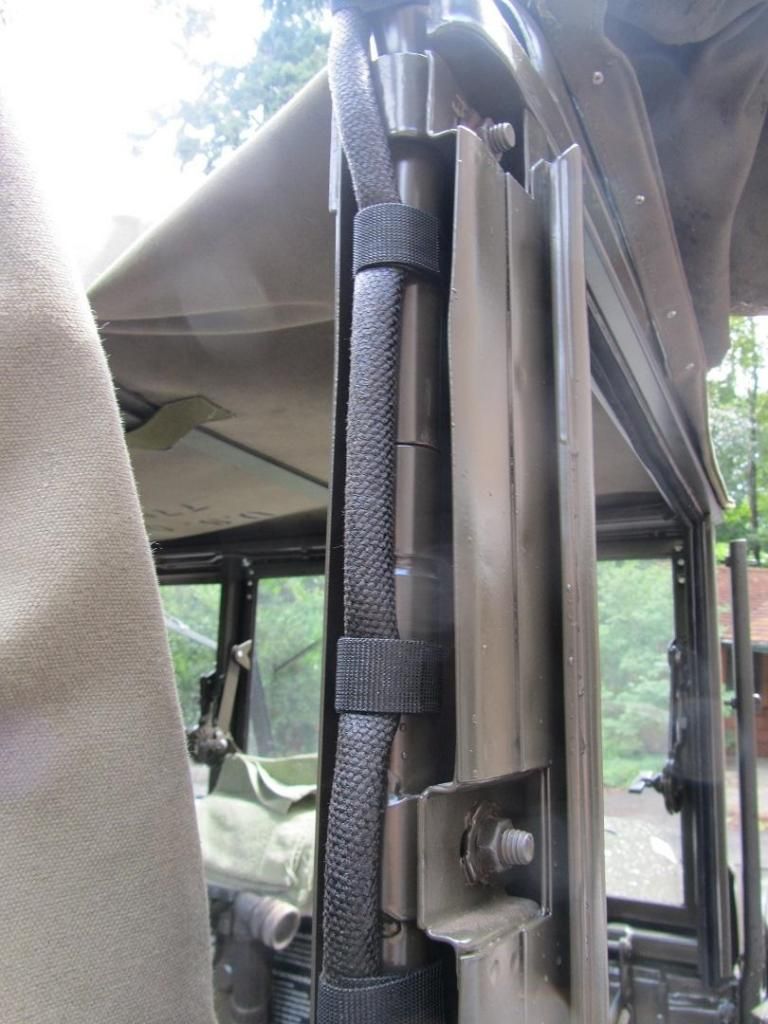
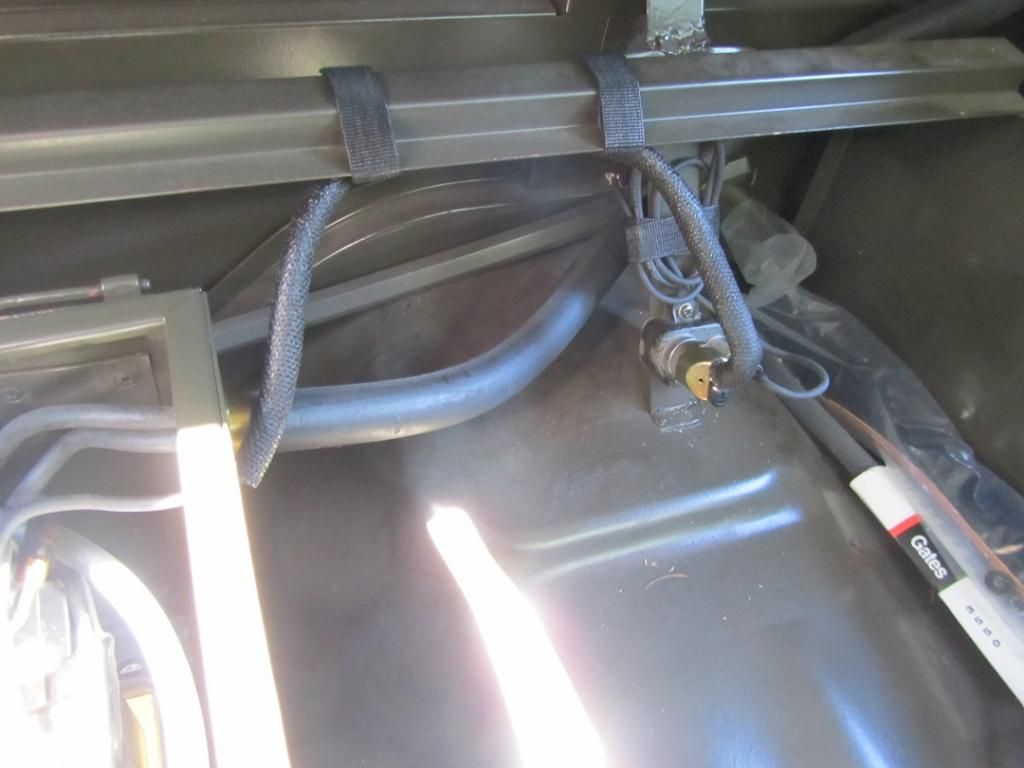
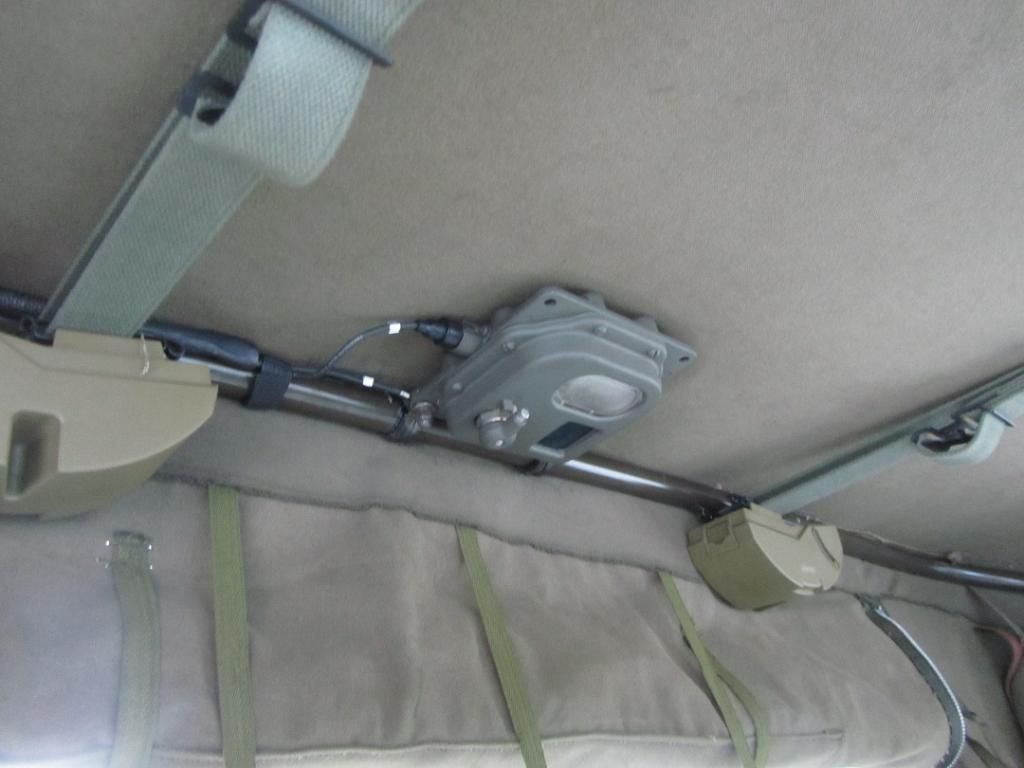
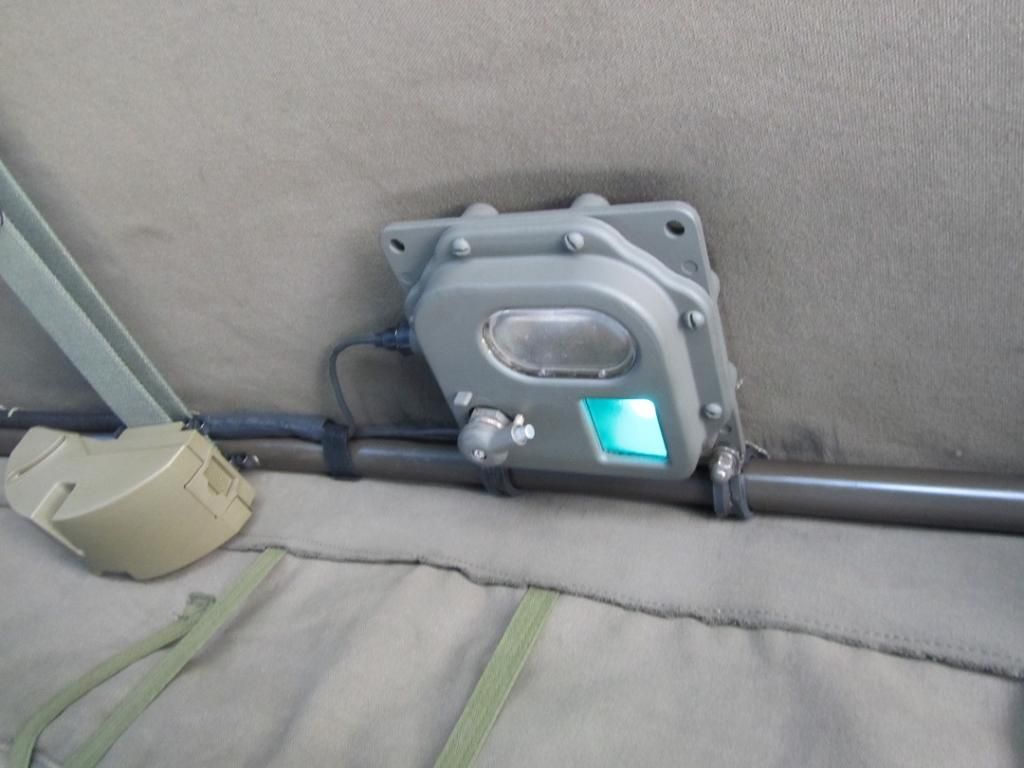
Next, using the Velcro strapping I routed the sleeved wires along the top bar while keeping the Velcro ends on the back side of the bar to keep them hidden and prevent inadvertent removal. Below are some views of the routing. Some photos have had their background removed to more clearly show the cabling.
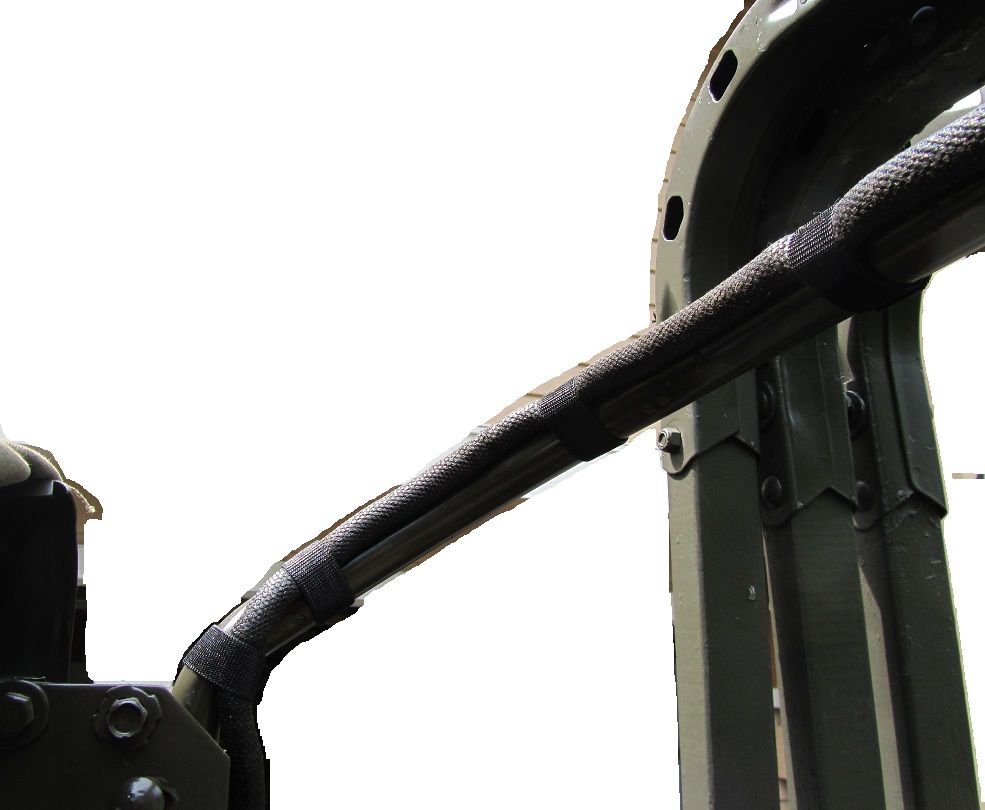
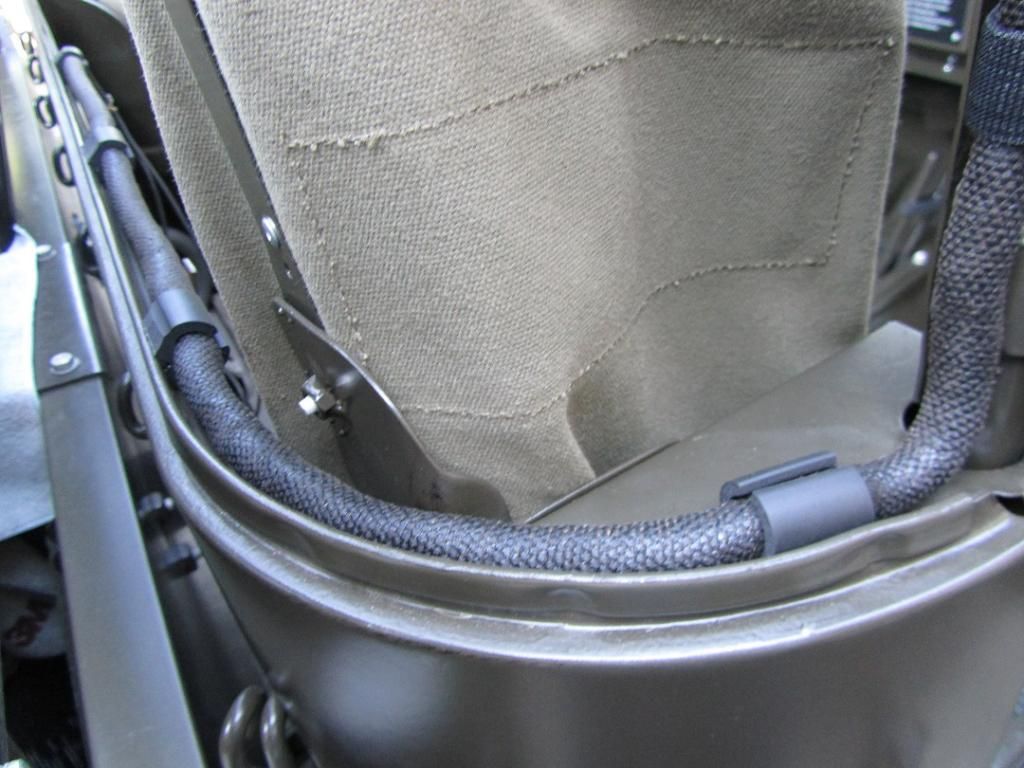
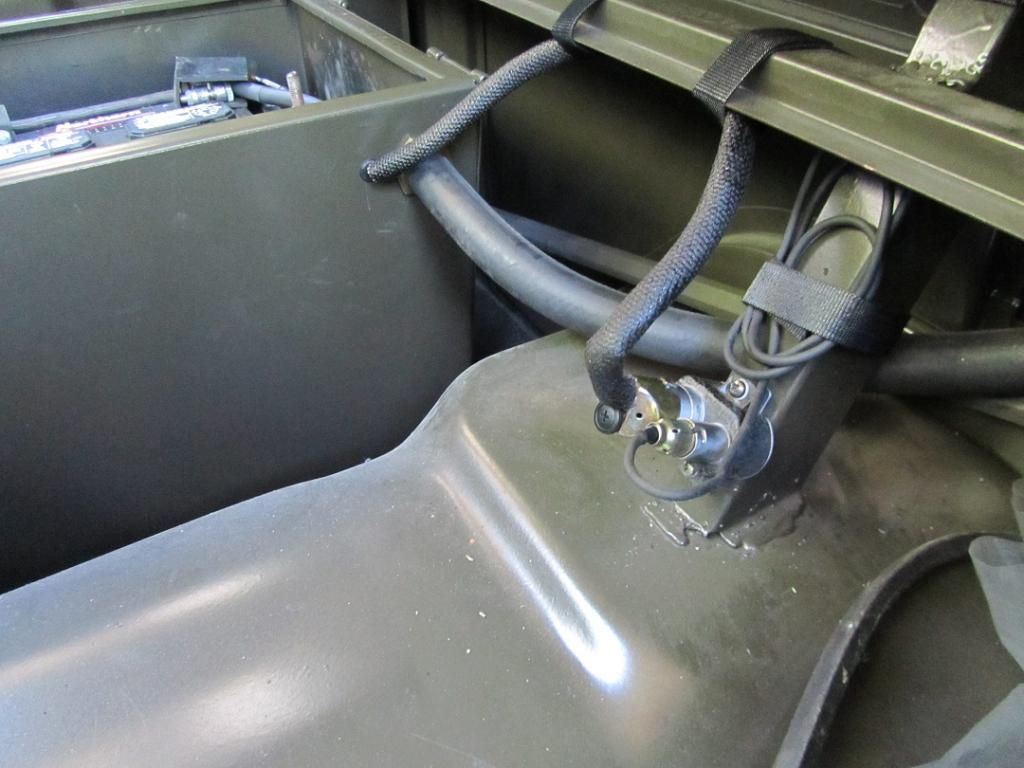
This is a view of the routing behind the passenger seat back.
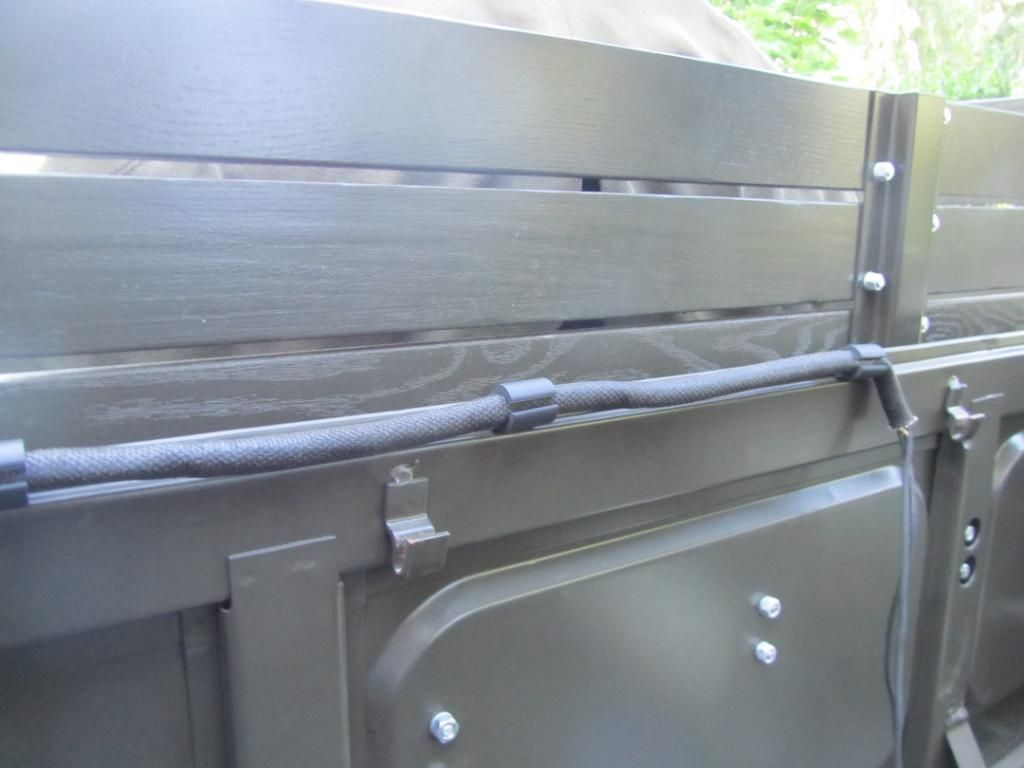
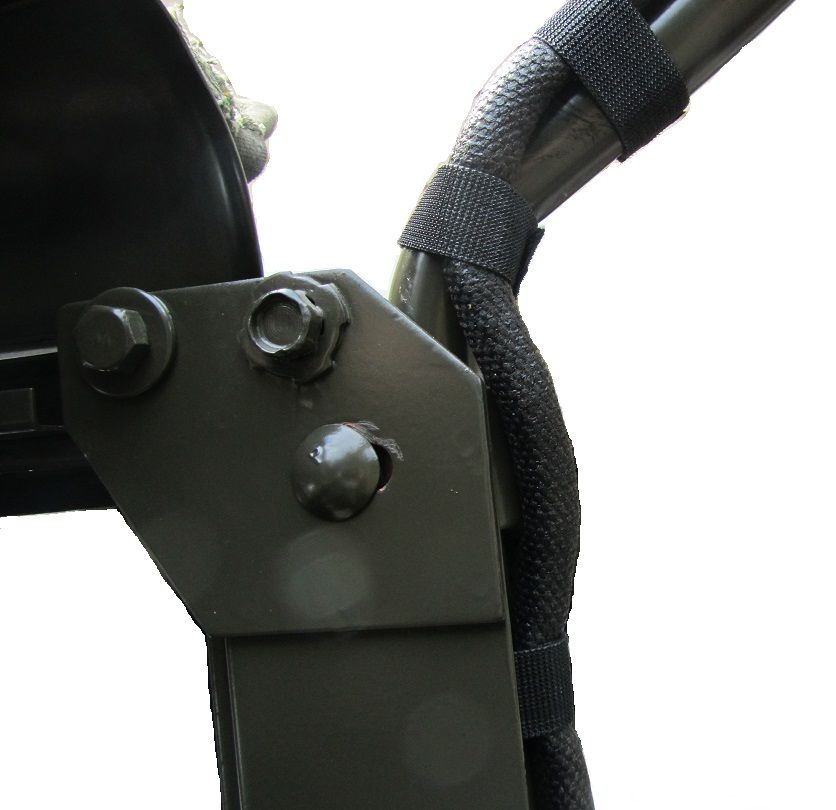
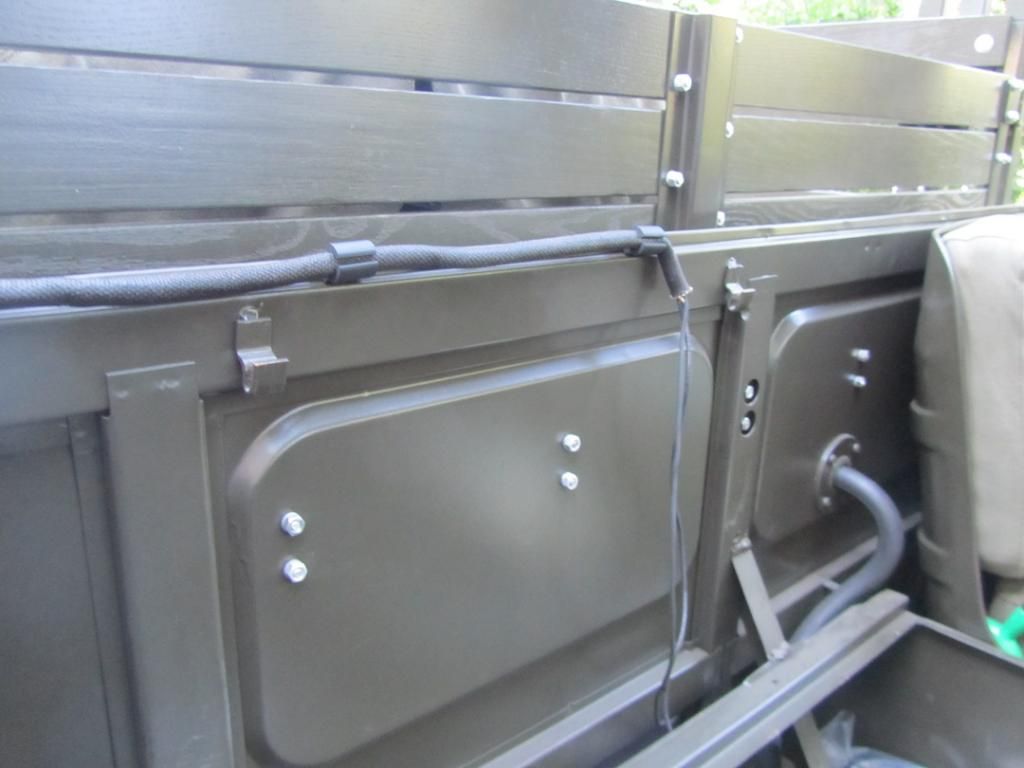
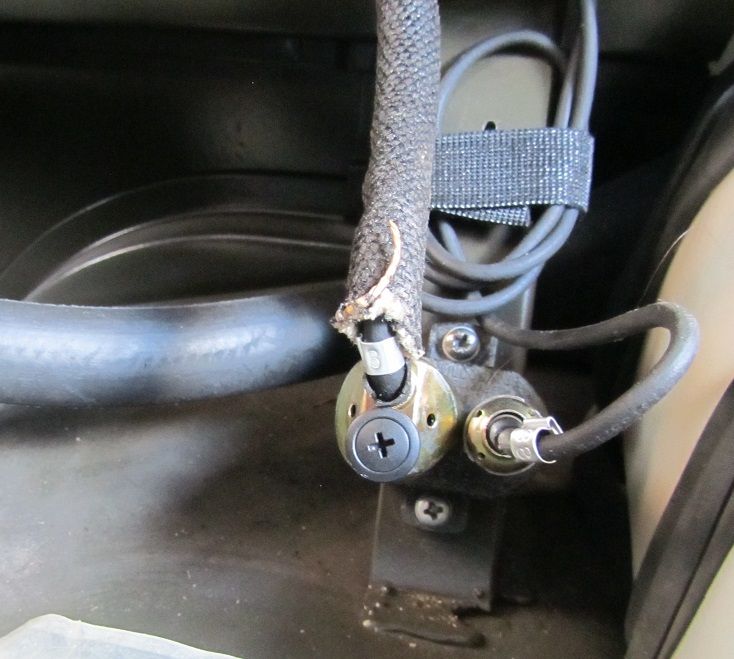
Here is a view of the cable prior to attaching the ground wire (it will be attached to the lower of the two bolts penetrating the cab on the back panel shown).
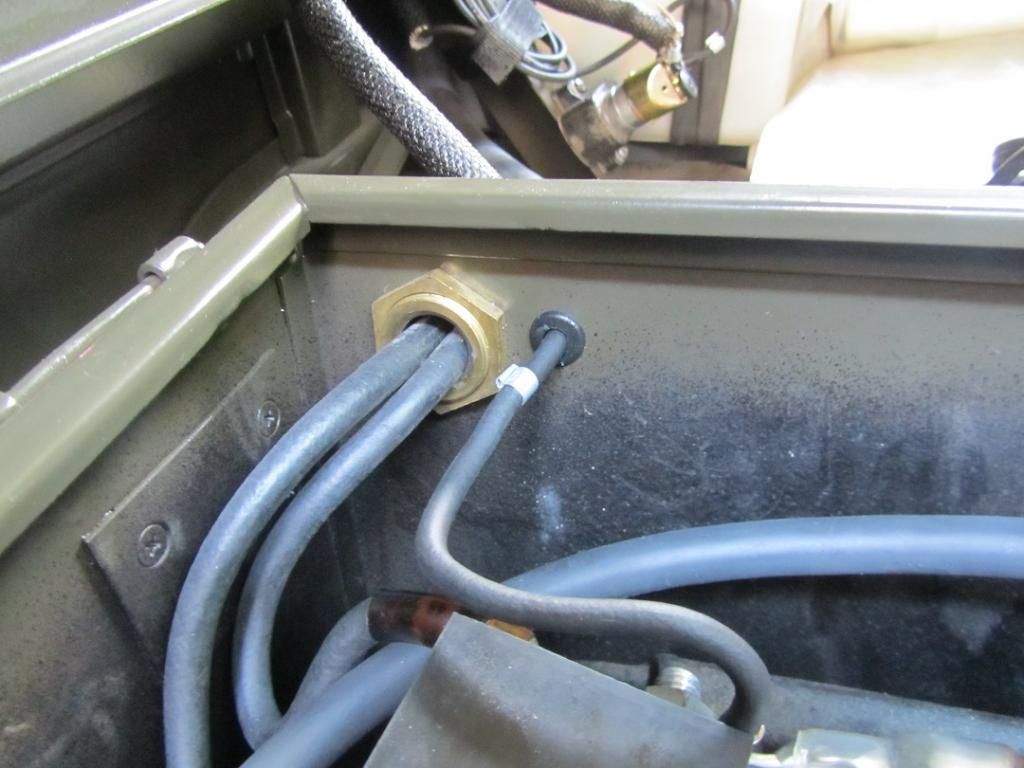
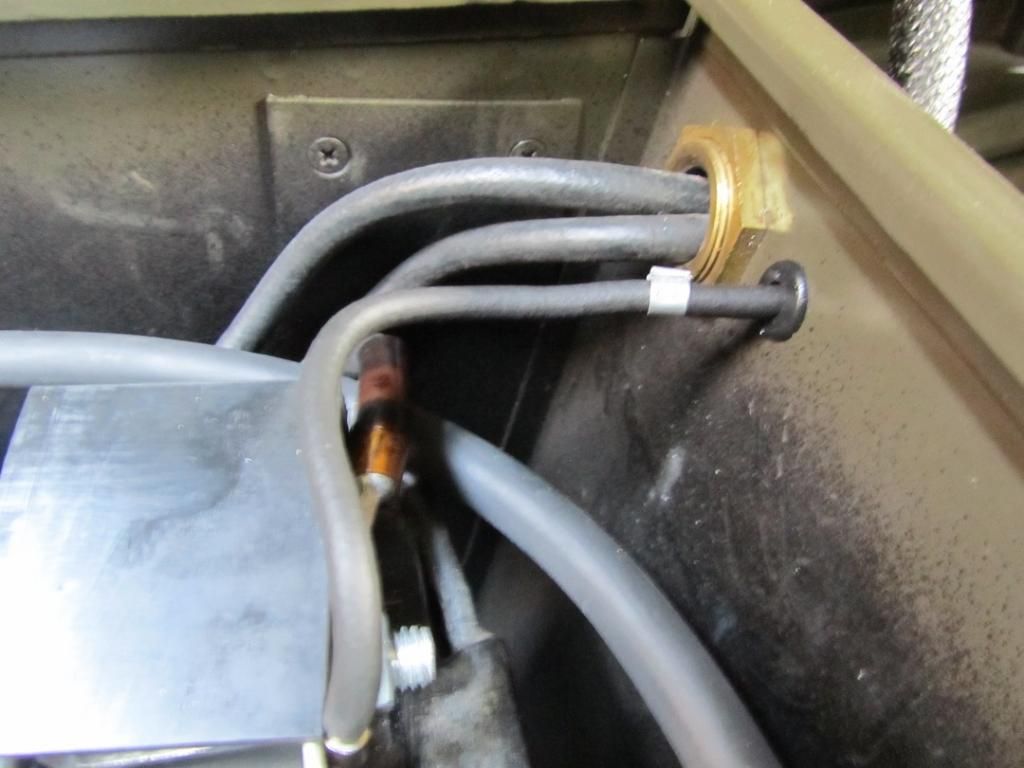
Routing power from the battery to the circuit breaker was the next step at this point. The battery box had a 5/16th hole drilled next to the Cargo Bed Auxiliary Power Cable penetration. A grommet was inserted in this hole and the power wire was passed through. The dielectric grease helped with this installation. The Battery to Circuit breaker battery connection is a "flag" type terminal which made the connection much more compact and easy to protect.
The final step was to connect the circuit breaker to Dome Light connection, turn on the power with the battery disconnect switch and function test the installation after rechecking all connections and routing.
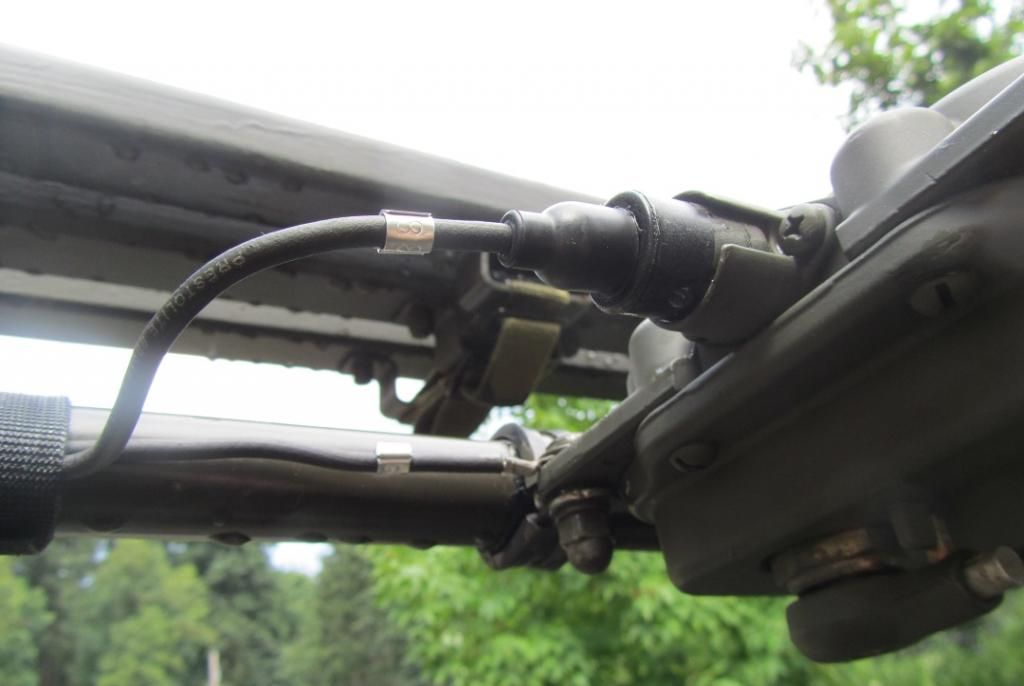
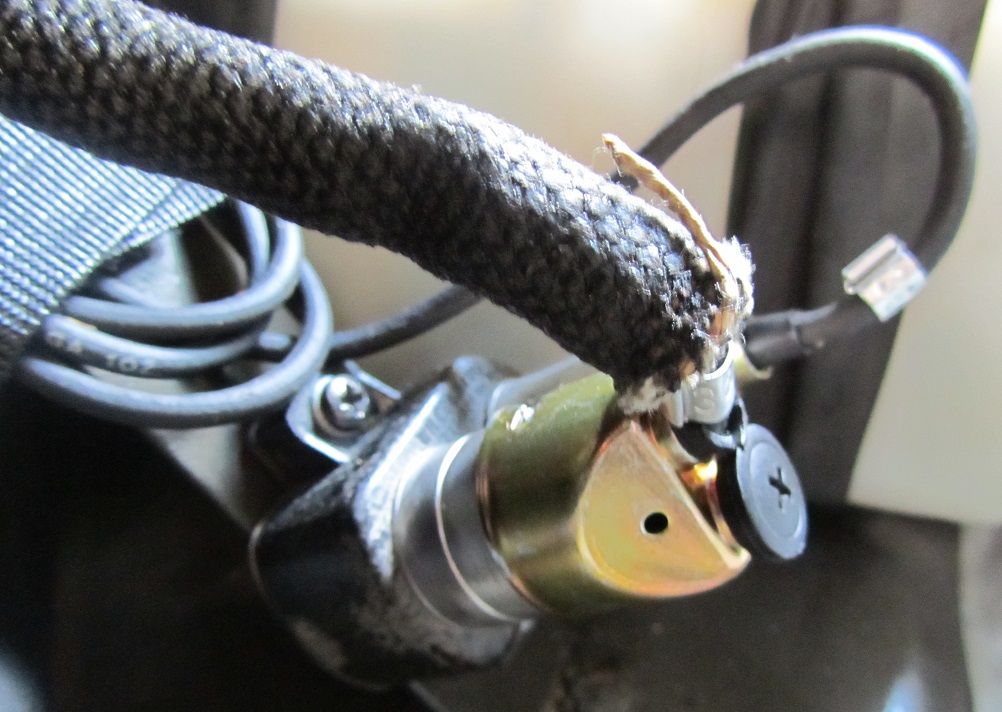
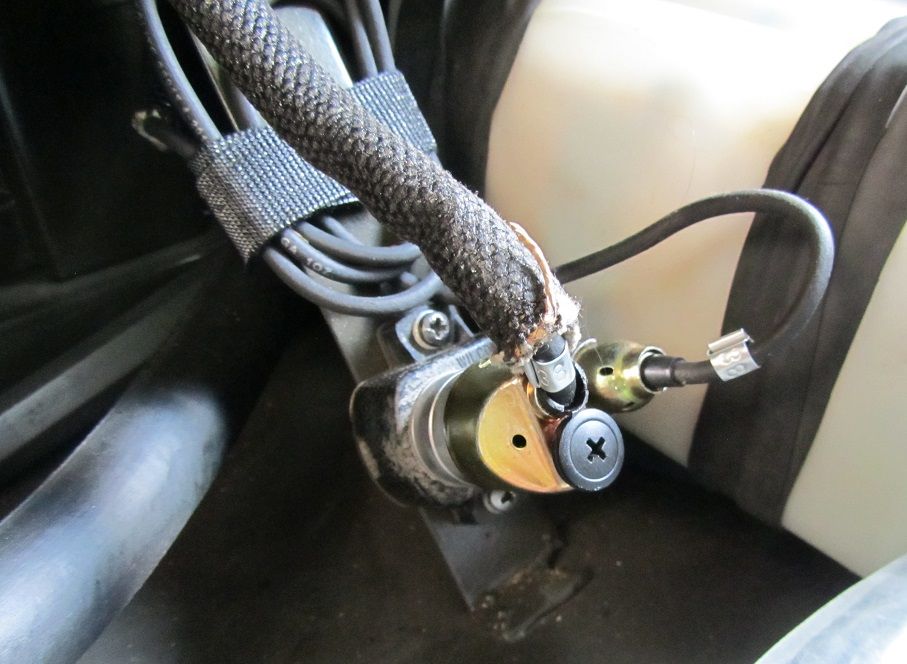
This test was successful so the close and cover process was begun. However, prior to the final finished project photos, here are a couple more photos of the circuit breaker connections. The wire in the photos is not in its final gently curving state to relieve strain, but rather is arranged to show the wire tags and connection configuration.
After restoring the truck to operating condition, a few final photos of the completed project and the dome lights on.
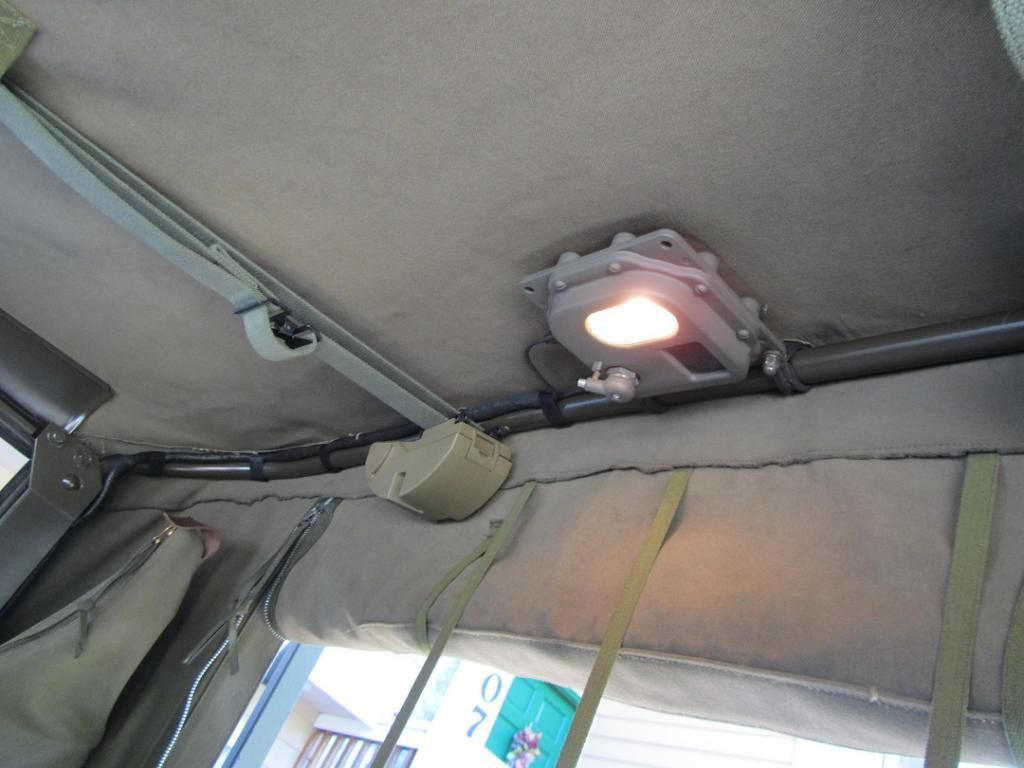
...And so ends another M-37 Modification Adventure...........

52 M-42


 Home
Home 


