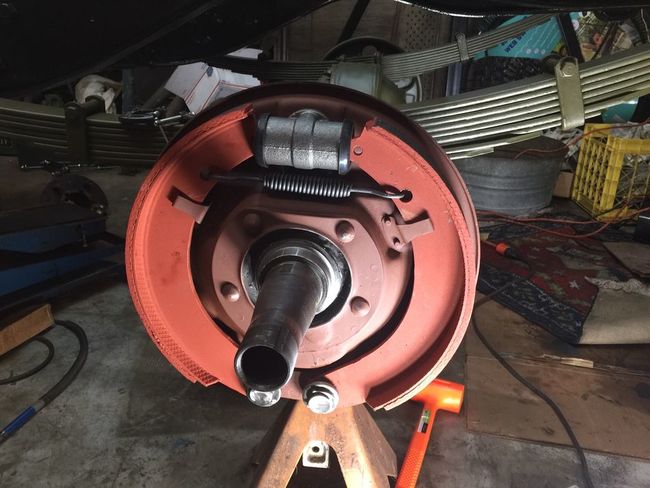
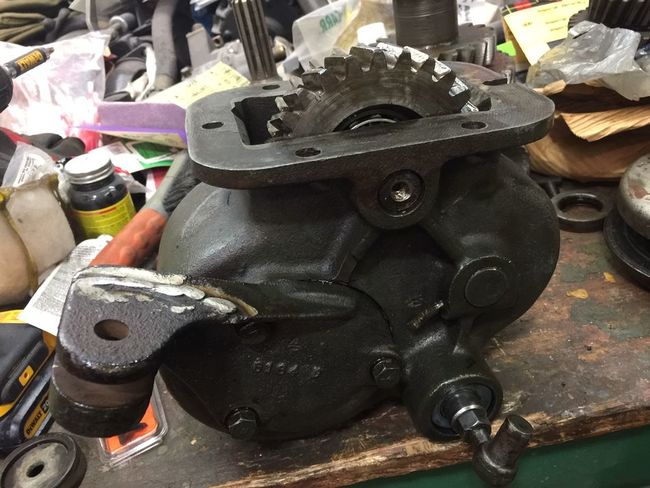
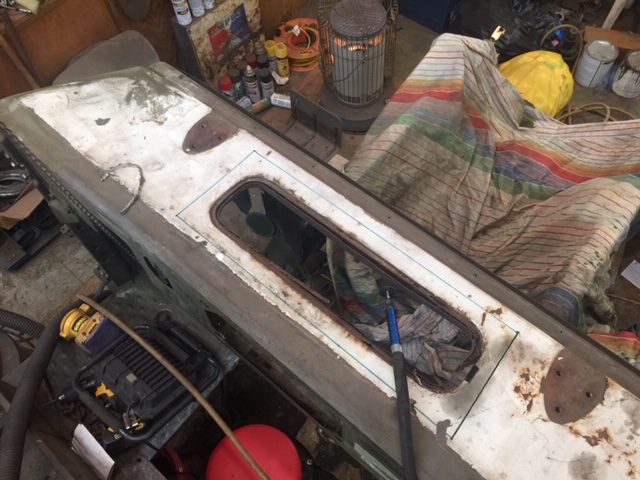
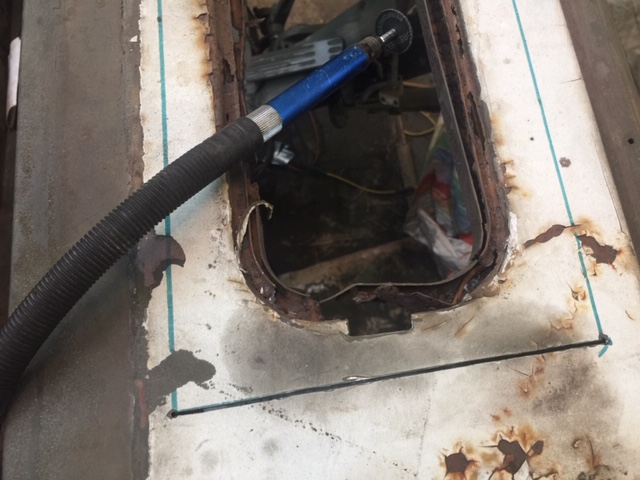
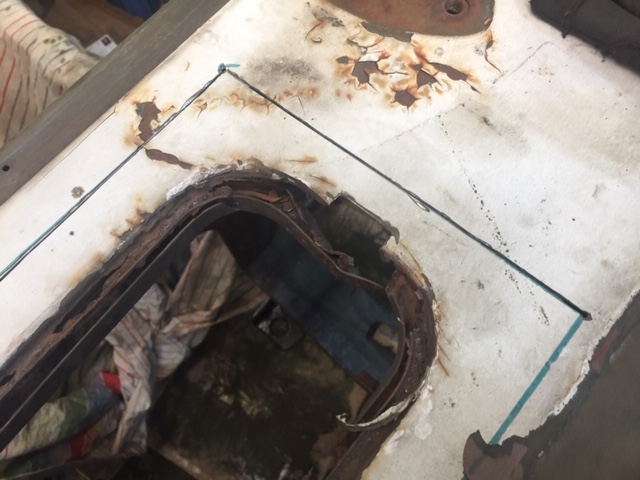
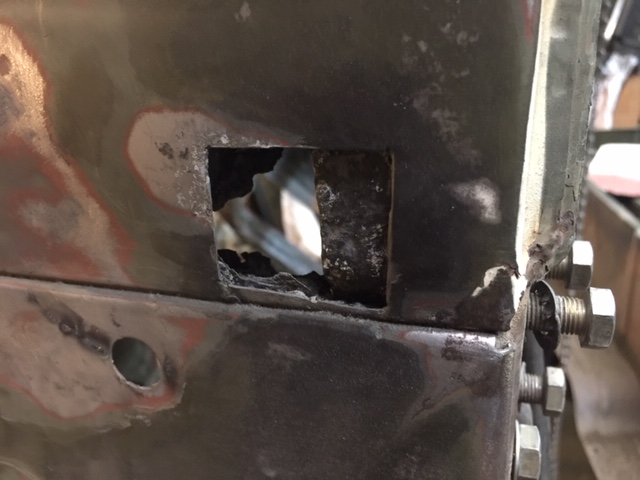
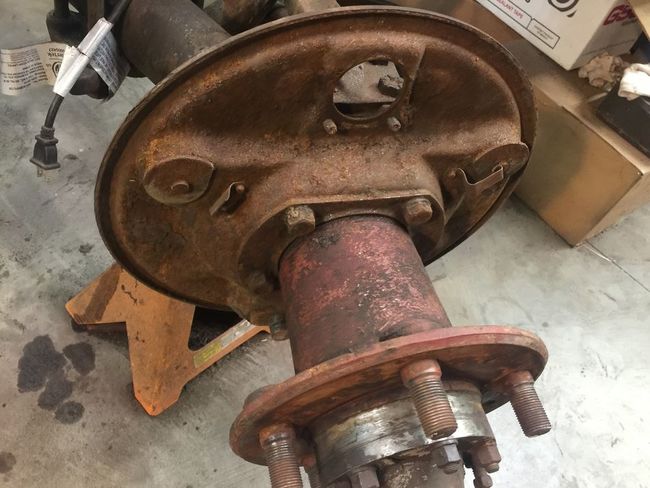
I have been lazy giving updates on my truck. Since the transmission got finished, I started pulling the front end apart to inspect and rebuild that since the rear is done. The passenger side brake backing plate was in okay shape, but the driver’s side had heavy rust on it, and I could tell if I poked at the plate it would have holes. Now I had to make a decision to replace the backing plate or head in a new direction with the front brakes.
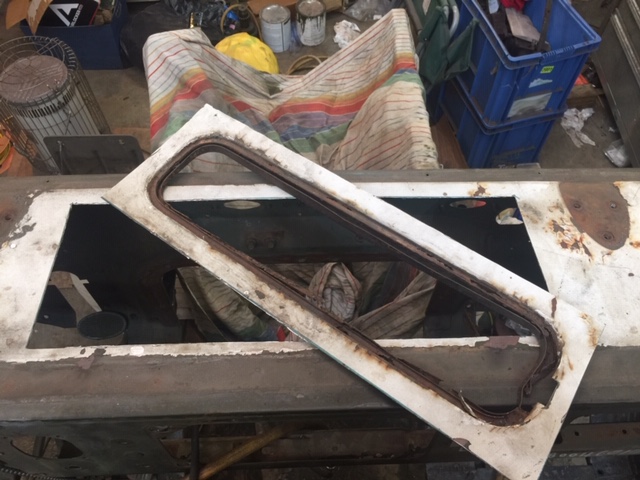
Rusted Backing Plate:
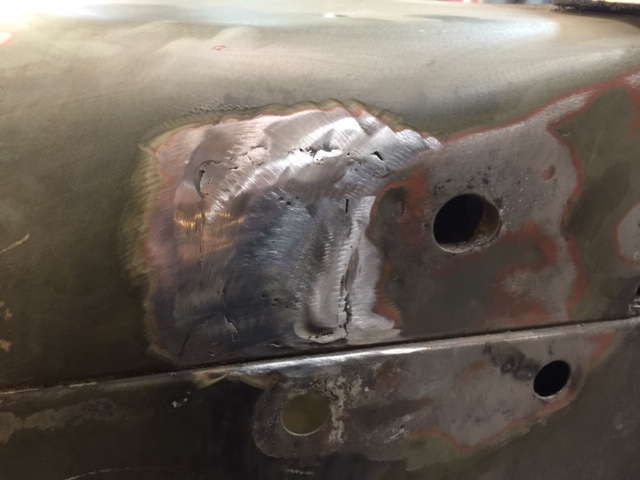
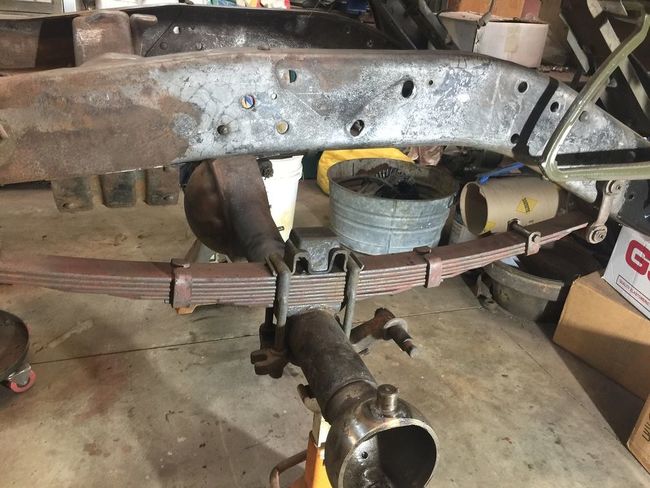
While investigating options with brakes I kept working on the frame.
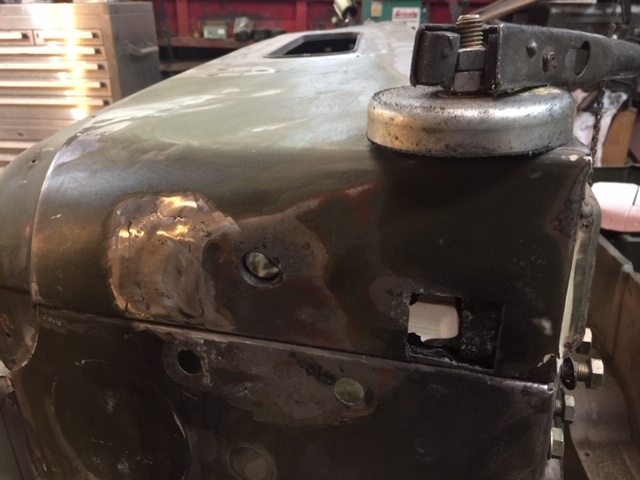
Frame Stripped:
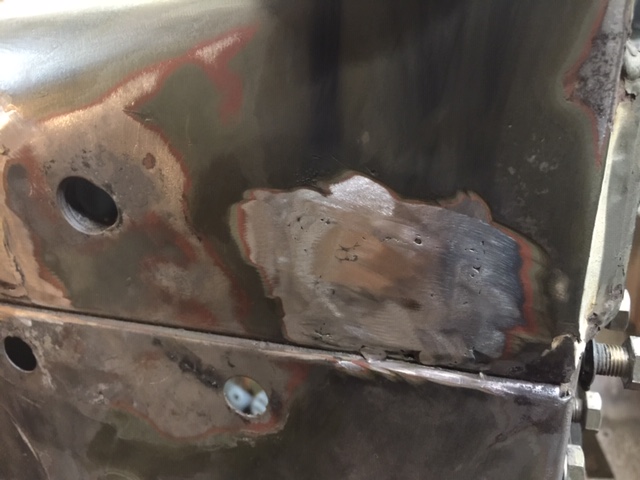
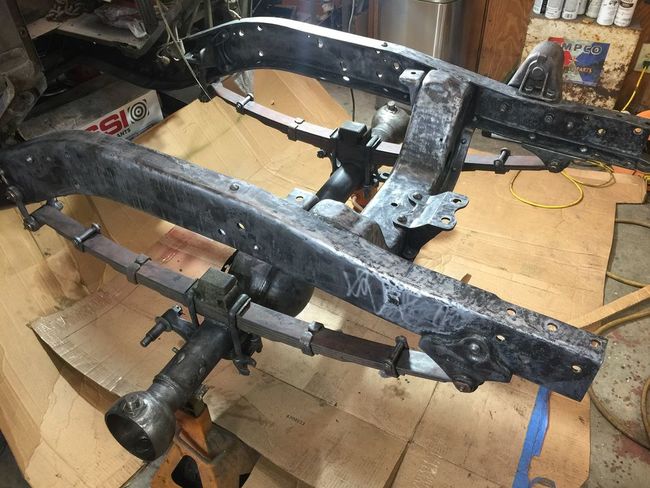
Frame Treated with rust killer:
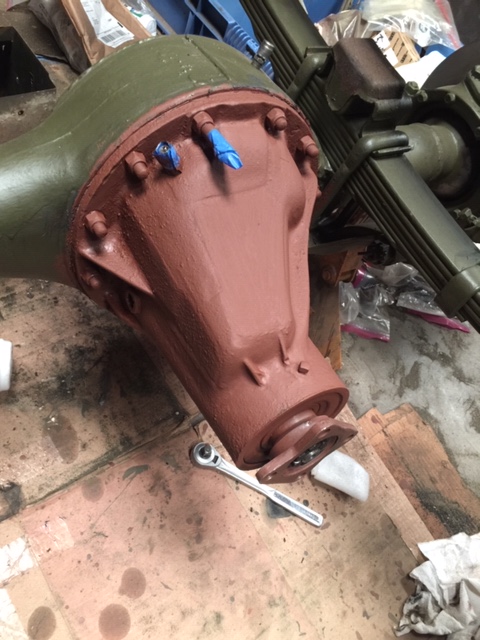
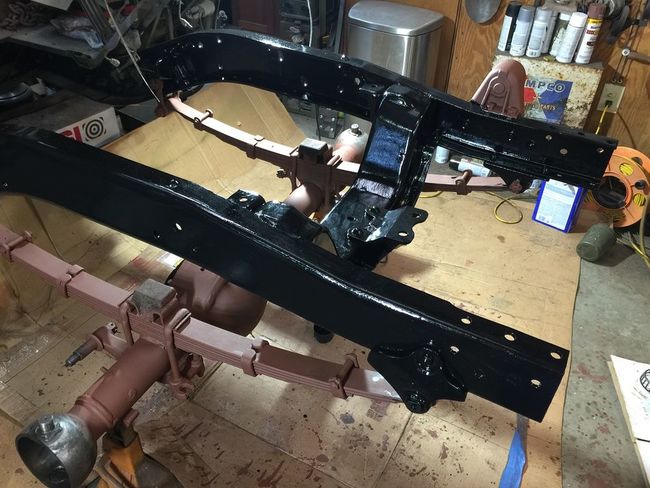
Frame Primed:

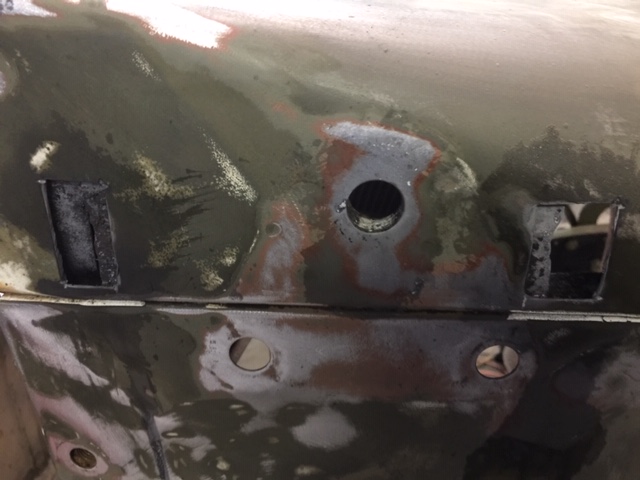
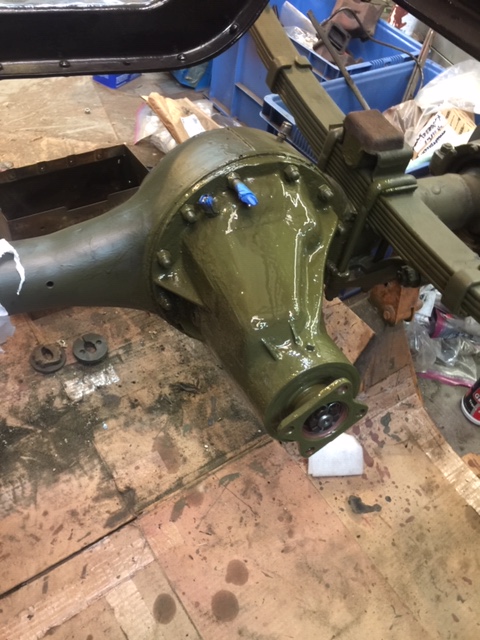
Frame Painted:
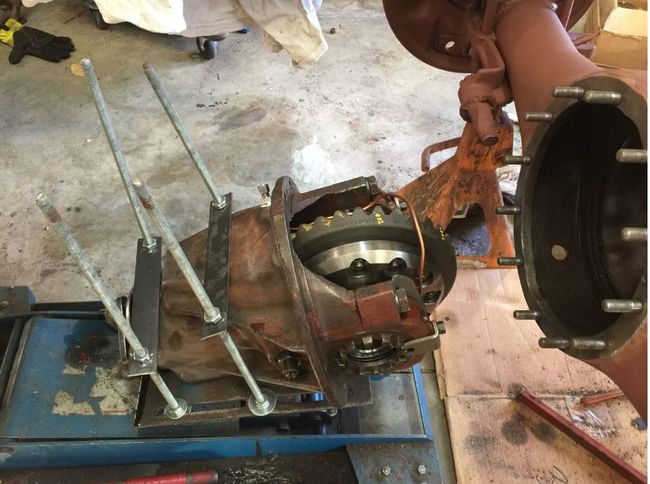
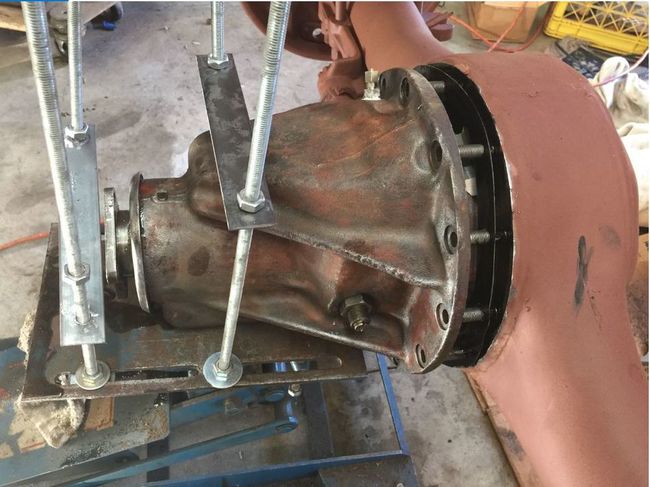
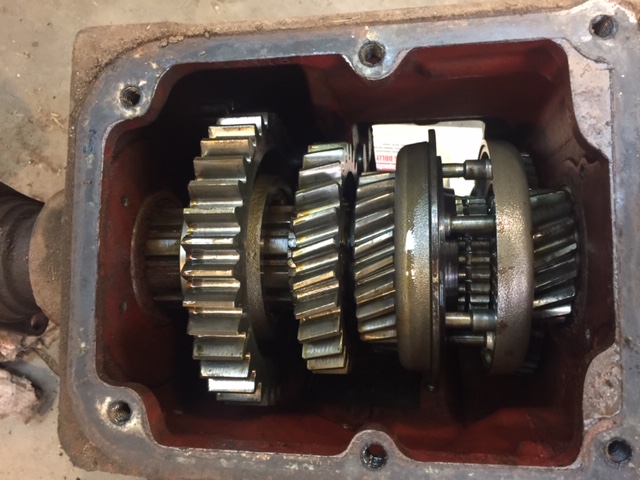
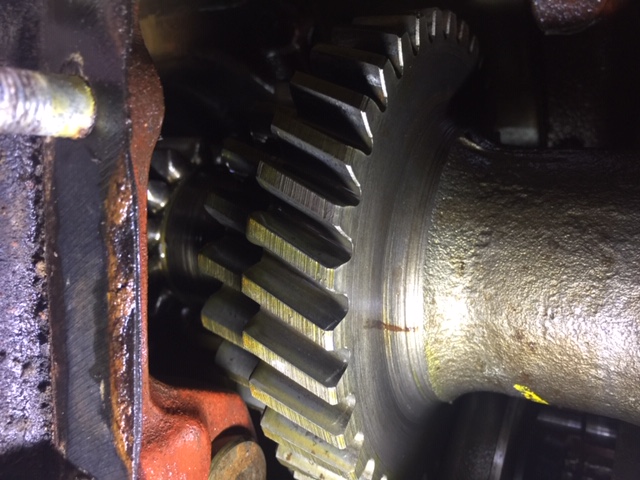
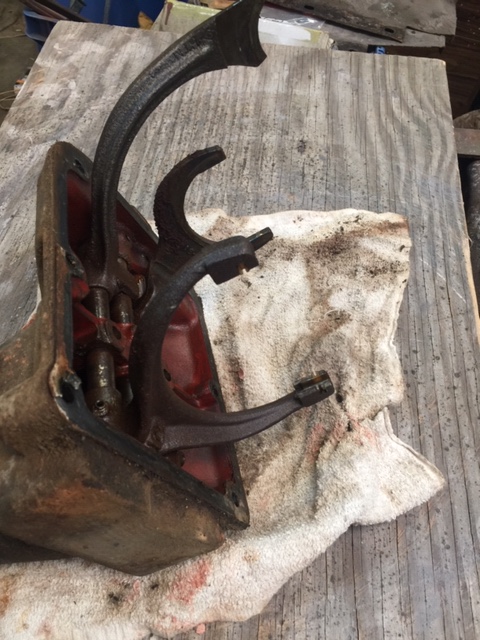
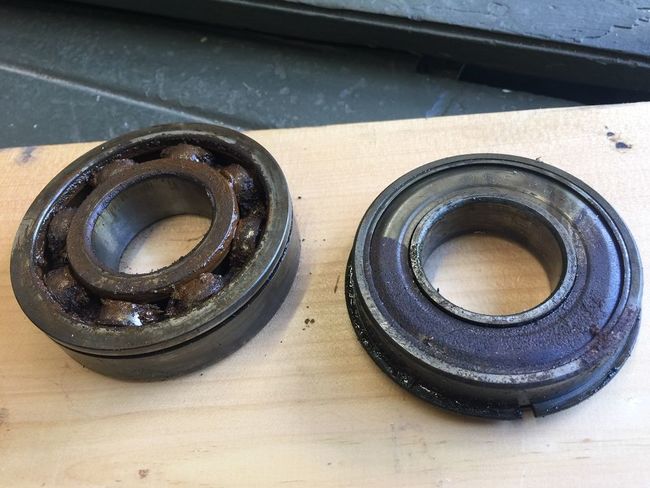
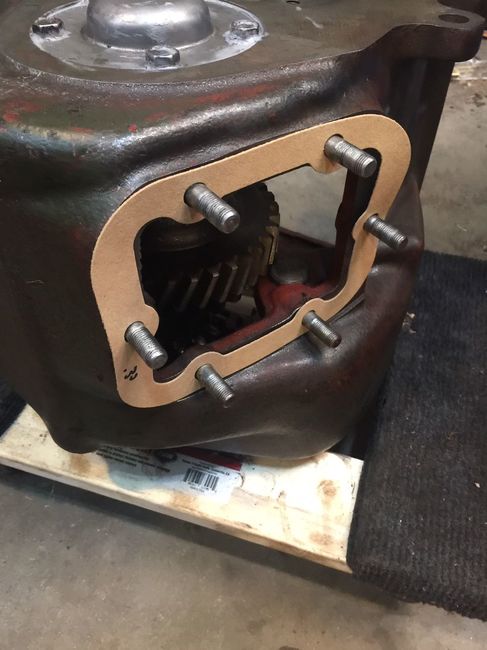
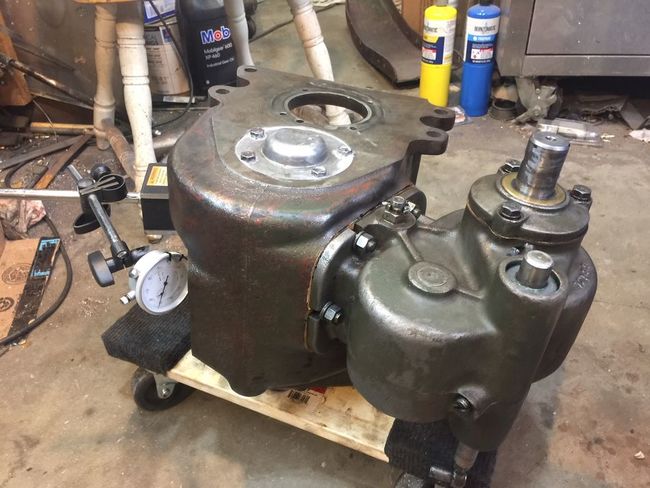
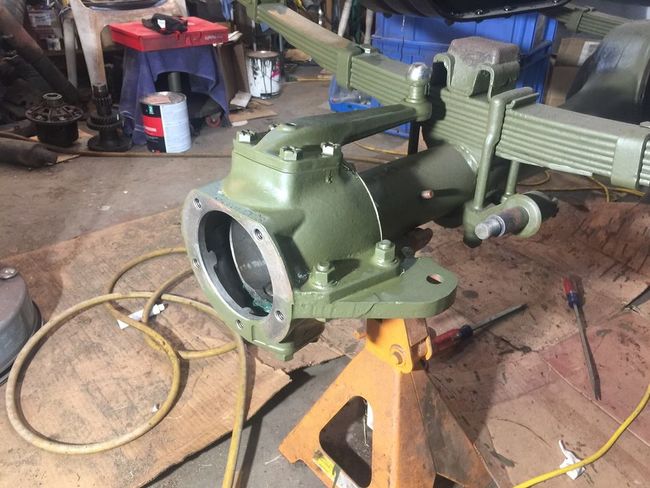
Like most of the things on this truck the knuckle bearings were shot. I already had the bearings in hand so installed them and had to go through the shim selection process to get the preload set right.
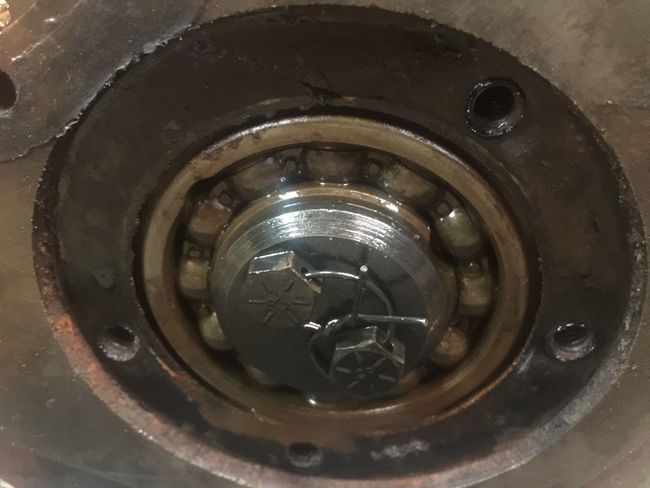
New Knuckle Bearings:
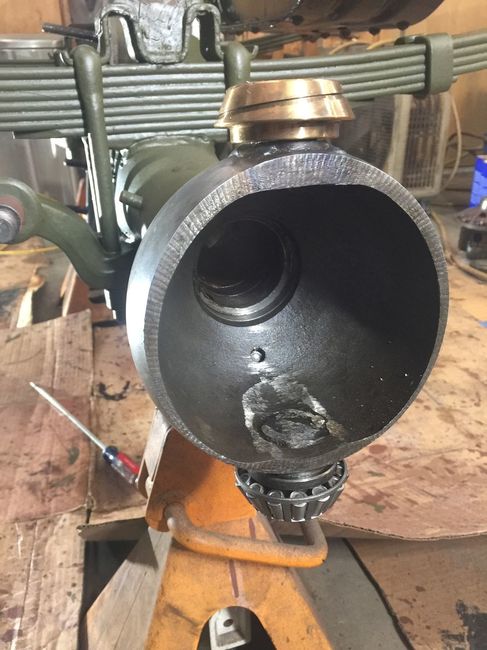
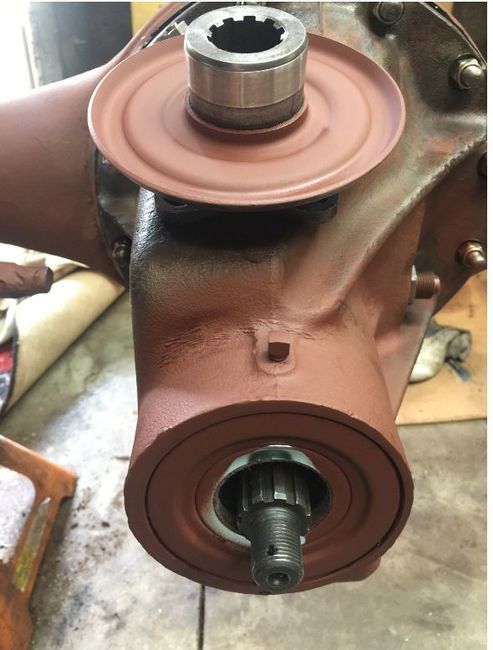
Knuckle Done:
In my studies of what to do about the brakes I looked at a number of options. Most of you know of Ray’s uglytruckling site. Ray has a kit for the front and rear disk brakes for the M37. Ray has retired and was living outside of the US for a while, but I understand he is back in the States. He is not making any new disk brake kits but has a few left that he will sell until they run out. The pictures on Ray’s site show the instructions step by step to use his kit. He also has a lot of good advice about the brake lines.
I also looked at Charles disk brake sets that he offers on his M-Series website. The M-Series kit I would say would be the better way to go if you don’t want to fiddle with the kit as I had to do. I always want to save a buck or two. Plus, I have an adventure to share.
When you get Ray’s kit, he puts you in contact with his guy that does the machine work on the hubs you supply. Normally you would ship your hubs to his machinist and once done they would get shipped back to you. Since the machinist is not too far from where I lived, I made arraignments to drive my hubs down and he agreed to do them the same day and I would carry them back.
So, during the week I took a drive down into the mountains of North Georgia to Joe’s Place:
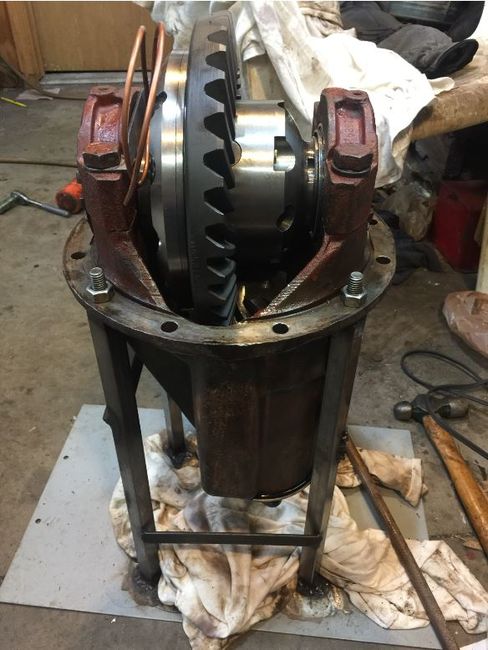
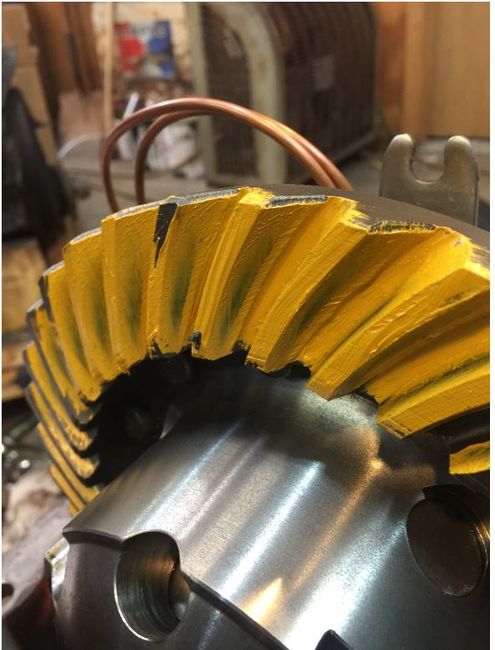
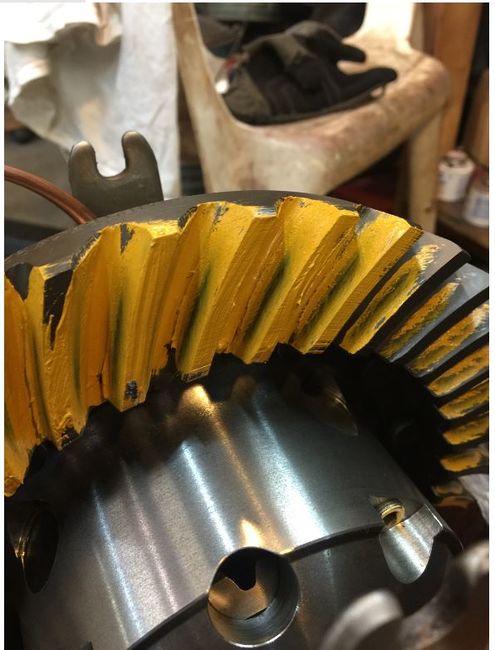
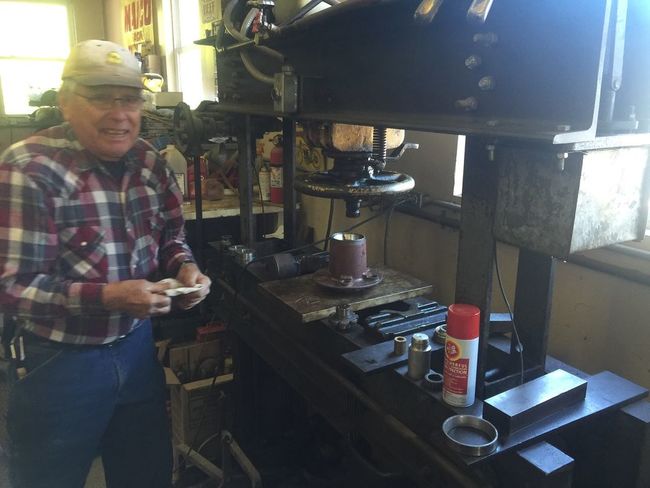
Here is Joe at his 50 ton press making sure my bearing races are seated to mount the hub on the lathe.
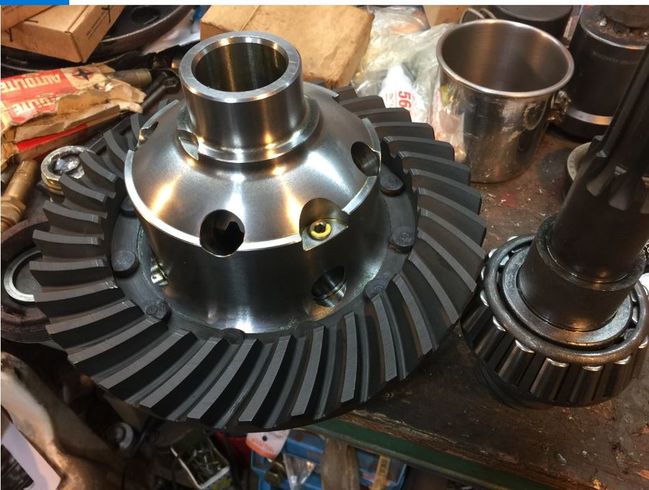
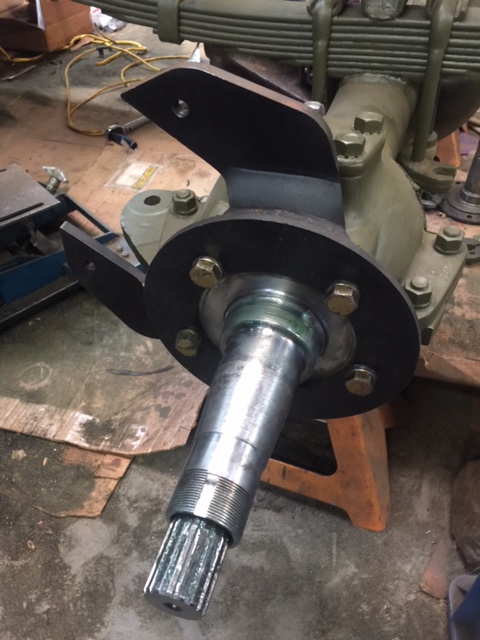
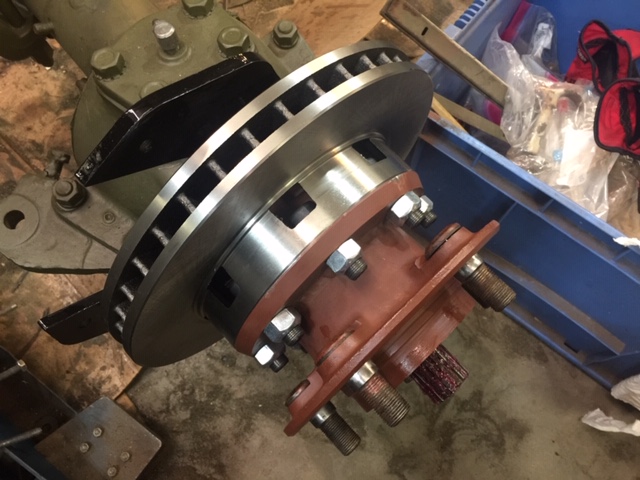
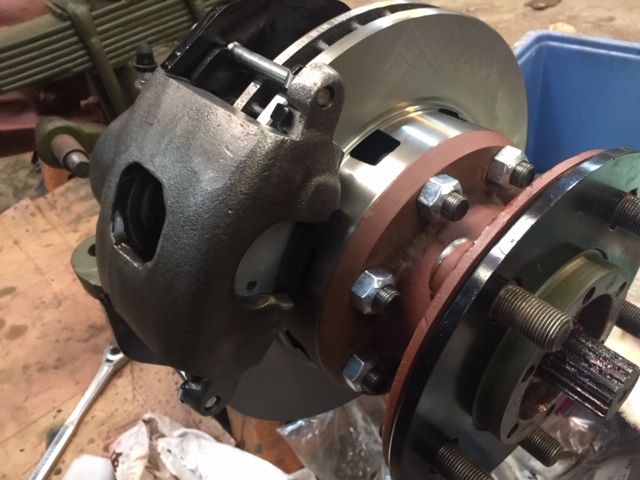
Here is a picture of the GM rotor and the Rotor Mount Flange. Joe supplies the mount flange to weld to your hub.
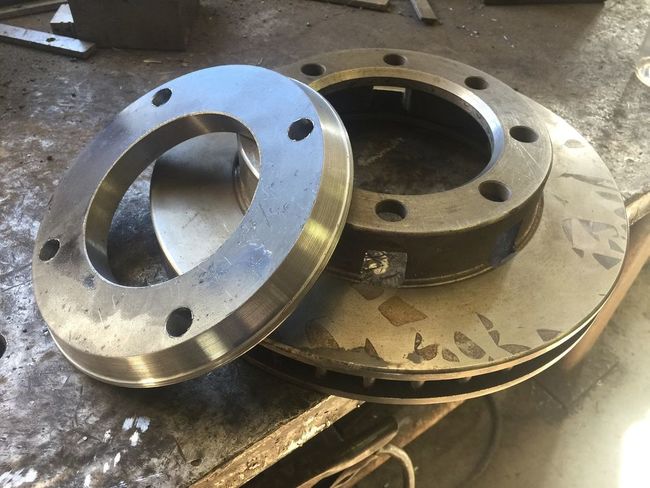
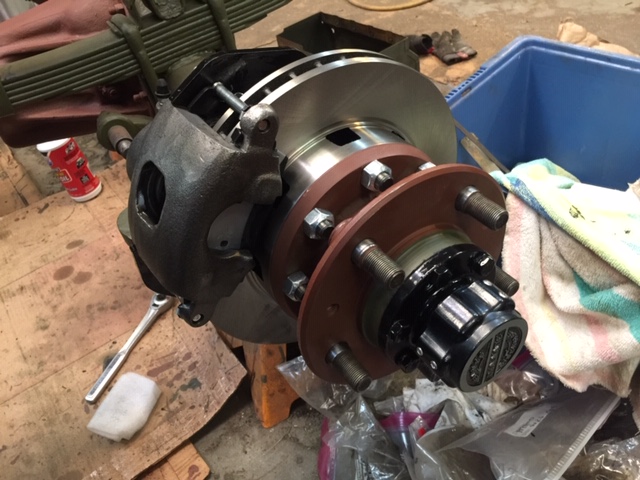
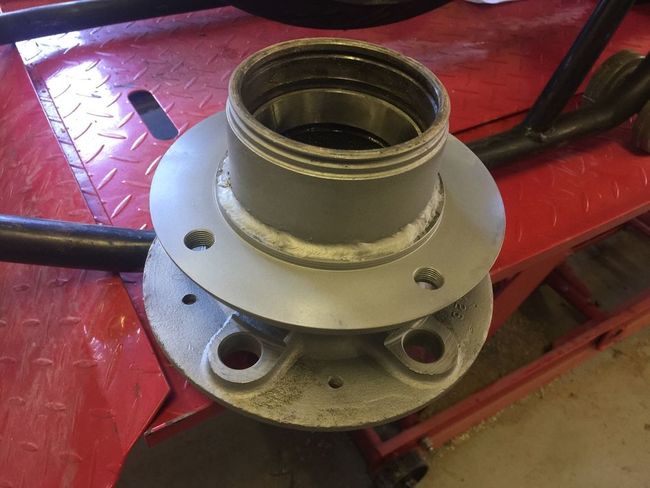
Once the Rotor Mount Flange is welded to your hub it gets a bead blasting and it is then the Finished Hub:
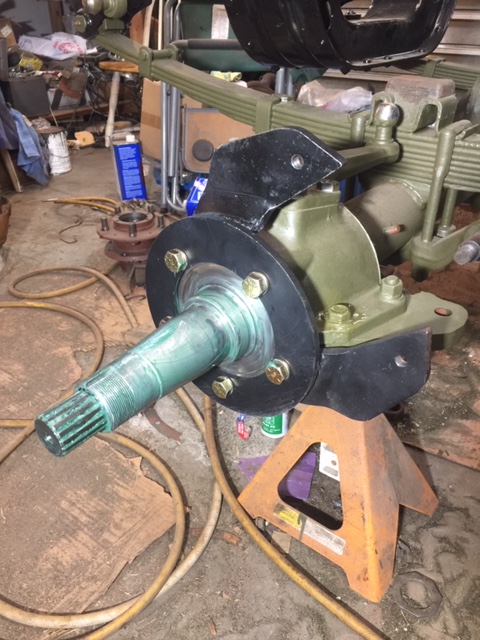
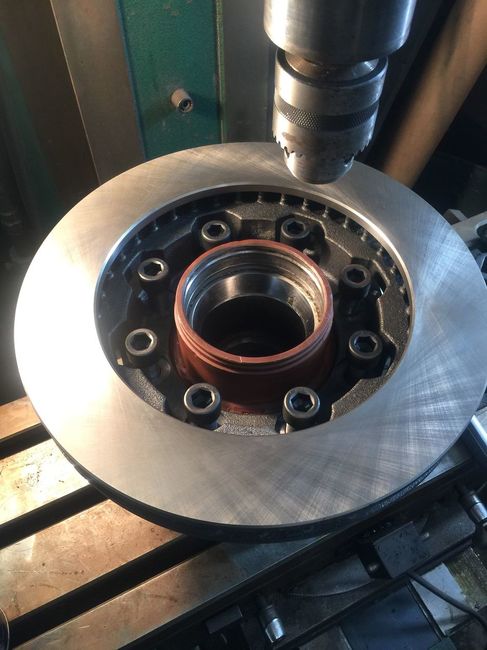
If you noticed the brake rotor comes with 8 holes and the finished hub with 4. Having only 4 holes as the kit is planned for is probably okay but I couldn’t resist adding 4 more holes to my hubs.
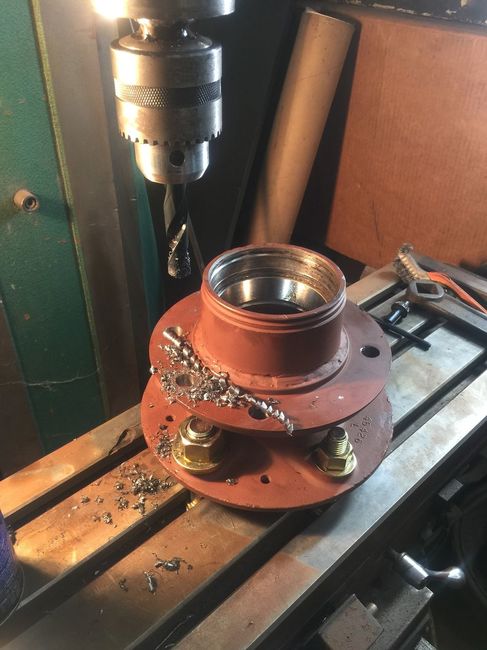
So, when I got home, I mounted my hubs on to my milling machine table and got to work.
Drilling Holes:
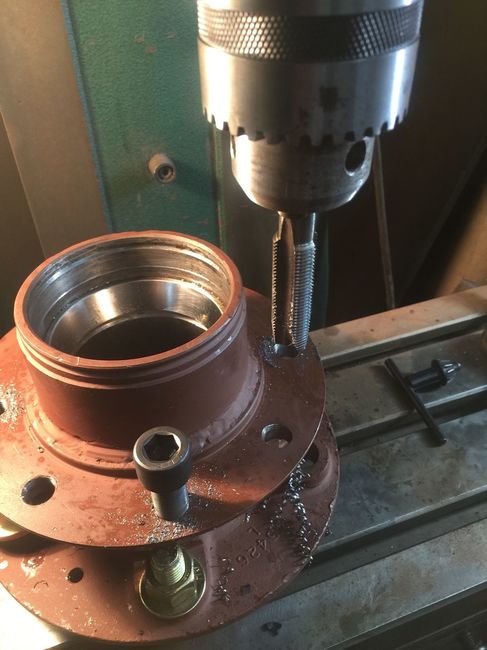
Tapping Holes:
Now with 8 holes I feel better and consider the hubs done:


 Home
Home