

 Home
Home 
Yota;
I have been in your shoes with the rivets, what I finally had done is ground the heads smooth with the frame and soaked the area with AreoKroil penetrating oil that can be found at industrial sales or at most welding supply stores, after that has soaked I heated the metal around the rivet then I used a air hammer with a pointed head and drove them out! I was fighting rust like you are. But I think the heat is the biggest thing that helped.
I worked at a power plant where everything is rusty and corroded, that is a method we used a lot there too.
Good luck and watch the fingers!
hb
Project: Old Guard - lots of pictures
Moderators: Cal_Gary, T. Highway, Monkey Man, robi
I guess I am way behind the eight ball on the rivet comments sorry! I did not notice the other pages of work after that was initially posted but all I can say is wow you are on it! This is going to be quite the truck when you’re done. But I did enjoy the story of the lift I got quite a chuckle out of it, I’ve seen air over oil hoists do that and It scares heck out of ya!
Be safe we want to see the end of this truck!
hb
Be safe we want to see the end of this truck!
hb
The wiseman who listens to his students stays a wise MAN!
-
Master Yota
- MSGT

- Posts: 828
- Joined: Sun Nov 15, 2009 11:50 am
- Location: Prince George BC Canada
- Contact:
Hb, I wish I had some heat to apply - but alas, my plumbers torch is a poor excuse for a real hot wrench! I've got a bunch more rivets to remove as I'm ready to start relocating the Tcase crossmembers to fit the second tcase in.
I should have a better go of it this time though as Dad showed up at the shop with a new toy the other day; a Thermal Dynamics Cutmaster 52 Plasma cutter...
I will fear no rivet ever again!! With up to 1-1/8" cutting capacity, I should be able to have all the rivets out in about 10 minutes...
God, I love plasma!
Ray
1953 CDN. M37
1954 CDN. M152
1953 CDN. M37
1954 CDN. M152
-
Master Yota
- MSGT
- Posts: 828
- Joined: Sun Nov 15, 2009 11:50 am
- Location: Prince George BC Canada
- Contact:
This plasma cutter rocks! Talk about a time saver! My technique needs a little work, but holy cow does it ever cut steel!  This unit will blow through 1/2" steel plate faster than you can stick your hand in a bucket of water. Its almost a religious experience considering I used to cut all my steel with a Zip cut blade on a grinder...
  I highly recommend one to anyone who plays with metal.
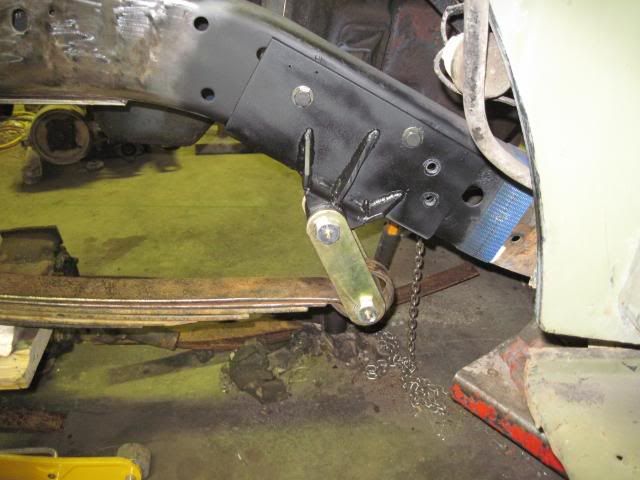
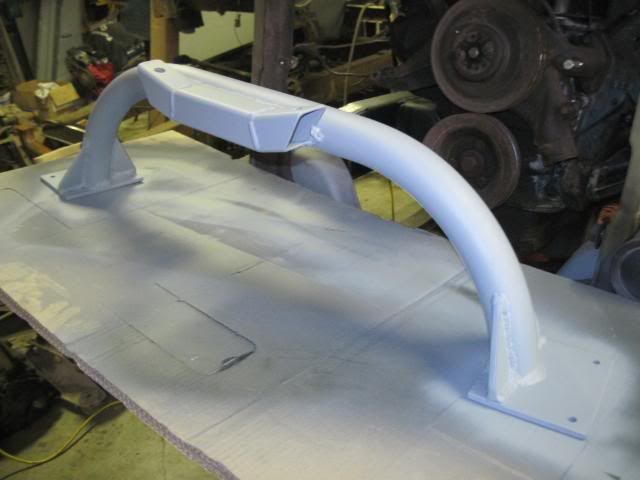
Here is a few more pics of what I've managed to get done...
Spring hangers and shackle mounts are finished, and front suspension (minus the shocks) is done.
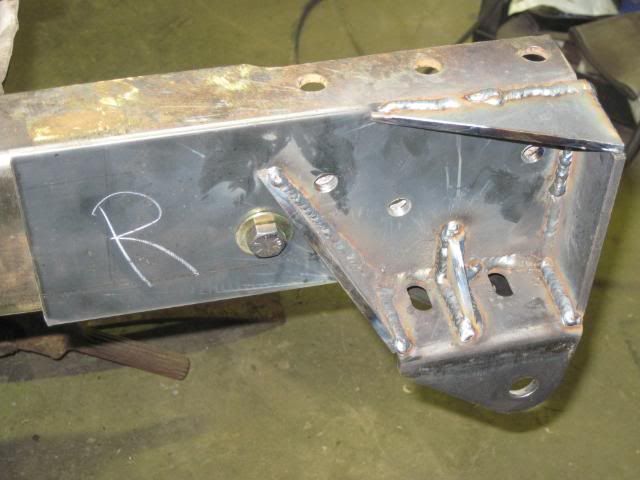
Here is the shackle angle with weight on the pack - should ride pretty nice...
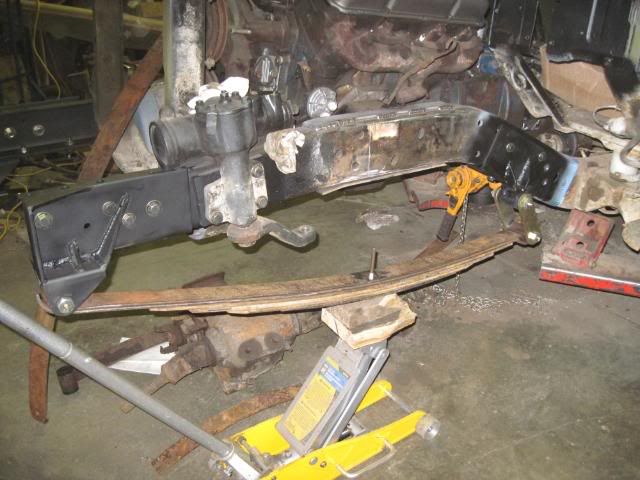
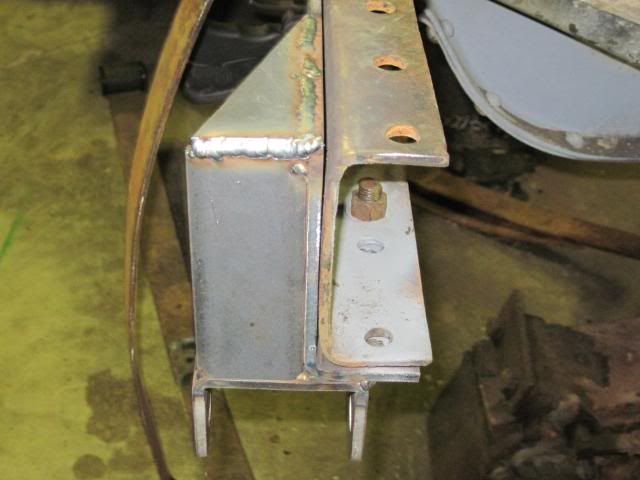
Here is the D60 bolted up underneath. The springs have weight on them, and the jack stands are within a 1/2 inch of ride height on the tires... The WD40 can is there for perspective...
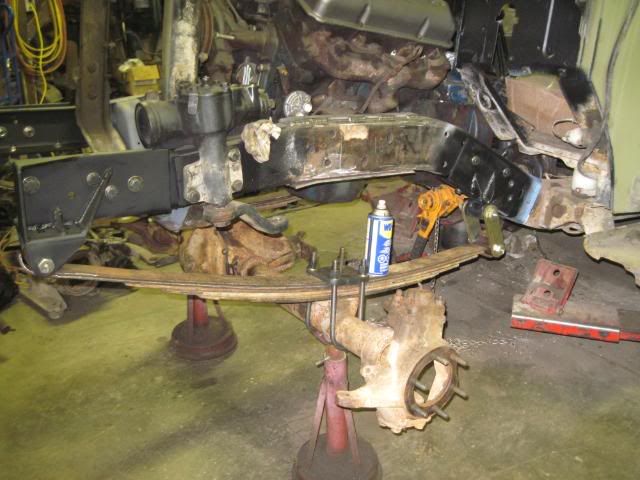
A teaser.... :smt118
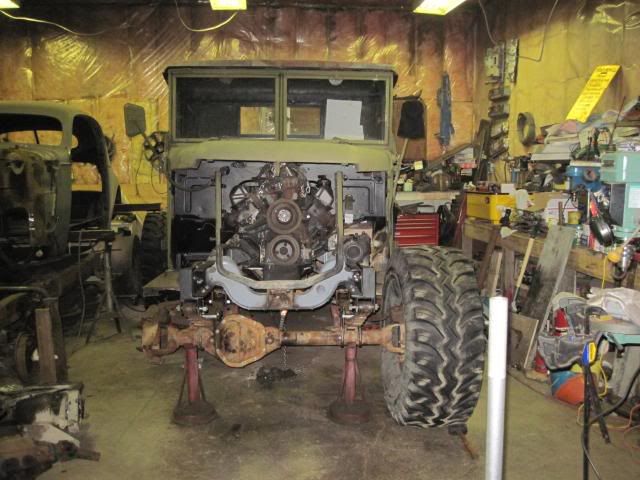
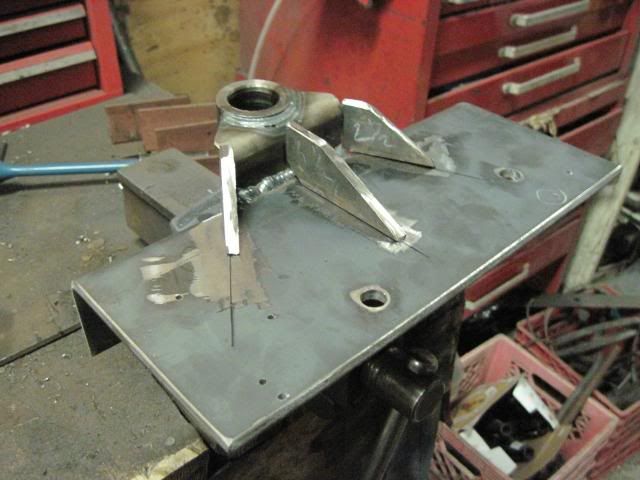
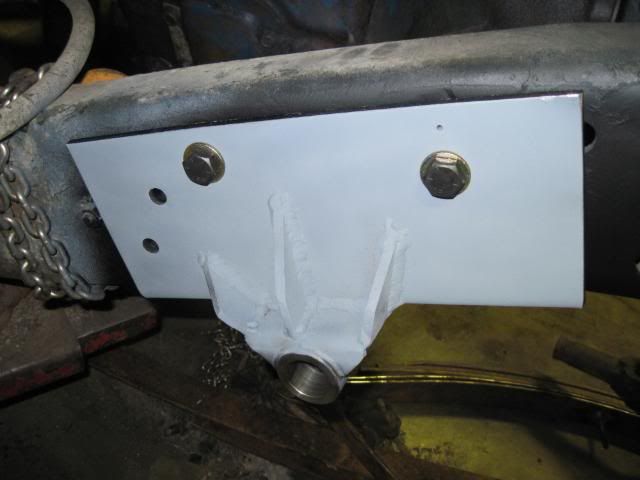
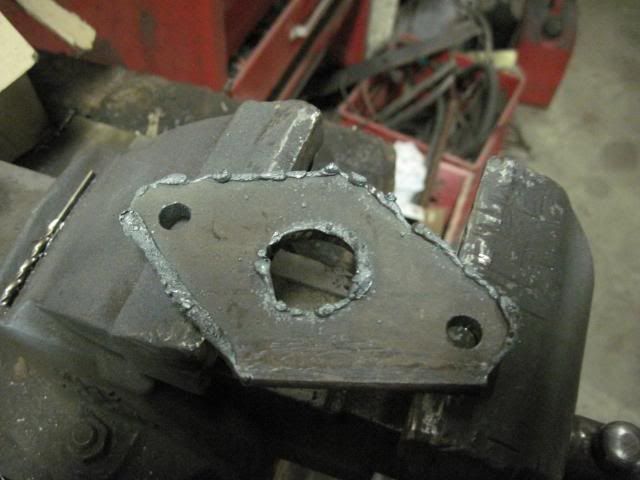
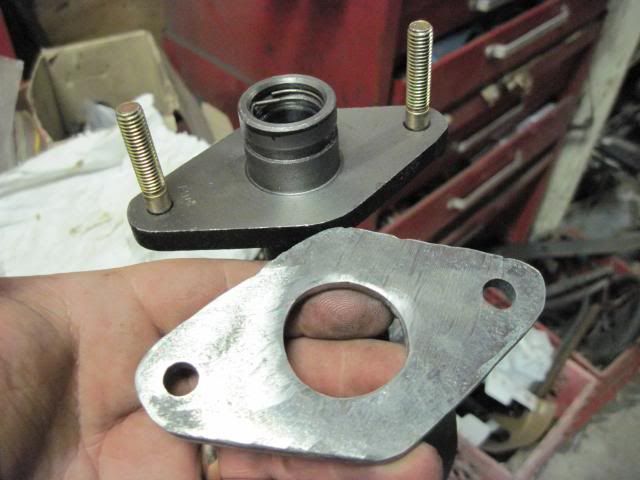
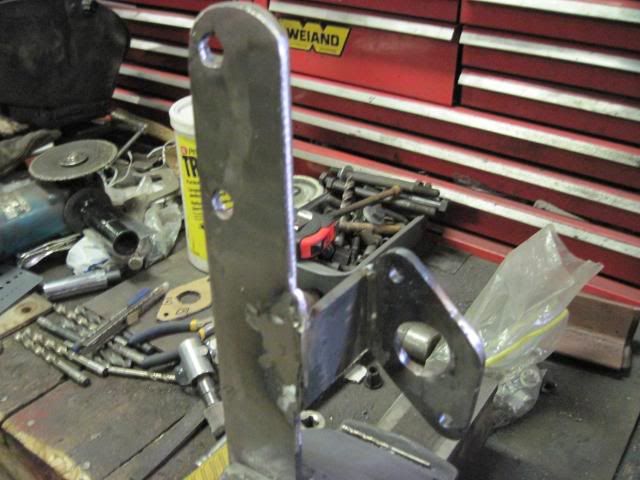
Got the tranny crossmember finished and installed as well.
And I've got about 80% of the Clutch Slave cylinder mount built.
Here is a few more pics of what I've managed to get done...
Spring hangers and shackle mounts are finished, and front suspension (minus the shocks) is done.
Here is the shackle angle with weight on the pack - should ride pretty nice...
Here is the D60 bolted up underneath. The springs have weight on them, and the jack stands are within a 1/2 inch of ride height on the tires... The WD40 can is there for perspective...
A teaser.... :smt118
Got the tranny crossmember finished and installed as well.
And I've got about 80% of the Clutch Slave cylinder mount built.
Ray
1953 CDN. M37
1954 CDN. M152
1953 CDN. M37
1954 CDN. M152

-
itchyoldfart
- PVT

- Posts: 19
- Joined: Sat Apr 03, 2010 3:56 pm

-
Master Yota
- MSGT
- Posts: 828
- Joined: Sun Nov 15, 2009 11:50 am
- Location: Prince George BC Canada
- Contact:
Thanks for the nice words Paul, but I can't take all the credit - Dad and I share his shop at the moment (He recently tried to evict me, so I threatened to send him somewhere sunny and hot when I pick his retirement home - end of discussion... )
The car is his '36 Buick 3 window coupe. It was a complete car and is in the process of a "resto-mod" buildup. The straight 8 isn't worth rebuilding, so a repower with a modern V8 is in the works. By modern I mean anything newer than 1936. He's currently looking for a 425 Buick Nailhead to stick under the hood. His plan is to have it as a driver/touring car, so it should be fun, yet comfortable when done. Thanks for the interest!
Hey Itchy! I'd love to see some pictures!
Ray
1953 CDN. M37
1954 CDN. M152
1953 CDN. M37
1954 CDN. M152

-
powerwagontim
- SFC

- Posts: 744
- Joined: Thu Dec 18, 2008 4:49 pm
- Location: Monkton, Vermont
- Contact:
Well, since we are bouncing around hitting different subjects here, lets go back to the rives. I have scrapped a bunch of Power Wagons and M37s. What I end up sending to the scrap yard is truely scrap. I take all of the castings off the frame, and any decent crossmembers. The way to triumph over rivets is actually quite simple. Cut or grind one side off flush. Then drill a hole about 1/2 the diameter of the rivet, into the middle of the rivet shaft, but only as deep as the thickness of the frame (or what ever it is going through.) Then take a punch, put it into the hole and knock it out. I could have done 3 in the time I took to type this.
Works for me!
Tim
Works for me!
Tim
-
Master Yota
- MSGT
- Posts: 828
- Joined: Sun Nov 15, 2009 11:50 am
- Location: Prince George BC Canada
- Contact:
I tried that as well, the biggest problem is usually not being able to strike at the rivet squarely with the hammer and punch. The drilling method was the what I ended up doing, but now that the plasma cutter age has dawned, I don't forsee any other issues with thier removal...powerwagontim wrote:Well, since we are bouncing around hitting different subjects here, lets go back to the rives. I have scrapped a bunch of Power Wagons and M37s. What I end up sending to the scrap yard is truely scrap. I take all of the castings off the frame, and any decent crossmembers. The way to triumph over rivets is actually quite simple. Cut or grind one side off flush. Then drill a hole about 1/2 the diameter of the rivet, into the middle of the rivet shaft, but only as deep as the thickness of the frame (or what ever it is going through.) Then take a punch, put it into the hole and knock it out. I could have done 3 in the time I took to type this.
Works for me!
Tim
Ray
1953 CDN. M37
1954 CDN. M152
1953 CDN. M37
1954 CDN. M152
