Page 5 of 7
Re: My AF truck's jolt of progress...
Posted: Sat Nov 16, 2013 5:02 pm
by refit1701
Well, the weather is not cooperating this weekend so no major progress so far. I do have a couple of pics of the insulation we installed inside the cab:


I got the rubber bushings installed in the headlight mounts. I know that some had wondered about how to get those things into that small hole. I used a large socket, the vice, some WD40 and a flat ended punch. I got everything set and put some pressure against the assembly:

Then used the punch to push the perimeter of the bushing into the hole, more or less. It doesn't have to be perfect as the WD40 helps it slip in when some additional pressure is applied with the vise:

I had all eight installed in about ten minutes.
Here are a couple of pics of the bolts I used on the running boards:


I didn't grind off the lettering and I think they look fine.
Here a beauty shot of the gauge pack. I am replacing the 120psi oil pressure unit with a 60psi one since my sender is for a 60. I have to paint the gauge though but it does look good!

And here she is in the shop with her hood on. If the weather would play along I could get more of the endless painting done.

Finally, I got to install a few plates on the dash and I am very happy.

I have the letter punches to do the data plates for the glove box door now. I picked them up today. So I will hopefully get them stamped and on the door in the next week. I haven't put the glove box in since I figures I needed to be able to get under the dash.
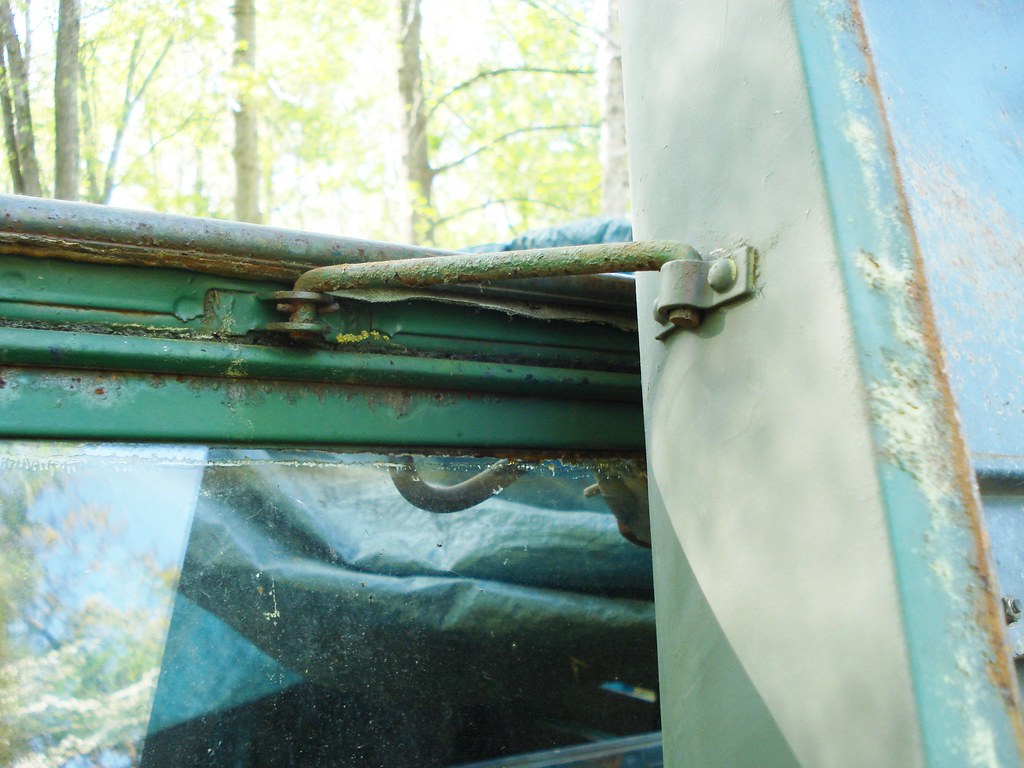
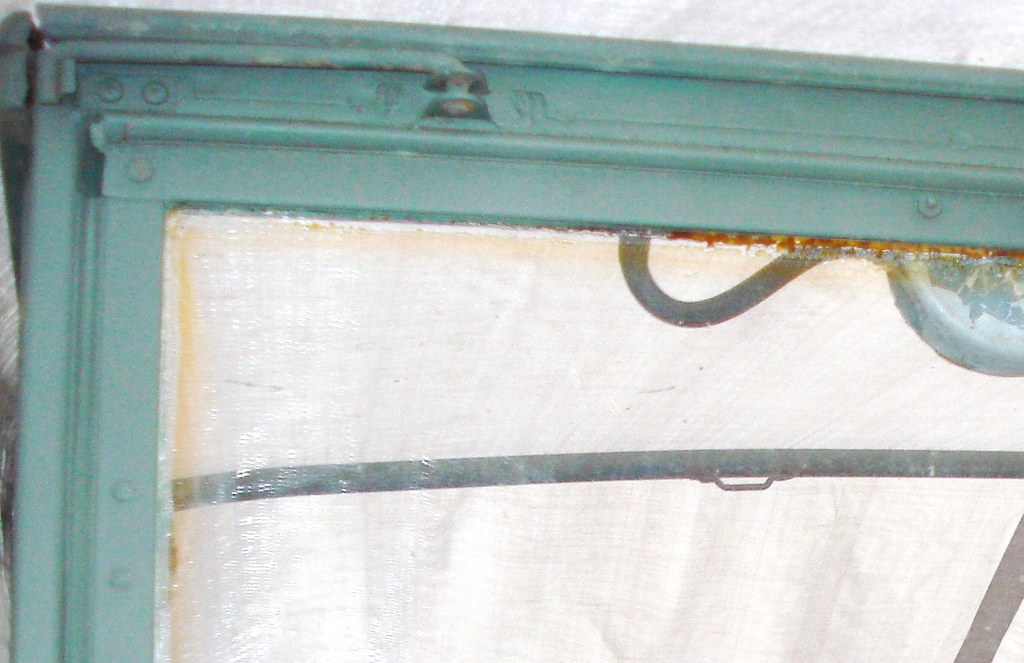
Does anyone have a pic of the little arm on the windshield frame that holds the hood up? I have the arm but don't know what the thing mounts too. We made the inside end of the bracket that the arm mounts too but I have no idea what the bracket looks like to stow it.
Re: My AF truck's jolt of progress...
Posted: Sat Nov 16, 2013 6:28 pm
by w30bob
Refit,
Here's 2 not so great pics of the hood catch.......if the rain stops I'll get you some better ones tomorrow. So where did you get the running board bolts from?
regards,
bob
 .
. by
w30bob, on Flickr
 .
. by
w30bob, on Flickr
Re: My AF truck's jolt of progress...
Posted: Sat Nov 16, 2013 6:43 pm
by refit1701
Ah, those pics tell me what I need to know. The free end just fits over a springy piece of steel. We already have the double hinge.
I'll have to ask Russell about the bolts tomorrow. He got them for me. The numbers on the heads may be something you can search for.
Re: My AF truck's jolt of progress...
Posted: Sun Nov 17, 2013 9:39 am
by m-37Bruce
Did you make or purchase your fire wall panels? They look smart!
Re: My AF truck's jolt of progress...
Posted: Sun Nov 17, 2013 11:59 am
by refit1701
I got them from Midwest. I didn't show it but the starter plunger panel has a section of insulation as well.
I gave it a try stamping my data plates this morning. I'll let the photos do the talking here:


Perfect job, eh?

I'm looking for three of these clips:

so I can finish the wiring. To bad these aren't available as NOS.
Rainy day so no painting....another mostly progress free weekend.
Re: My AF truck's jolt of progress...
Posted: Sun Nov 17, 2013 12:26 pm
by m-37Bruce
Contact me off line or PM, I got 'em for you, how many you needing?
I took mine to an engraver @ the mall, things remembered was the name, check 'em out, they are in the gallery I think?
http://www.g741.org/photogallery/main.p ... temId=1273
Re: My AF truck's jolt of progress...
Posted: Sun Nov 17, 2013 2:22 pm
by refit1701
PM on the way.
Did they have the inspector stamp too.
Re: My AF truck's jolt of progress...
Posted: Sun Nov 17, 2013 5:03 pm
by w30bob
Hi Guys,
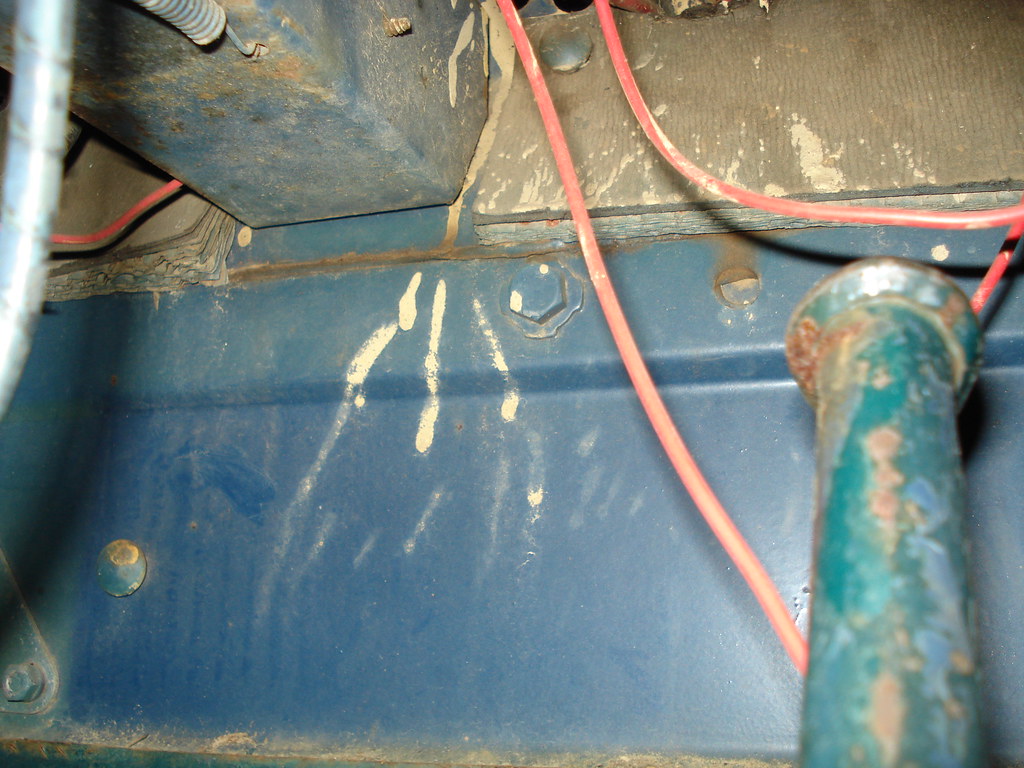
Here are some pics of the firewall insulation padding in my AF M37. The padding looks to be made of three layers of paper hardboard followed by what looks like layers of corrugated cardboard. I picked up the firewall insulation set from John at Midwest last year.........opened the box....and wasn't impressed...........looks like posterboard I can get at Micheal's craft supply for a buck a sheet. I put it in the corner and will deal with it later down the road, as I'm no where close to that phase of the project. I figure worst case I can use them as patterns if I ever find the correct padding material.

 DSC05457
 by
w30bob, on Flickr
 DSC05458
 by
w30bob, on Flickr
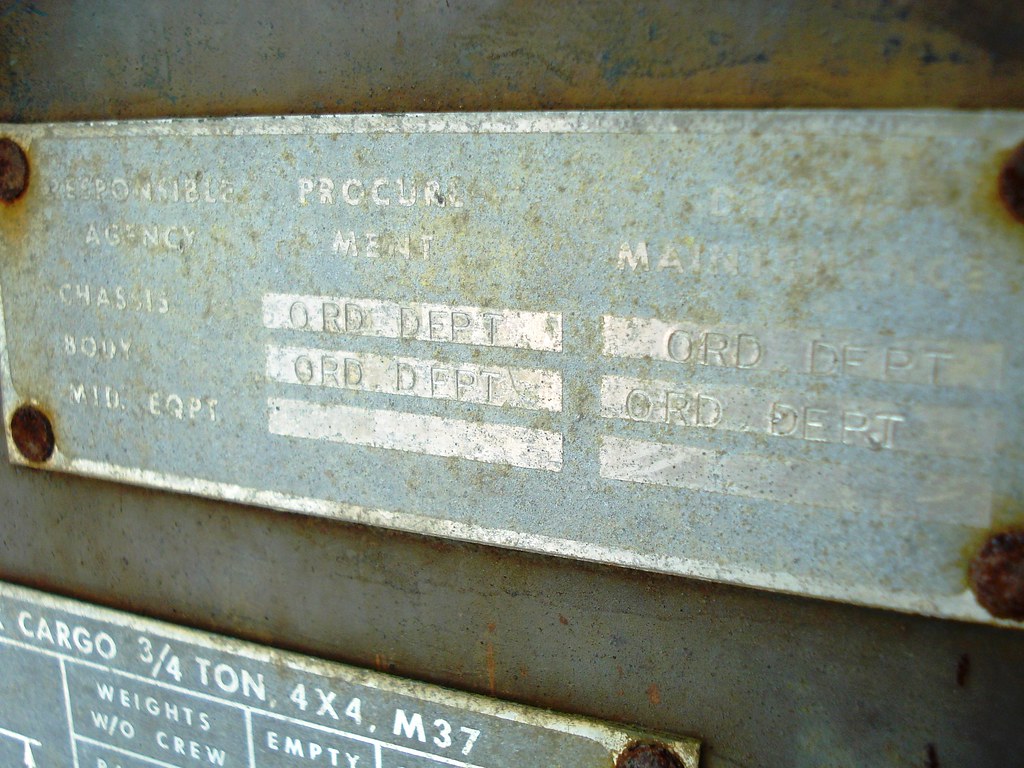
Refit.....question about your data plate.......did you copy that info from your originals? Reason I ask is you stamped in Air Force for the Responsible Agency for all 4 categories. The data plate on my AF truck is stamped ORD DEPT in all those places. I've never seen a data plate that was originally stamped AIR FORCE........so I'm just wondering.
 .
. by
w30bob, on Flickr
regards,
bob
Re: My AF truck's jolt of progress...
Posted: Sun Nov 17, 2013 5:24 pm
by refit1701
I used this plate image as an example. There seems to be a number of ways these can be or were stamped. Actually, I thought this was your plate but I guess not!

We may not be able to find a common set of practices. I was searching the database here and found a truck within a hundred units of mine. It's part of "April 53 Production" but was delivered in March. So who knows what's going on.
Re: My AF truck's jolt of progress...
Posted: Sun Nov 17, 2013 5:27 pm
by refit1701
My truck didn't have the insulation so I was never sure what was correct. The MIdwest set looks ok to me. I'm unlikely to drive around in the rain or inclement weather on purpose so it's just for looks anyway. It won't be a trailer queen but I'l be avoiding the water. My next project will probably be my 1966 T-5. Two internet cookies to anyone who knows what that is!!

Re: My AF truck's jolt of progress...
Posted: Sun Nov 17, 2013 6:19 pm
by w30bob
Refit,
Silly rabbit.......Trix are for kids!! Ya gotta love the internet.............A 1966 T-5 is a European model 1966 Ford Mustang. "When Ford wanted to introduce the Mustang in Germany, they discovered that Krupp company had already registered the name for a truck. The German company offered to sell the rights for US$10,000. Ford refused and removed Mustang badges from exported units, instead naming the cars as T-5 (a pre-production Mustang project name) for the German market until 1979 when Krupp copyrights expired."
Should look really cool in OD too.

regards
bob
Re: My AF truck's jolt of progress...
Posted: Sun Nov 17, 2013 6:48 pm
by refit1701
Two internet cookies for Bob!
Here it is being moved from Georgia back in '08. 289 A code with 4 speed, GT deluxe interior, special handling package. I've restored this car once years ago for my father and now I'm restoring it for myself. He wants me to start on it next so he can drive it.

Re: My AF truck's jolt of progress...
Posted: Sun Nov 17, 2013 9:41 pm
by w30bob
John,
Nice ride! She looks to be in good shape too! Have fun with it!!
regards,
bob
Re: My 1953 Air Force M37 Build Blog
Posted: Mon Dec 30, 2013 1:39 pm
by refit1701
Just for the record, I am going to take my local weatherman to court over this rainy, cold weather. If he would just forecast rain and cold instead of sunny and mild, the opposite would happen! I swear it only rains on the weekends anymore!!
Re: My 1953 Air Force M37 Build Blog
Posted: Wed Feb 05, 2014 9:52 am
by k8icu
Sorry for the late post but here is a little hint to help you with stamping. Take some red nail polish or paint and put a mark on the stamp on the side that faces you when the stamp is in the correct position. That will help keep from having reversed or upside down letters. Before striking look at stamp red dot good to go...no dot is a no-go. Also to keep the stamps straight I clamp a straight edge onto the material and that helps keep them all in a straight line.
Don't feel bad about your stamping though refit I've seen factory ones that look far worse. For your first attempt not a bad job.
Truck is looking great. Keep up the good work!


