Page 7 of 13
Posted: Wed Apr 14, 2010 3:13 pm
by paul
nice werk!

Posted: Thu Apr 15, 2010 8:11 am
by Master Yota
Nice work Itchy! We've even duplicated the rad support!....

Posted: Thu Apr 15, 2010 1:34 pm
by itchyoldfart
Thanks...How are you coming on the steering box installation? That's a tricky one...gonna be tough to mount your left fender... I tried a Chevy box like you have, but decided to go with a 78-79 Ford bronco box. The Bronco box has the forward pitman arm, but I will still have to trim the crossmember like you did.. I'll post some pics...
Posted: Thu Apr 15, 2010 11:28 pm
by Master Yota
itchyoldfart wrote:Thanks...How are you coming on the steering box installation? That's a tricky one...gonna be tough to mount your left fender... I tried a Chevy box like you have, but decided to go with a 78-79 Ford bronco box. The Bronco box has the forward pitman arm, but I will still have to trim the crossmember like you did.. I'll post some pics...
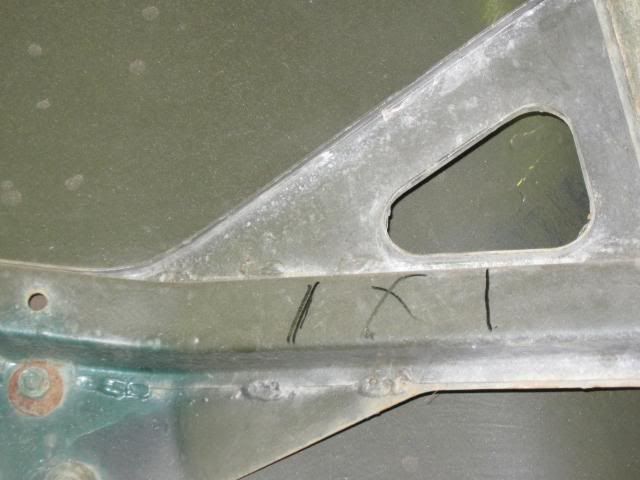
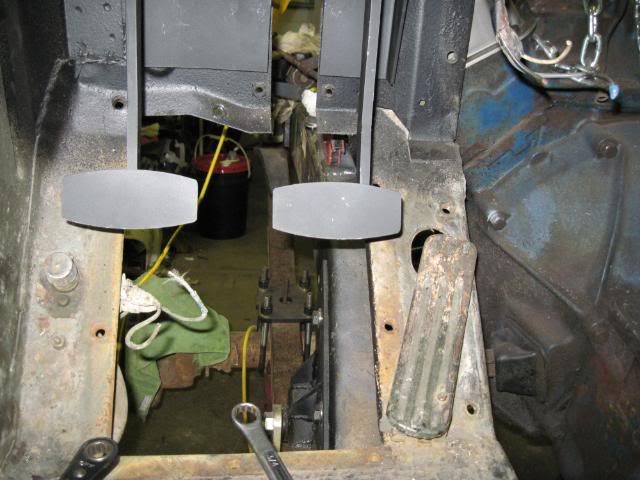
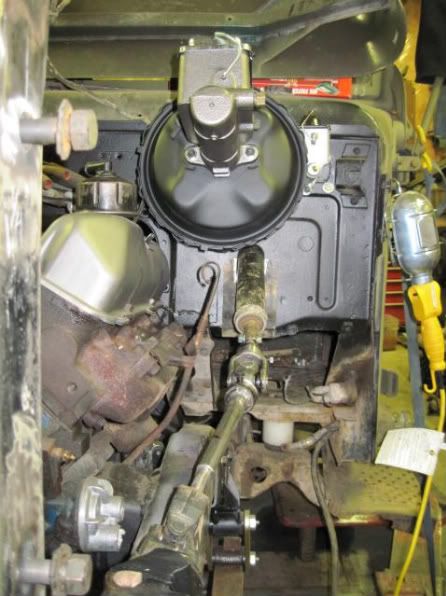
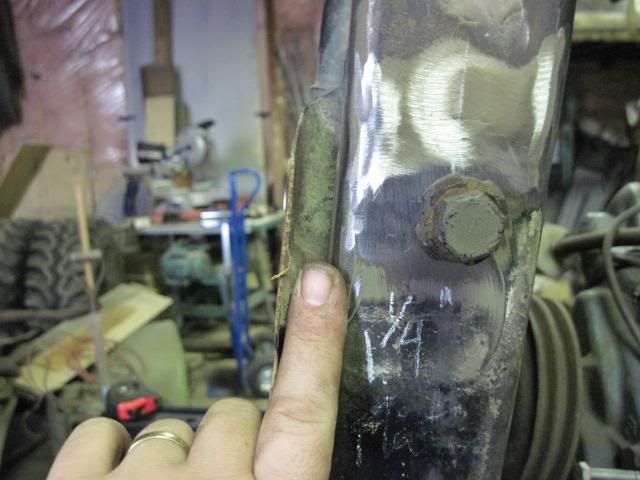
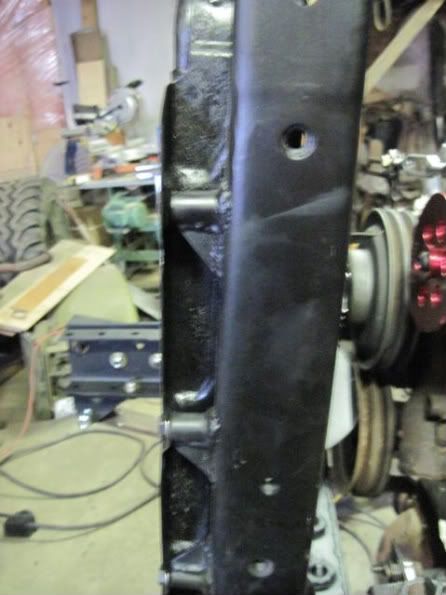
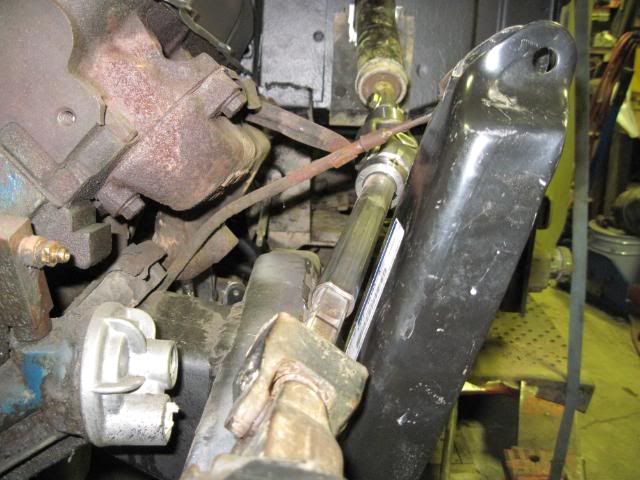
The 428 sits high in the frame rails so I ended up putting a 3" body lift in to get exhaust clearance on the passenger side. The extra lift should give me enough room to mount the left fender with minimal clearancing needed around the steering box. The bottom fender bolt on the rad support is about 1/2" above the main body of the steering box - so only some minor triming should be needed to clearance the hoses and such... I'll need to cut the inner fender though for the steering shaft from the coloum to the box.
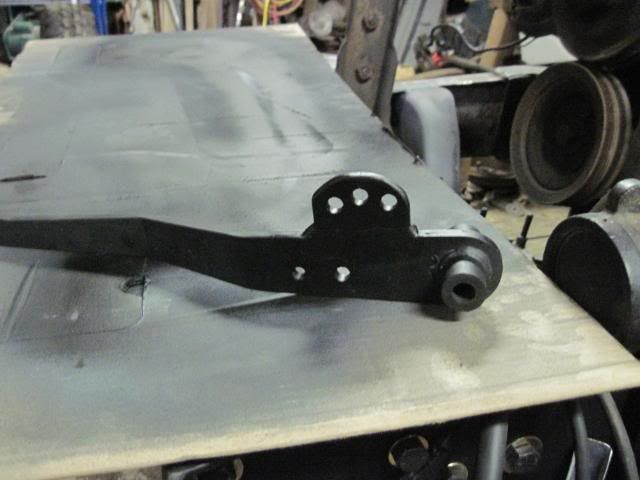
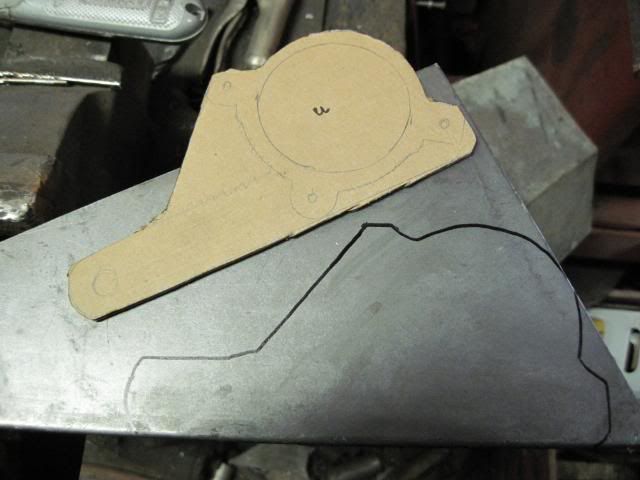
I think my steering box is from an F250 of 70's vintage. I wanted the F150 or Bronco box, as its the holy grail of steering boxes, but I didnt' want to pay the price at the wrecker for it - $600 bucks was just a little too far out there for me... I had this box already, and it fits well. I could use a pitman arm with less drop however, but for now, it works.
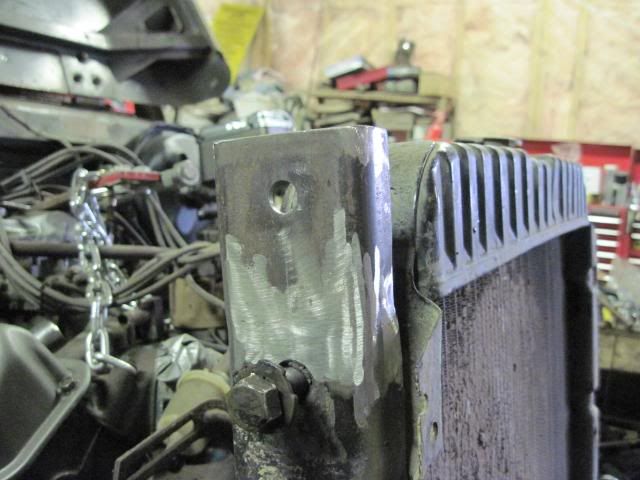
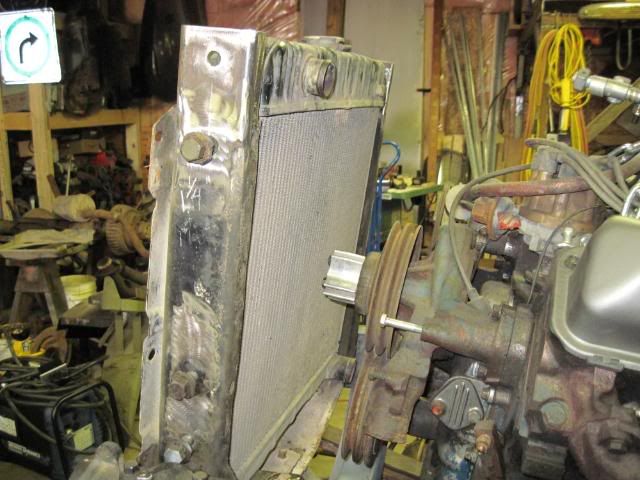
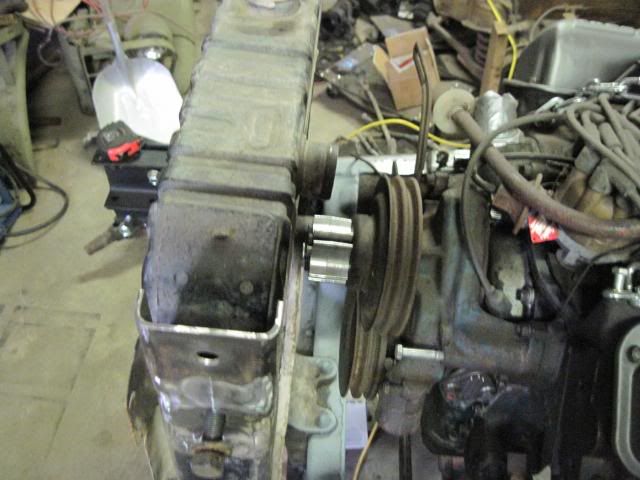
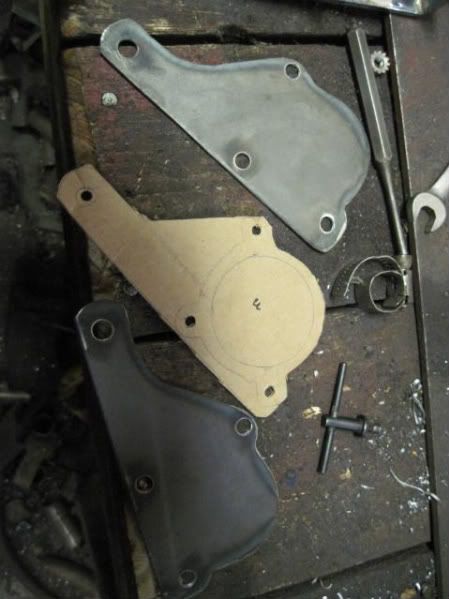
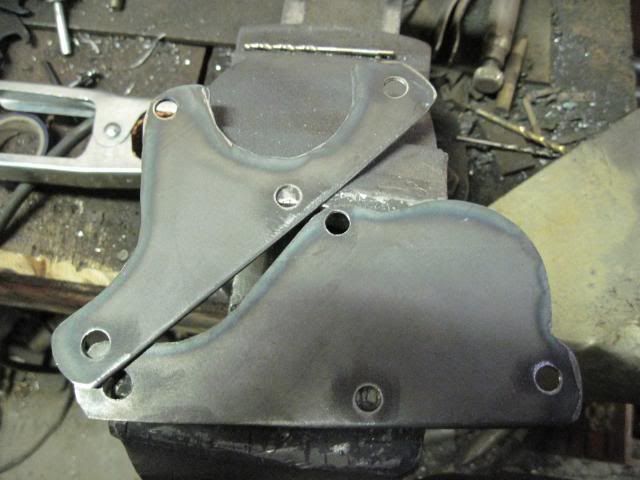
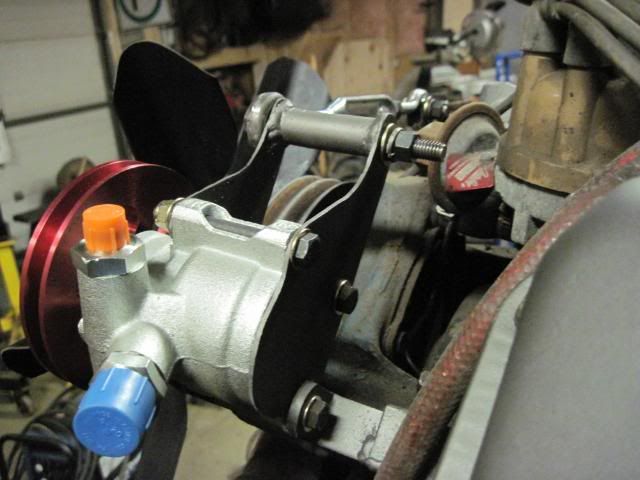
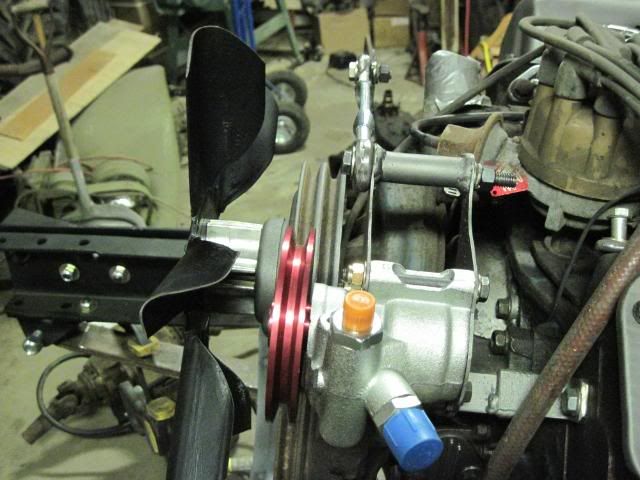
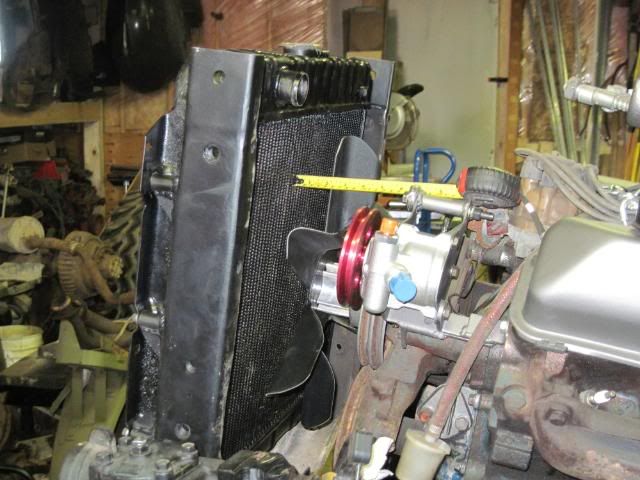
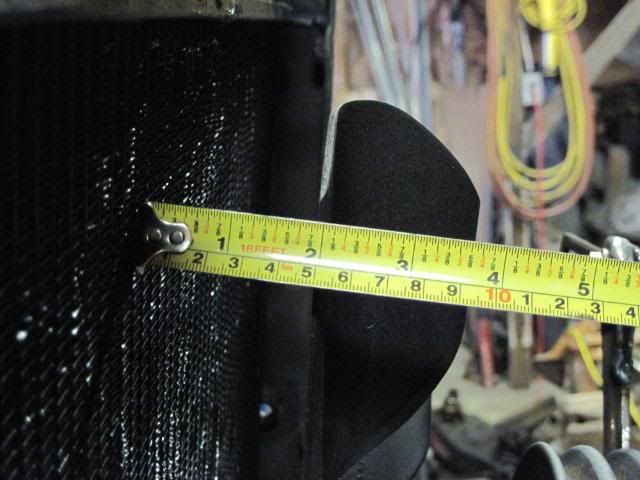
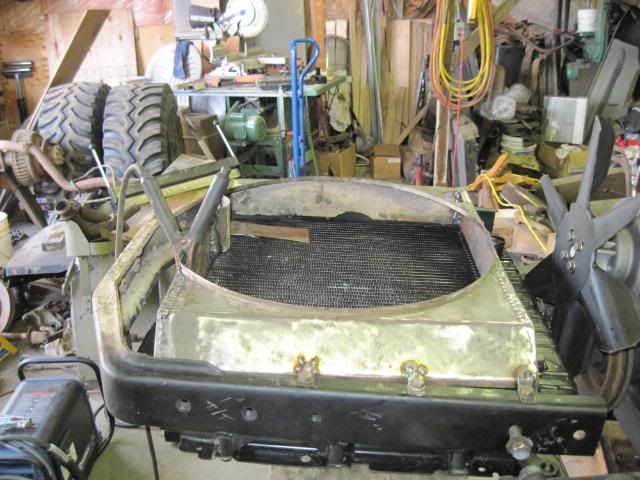
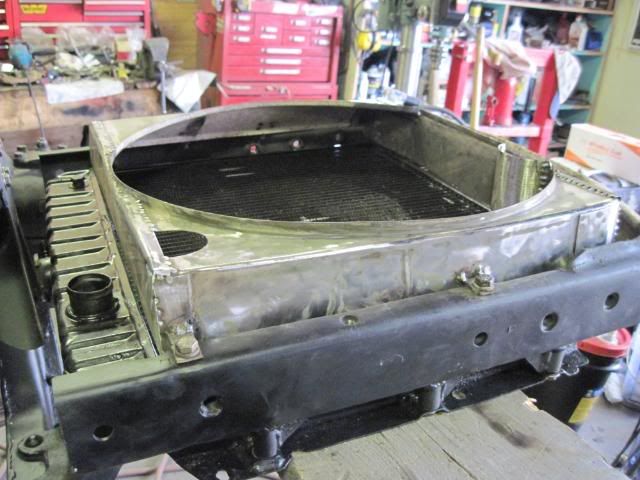
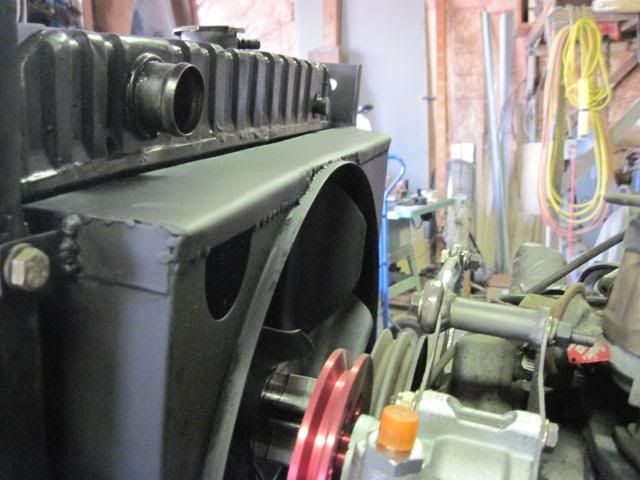
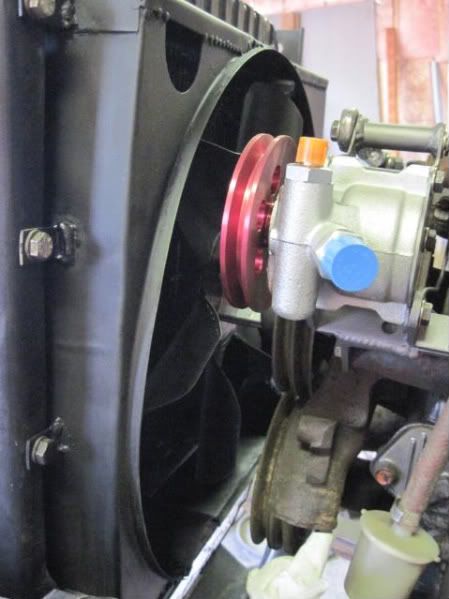
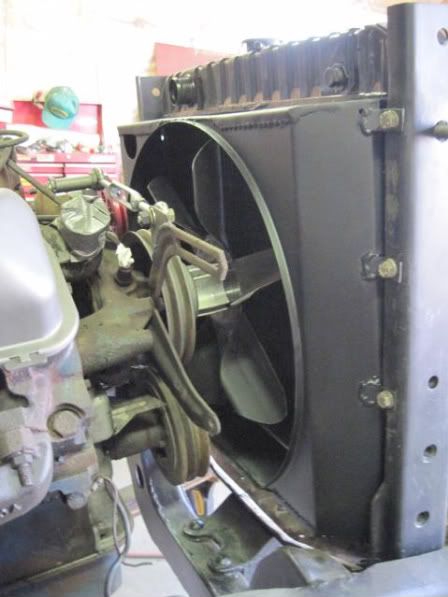
Finished the mounting of the radiator and built a new shroud for the fan. Also mounted the new high volume/high pressure power steering pump as well. New progress pics should be up this weekend.
Posted: Sat Apr 17, 2010 11:18 pm
by Master Yota
Posted: Sun Apr 18, 2010 7:35 pm
by Josh
NICE WORK! You are moving along and picking up speed!
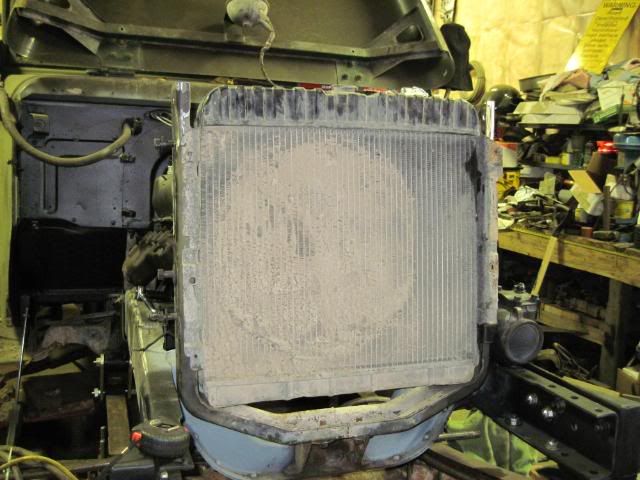
What radiator is that out of, it fits perfect! I'd like to scrounge the local boneyards for one before I go and drop $350 on the aftermarket one I was going to use...
Posted: Sun Apr 18, 2010 11:32 pm
by Master Yota
Josh wrote:NICE WORK! You are moving along and picking up speed!
What radiator is that out of, it fits perfect! I'd like to scrounge the local boneyards for one before I go and drop $350 on the aftermarket one I was going to use...
Its a chrysler rad - used in cars and trucks of the mid 70's - 80's. It was the most common rad that Chrysler ever used. It can be found in front of everything from the 318 to the 440. I think this one is from a half ton truck. Most older V8 cars should have the same rad as well... I had it recored a few years ago (cost about 200 bucks) from a standard 2 row to a 3 row high density. It has more tubes than a standard 4 core rad, but with only 3 rows the air passes through it faster (thus in theory cooling better).
Posted: Mon Apr 19, 2010 7:02 pm
by itchyoldfart
Looking good master yota....Damn, you are ambitious...I'm dead in the water on my M project...waiting for parts....
Posted: Mon Apr 19, 2010 10:31 pm
by Master Yota
itchyoldfart wrote:...waiting for parts....
Been down that road too. I try to plan out my work about a month in advance or so (nothing concrete just an idea of where I want to be by then). That way I have time to surf and shop the parts bin and get it here before I'm really in a crunch for parts...
Plus having had 2 years or so to gather my parts together dosen't hurt either. Staring at a pile of new parts sitting in a corner though, is no picknic either...
In related news, I decided to replace a blown exhaust manifold gasket today and prompty broke 3 of the eight bolts off in the head. Two came out really nicely - the last one took 4 hours of cursing and an eventuall blast from the plasma cutter. Tapped some fresh holes and it should be ready to rock'n'roll tomorrow... (further work on the truck that is - not startup....


)
Posted: Tue Apr 20, 2010 3:27 pm
by itchyoldfart
Posted: Tue Apr 20, 2010 8:00 pm
by hbb
Master Yota
My question is when are you going to start working on this thing? Or should I ask how do you have time for anything else, Day job, family, kicken the dog, chasen the neibors wife. You got nuttn but a whole lota work in front of you, it’s all looking great, and I admire you, but wow!!!! it's going to be a beast.
keep up the good work.
hb
Posted: Wed Apr 21, 2010 12:19 pm
by Master Yota
The whole trick is to make time - the wife will forgive me someday....
My only hobby is Wrenchin' and wheelin' - so I don't have much for other time distractions. The wife is on maternity leave right now so she handles the house for the most part, and I'm in the wind waiting for the economy to pick up. That leaves me alot of time with little to do but work on the truck. Although now that spring is here, I've got a fence and a sundeck to build, so my lack of distraction may have just come to an end...
Re: Project: Old Guard - lots of pictures
Posted: Thu Jul 08, 2010 5:30 pm
by Master Yota
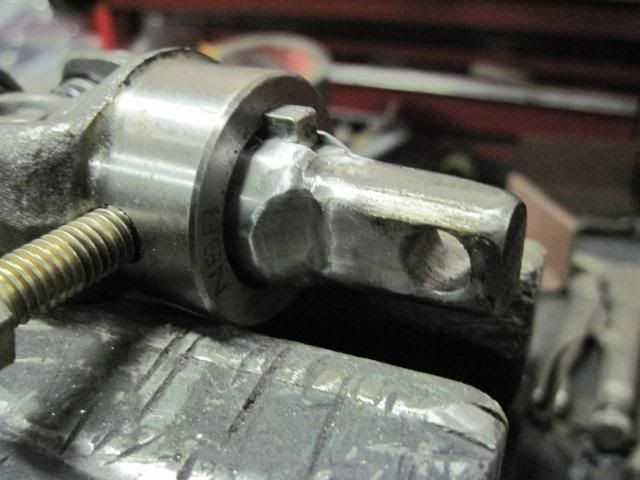
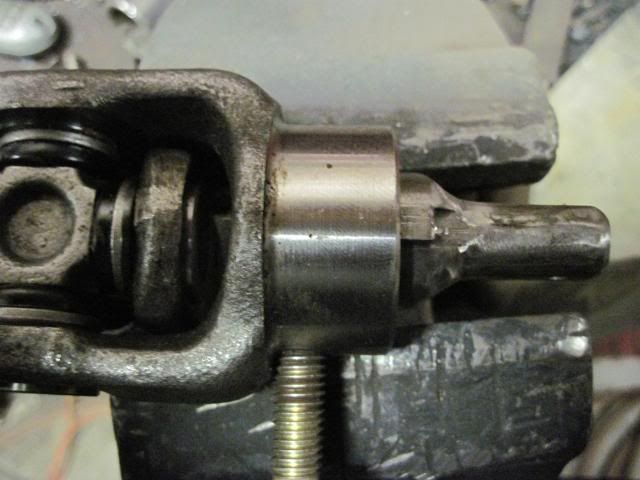
So I was fartin' around with my divorced NP205 this afternoon to try figure out what yokes fit what driveshafts I have laying around and whatnot, and discovered that my swapmeet 205 was a real score. Turns out that the 1968 IH truck that it came out of had the desireable 32 spline shafts in it! Sweet!
All the shafts, input and output, are all 32 spline, but they have the 1310 ujoint yokes, which is surprising. Looks like I'll need to find some 1350 32 spline yokes from a Ford 205 to facilitate my bullet proof driveline...
That shouldn't be too hard though...I hope...
Re: Project: Old Guard - lots of pictures
Posted: Fri Jul 09, 2010 3:23 pm
by itchyoldfart
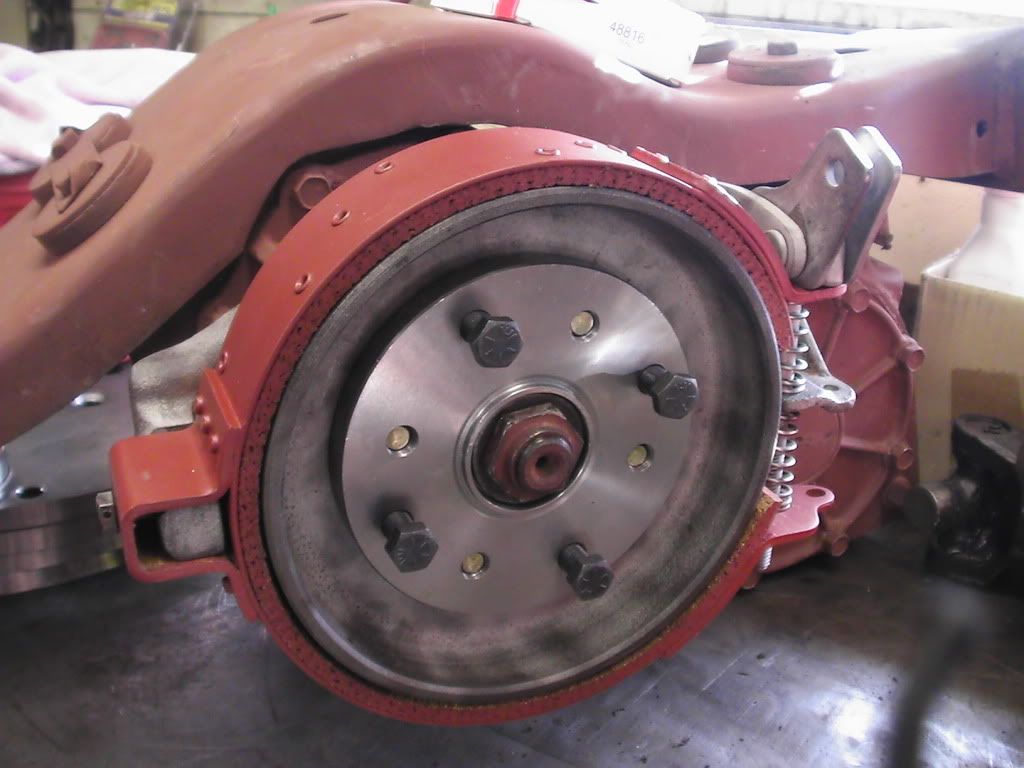
Hey Master Yota..long time ..no post. You shouldnt have any trouble finding the 1350 yokes..Check this out, I am building my M with a divorced NP205 w/1350 yokes. You may want some info on my Np205 drum brake conversion if you are planning an E-brake. let me know...
Re: Project: Old Guard - lots of pictures
Posted: Fri Jul 09, 2010 11:54 pm
by Master Yota
OOHHHHHHH! I like it.
Tell me more! I was thinking of ordering a Disc setup from TSM - but if I can reuse some of my parts from the NP200 ebrake then all the better! Saves me some coin on those expensive yokes and stuff...

 [/img]