Page 13 of 19
Re: Building a retro M37
Posted: Thu May 03, 2012 2:25 pm
by m-37Bruce
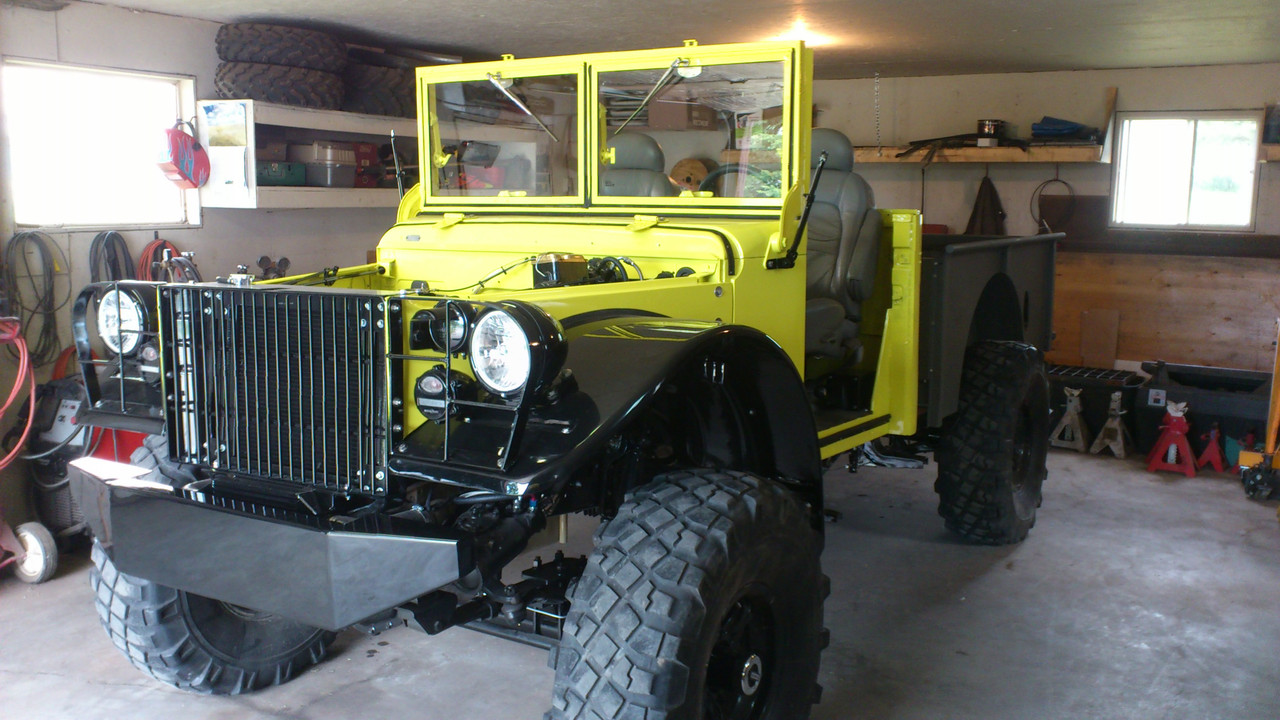
Last One!

This thing was/is filthy!
Re: Building a retro M37
Posted: Thu May 03, 2012 4:31 pm
by retiredguy
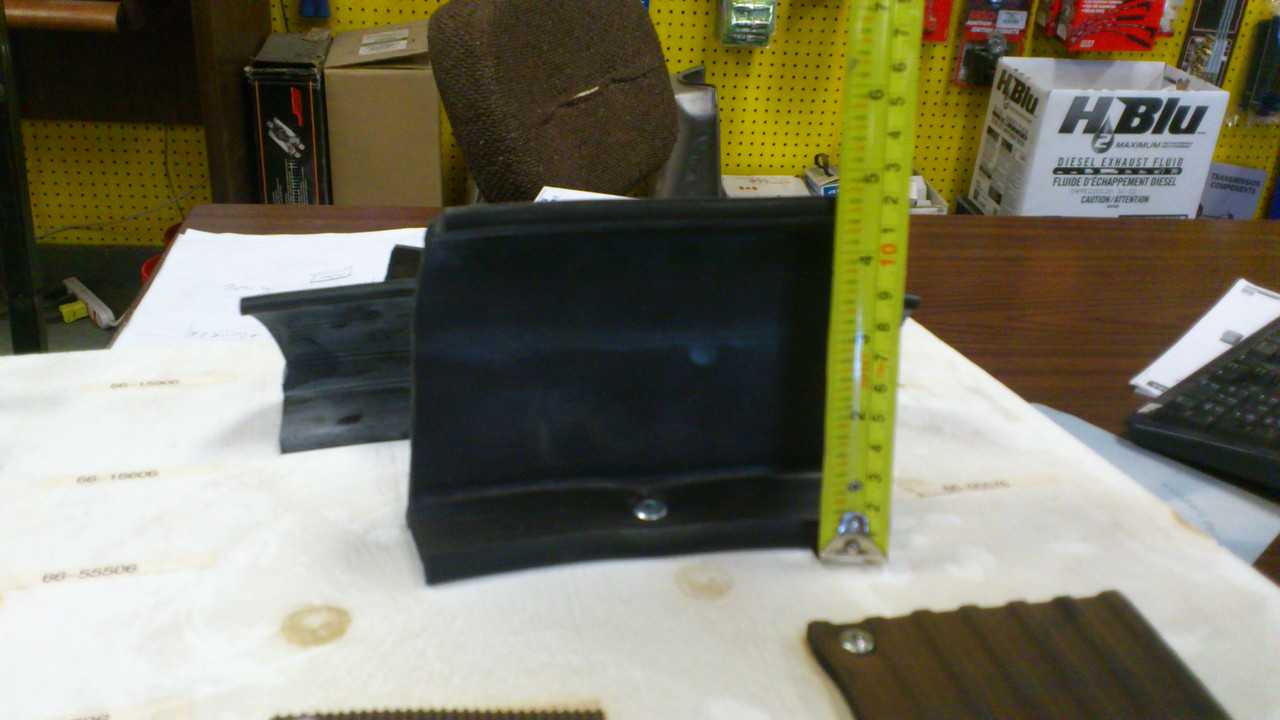
I see there is a metal strap holding the seal at the bottom of the windshield frame. I don't think mine had that. I may have to biuld it. Or that not stock? The 2 end seals is a no brainer I see. I don't understand the second last picture. Where is that? you called it front fender welting.
Re: Building a retro M37
Posted: Thu May 03, 2012 5:03 pm
by m-37Bruce
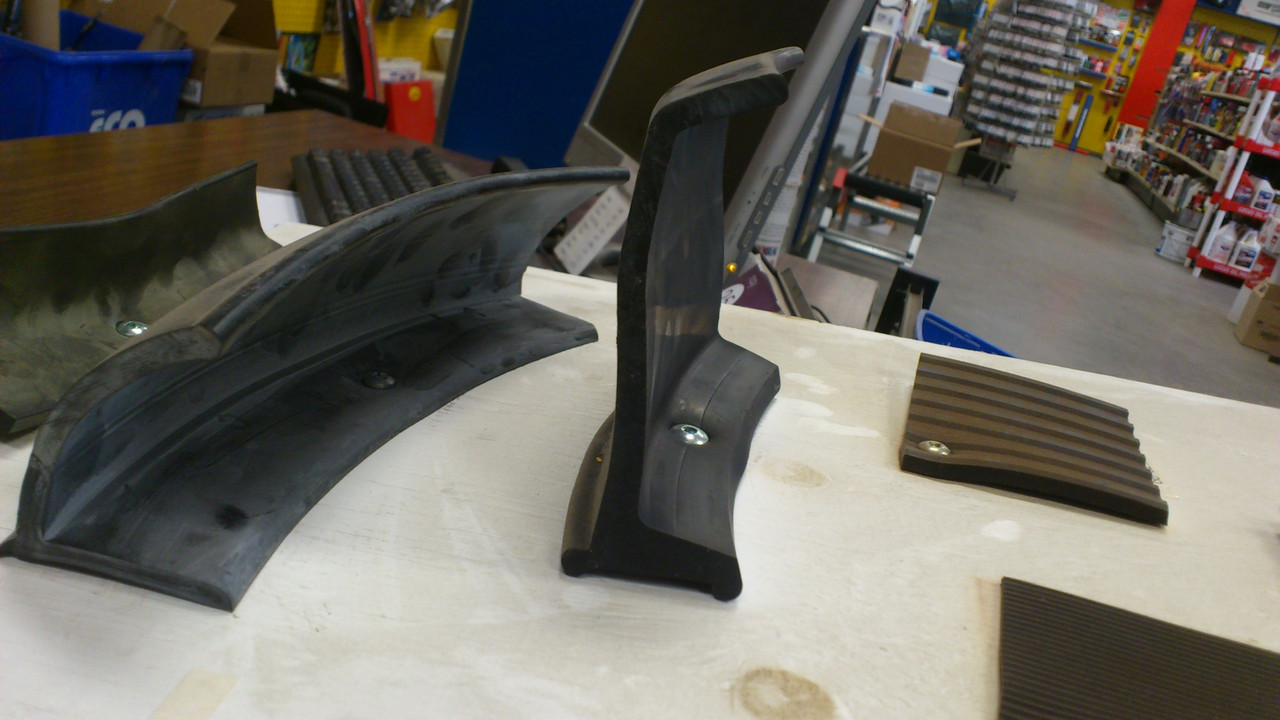
OK, If i read your post right, what your seeing is the front corner of the gas tank carrier, just below that is where the fender meets the cab. The welting is in two parts, the easy one is the panel filler, the hard one is the piece that is riveted to the fender itself.
Some of this is covered in the manuals, and detailed drawings usually attached. I try and find some of them, it might help it make sense? (it's on a cd)
Re: Building a retro M37
Posted: Thu May 03, 2012 5:39 pm
by powerwagontim
The metal strip at the bottom of the windshield seal is correct.
Tim
Re: Building a retro M37
Posted: Thu May 03, 2012 5:40 pm
by retiredguy
Ahhh.. now I see it. the side cover is off and that is the bolt for the lower rear RH side. OK on the metal strip. I will make one. Thanks
Re: Building a retro M37
Posted: Fri May 04, 2012 10:28 am
by k8icu
m-37Bruce wrote:Lemmie See.......

I don't mean to hijack the thead here, but what purpose does that metal plate on the fendor just below the gas can mount serve? What was it's original purpose?
Re: Building a retro M37
Posted: Fri May 04, 2012 1:15 pm
by m-37Bruce
Originally the Arctic Heater went thru/attached to the fender there, it was gas fired, that is about all I know about it? I know there is a supplemental TM w/all of the particulars!
Re: Building a retro M37
Posted: Sun May 27, 2012 8:05 am
by retiredguy
working on installing headlights. Can anyone tell me what the screw sizes are. The ones that hold the headlamp retaining ring and the ones that hold the cover overtop of the retainging ring? The inner ones are smaller and I can't find what size they are. If I have to I will drill holes oversize and get a more common screw size in.
...... never mind.... I should have clean the threads out with a tap and I would of figured it out sooner.
Re: Building a retro M37
Posted: Wed May 30, 2012 9:31 am
by retiredguy
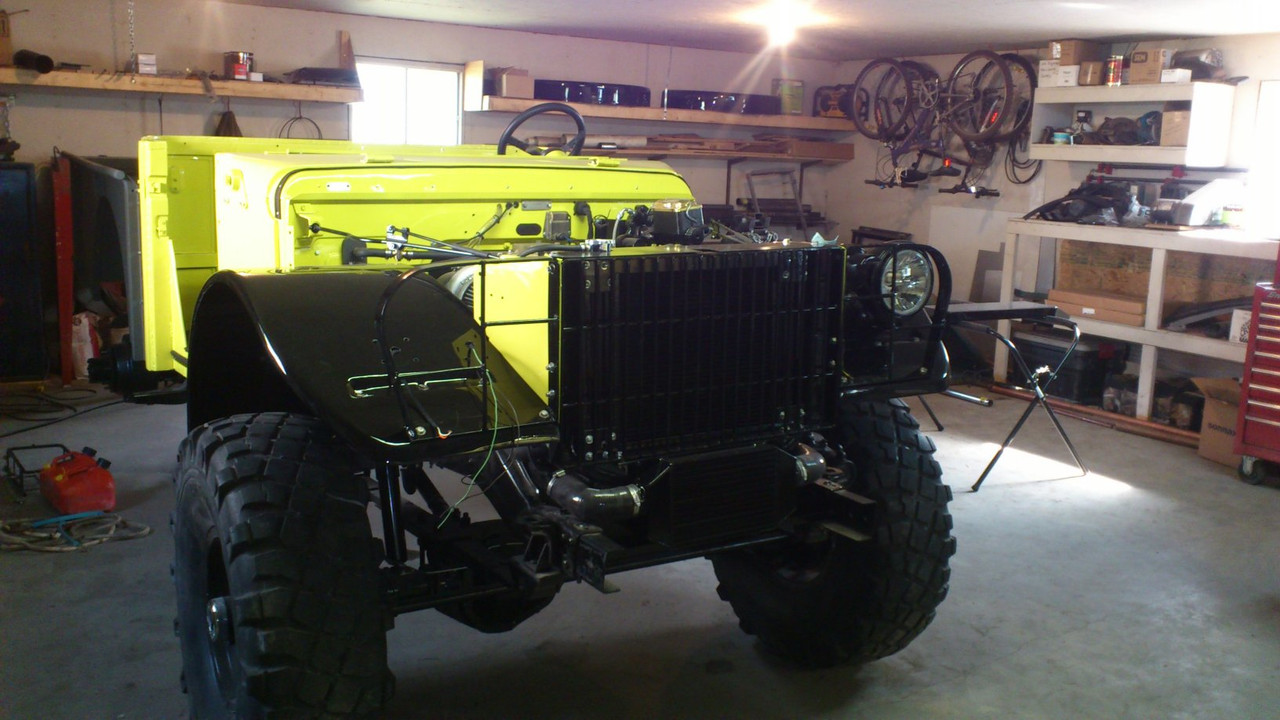
So I got the front fenders on and one headlight. The picture I got for the fender seal was helpfull, thanks. More pics to come soon.
Re: Building a retro M37
Posted: Wed May 30, 2012 11:49 am
by m-37Bruce
Your doing your own wiring I see? Shaping up real good, the fenders look sharp.
Re: Building a retro M37
Posted: Wed May 30, 2012 5:35 pm
by retiredguy
Yes, I wired the whole truck from scratch out of my head. But all written down what circiut is what.
Re: Building a retro M37
Posted: Wed May 30, 2012 5:48 pm
by m-37Bruce
I can tell this ain't your first rodeo!
Re: Building a retro M37
Posted: Sun Jun 10, 2012 8:23 am
by retiredguy
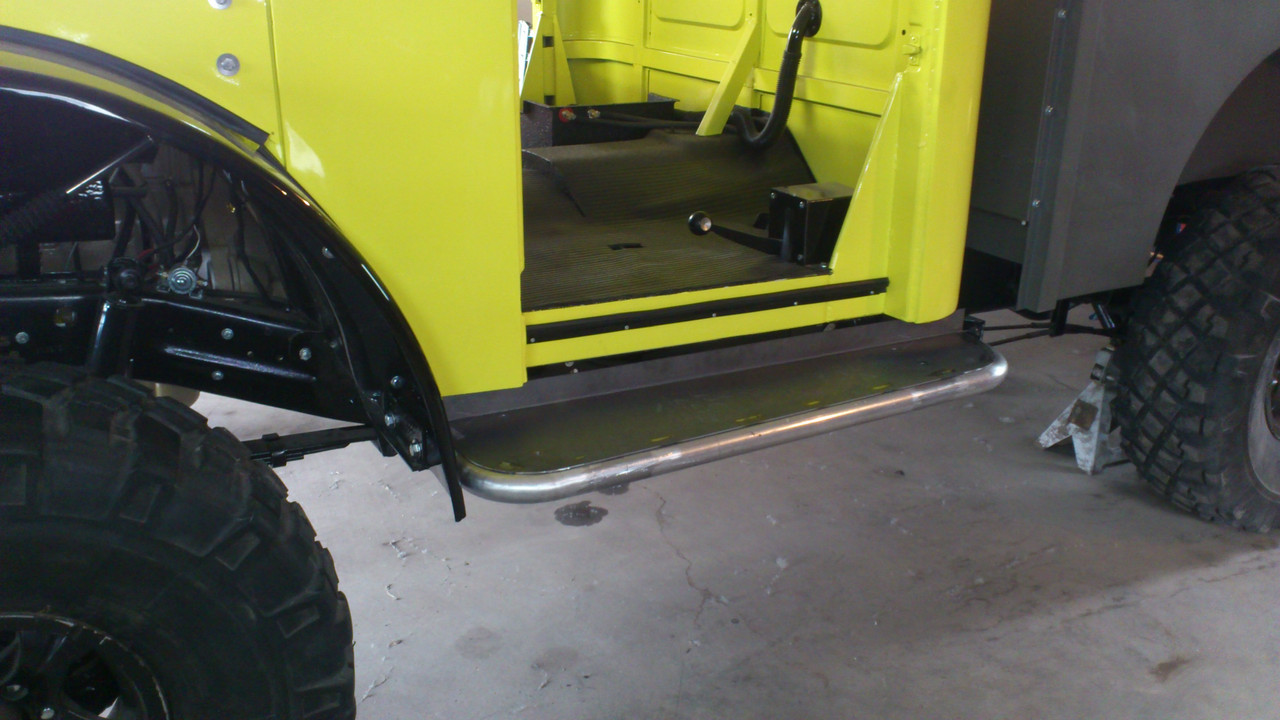
Well I got some more progress pictures today. I also took it to it's first show and shine. It got lots of attention. Even though it was not complete only 1 person guessed what it was out of 25. Maybe when its more complete it will be more remembered. here is a shot of the new running boards I built. Also when I was searching for some parts I stored I found the metal strip for the lower windshield seal. I completely forgot I had one! Saved me making one....
And a few more shots of completed parts installed.
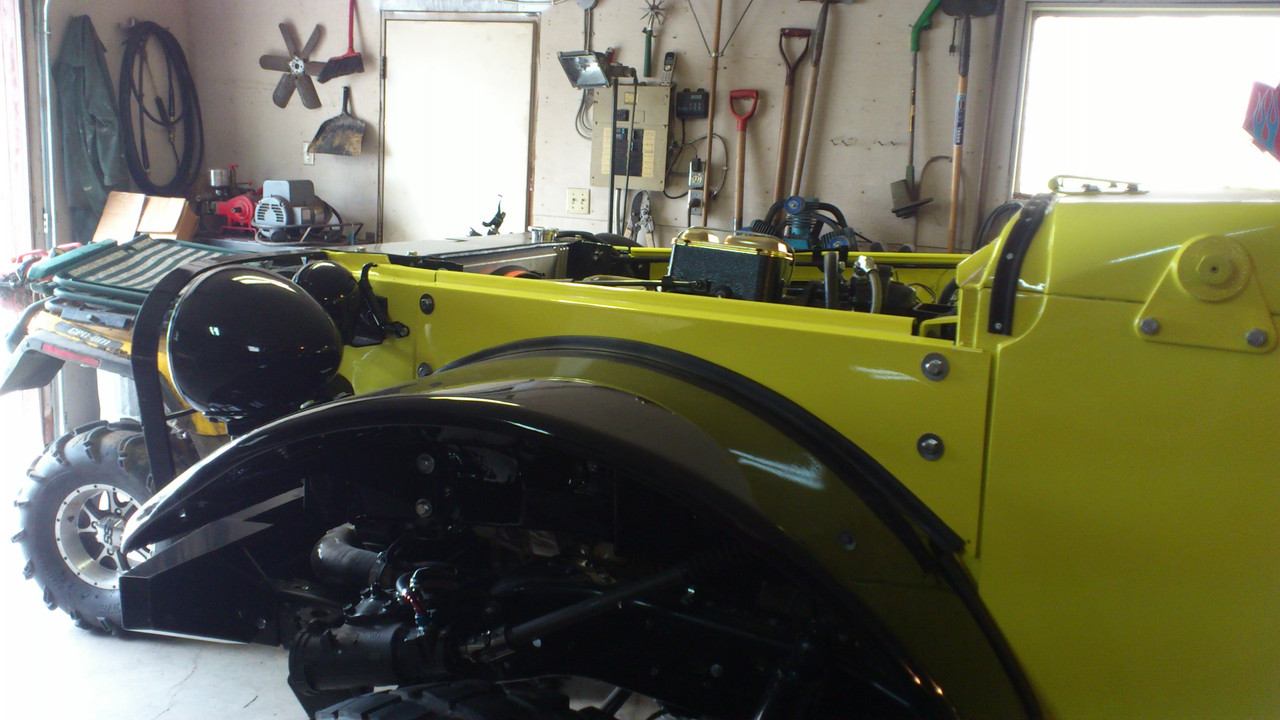
Here is s shot of some flare material I found to help cover the tires.
more pics to come.....
Re: Building a retro M37
Posted: Wed Jun 13, 2012 9:21 am
by k8icu
Are you going to mount the rubber flares to the fenders? Post pics of the process if you would please.
Re: Building a retro M37
Posted: Sat Jun 16, 2012 3:37 pm
by retiredguy
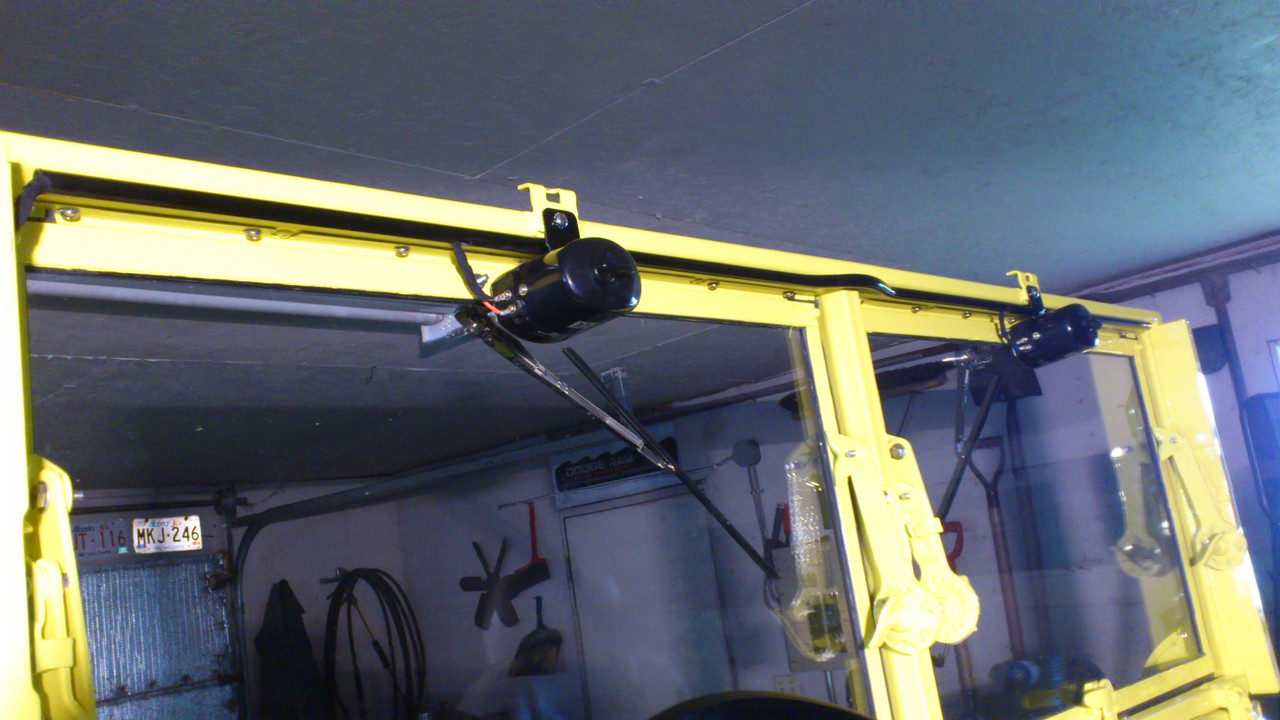
yes I will post pics of the flare install, not a problem. Here is the finished wiper wirinig job. The metal tube on top hides all. The wipers work but they sure labor hard when dry! I can see why they say to use for rain only.