Page 11 of 19
Re: Building a retro M37
Posted: Wed Mar 07, 2012 4:01 pm
by k8icu
With all that work you've done you're going with the original cats eyes tail lights? Get some modern GI LEDs so people can see you...

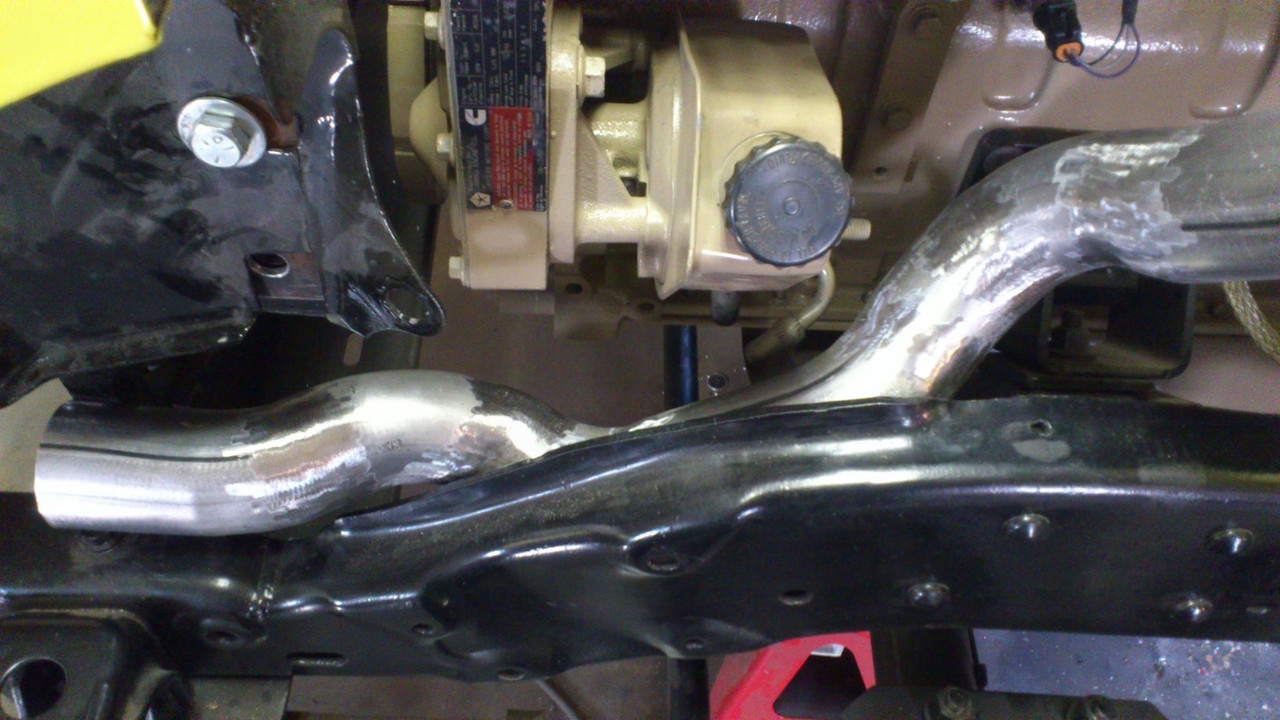
The exhust looks great. Will you come to Cleveland and do mine when I get that point...lol! I like how you ran it inside the frame to the back much like a HMMWV.
Re: Building a retro M37
Posted: Wed Mar 07, 2012 5:45 pm
by retiredguy
I am not going to run those taillights. I getting the solid red covers. I wanted the exhaust to run up high, especially after I redid the rear crossmember. When you look at the truck from the side now You will not see anything below the frame in the middle of the truck. I think it looks tider that way.
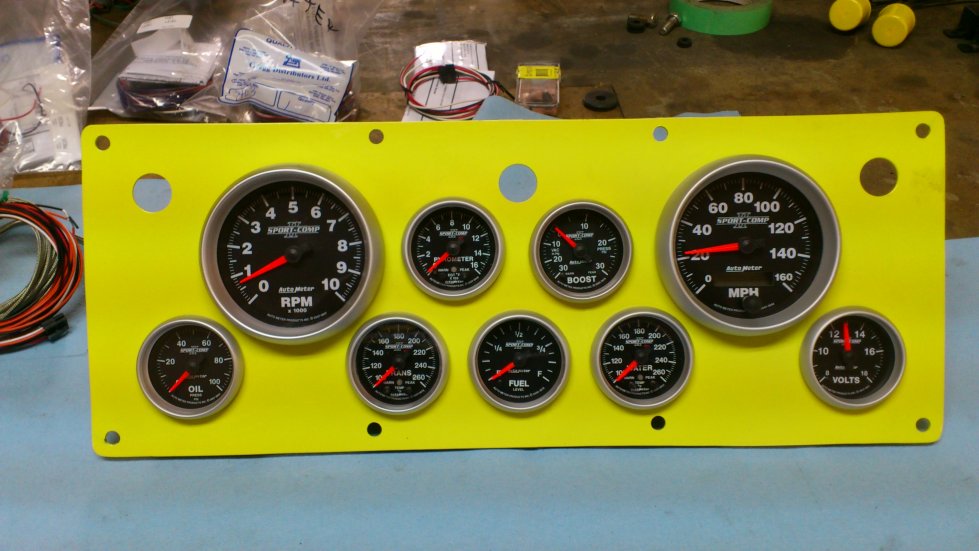
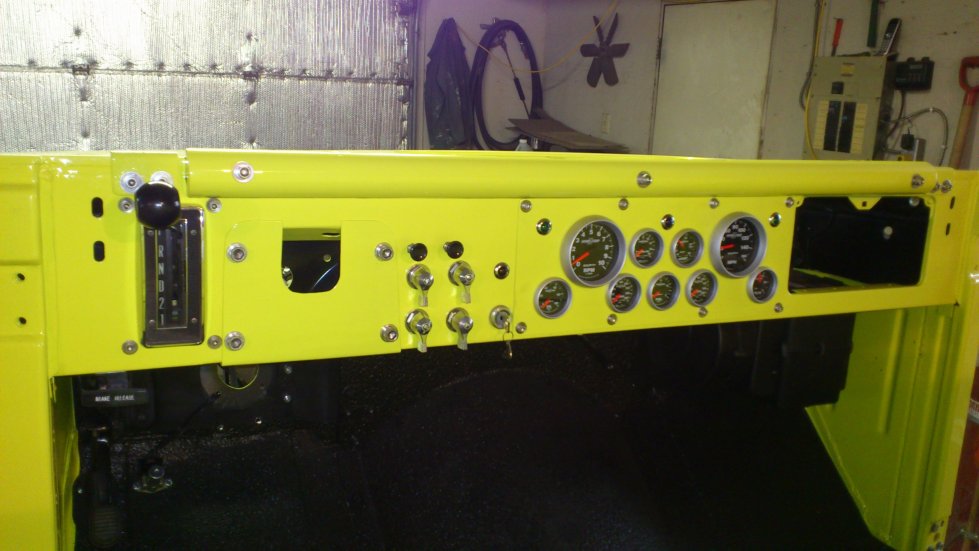
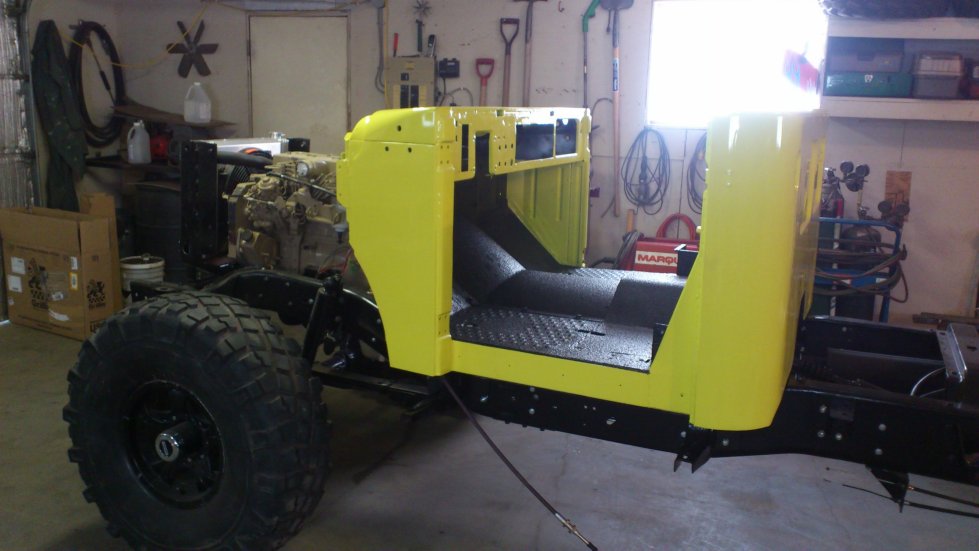
....Update- cab is on now. All the gages have arrived. Going to get small parts painted now as I need them. Dash stuff first so I can do the electrical.... Cab pic.
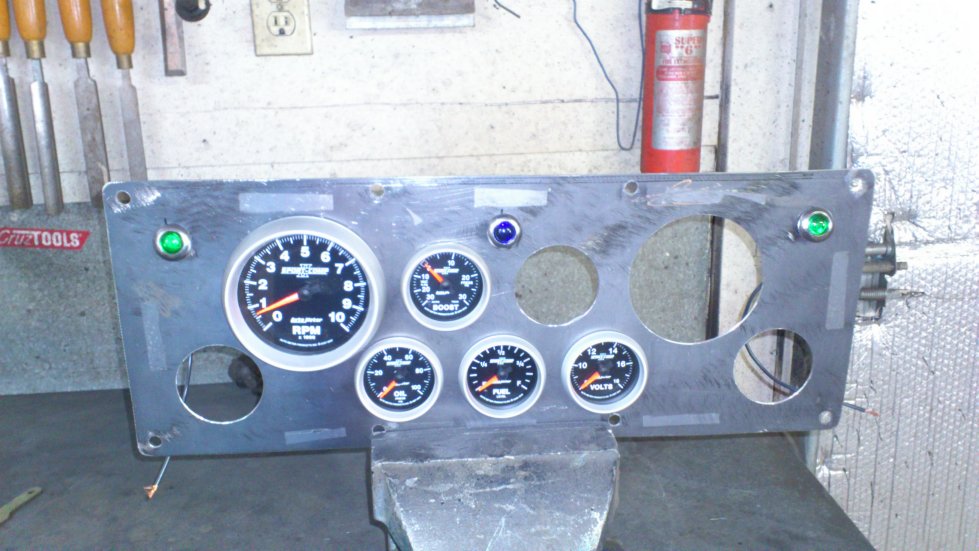
dash mock up...... looks better than those paper gages i had ...lol
Re: Building a retro M37
Posted: Thu Mar 08, 2012 11:13 pm
by SOTVEN

<ME GREEN WITH ENVY... LOL!!! NICE WORK. REALLY NICE!!!!

Re: Building a retro M37
Posted: Sat Mar 17, 2012 6:27 pm
by retiredguy
Re: Building a retro M37
Posted: Sun Mar 18, 2012 7:30 am
by adamkw12
I have really enjoyed watching your build. It is really coming together. Keep up the awesome work and the pics coming.
Re: Building a retro M37
Posted: Sun Mar 18, 2012 12:52 pm
by m-37Bruce
Did I miss the ID of your "Defroster", I am guessing that it is going to be running just under the windscreen? Everything looks fantastic!!
Re: Building a retro M37
Posted: Sun Mar 18, 2012 3:09 pm
by M37UK
Very impressed with your gauges, nice job !
Cheers
Stu
Re: Building a retro M37
Posted: Thu Mar 22, 2012 9:22 pm
by retiredguy
Re: Building a retro M37
Posted: Fri Mar 23, 2012 3:52 am
by T. Highway
Thanks for posting the video, the engine sounds good. I like how bright the gauges are. I can't wait to see the final product and the test drive video.
Keep up the good work.
Bert
Re: Building a retro M37
Posted: Fri Mar 23, 2012 2:09 pm
by m-37Bruce
Very exciting, gauge cluster is almost blinding!

Re: Building a retro M37
Posted: Sat Mar 24, 2012 7:06 am
by retiredguy
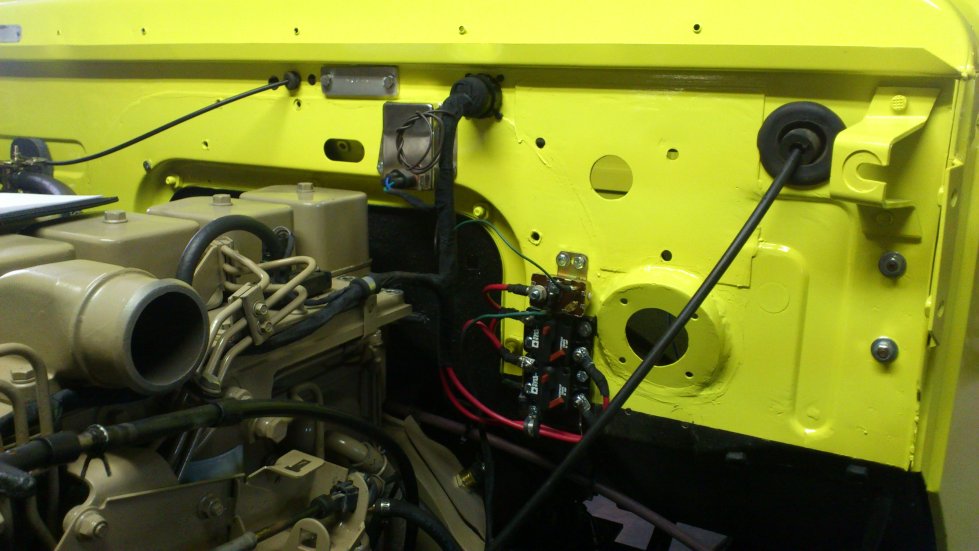
The gauge cluster looks pretty bright in the video, but in real time it is not so blinding. If i see it is too bright at night I do have a dash dimmer to install into the system. wiring is almost done, just have the signal switch to do and the horn relay. I didn't realize that doing a wiring harness from scratch took this much concentration. Especially when the wires from the small gauges to the sensors had the wiring color all the same. Black, grey and white x 7. but they are done and tested and they are all correct. One firewall plug (22 pin) and the second one about 3/4 full (14 pins). Soon on to sandblast, paint and assemble the rest. Oh ya, go to do the power steering/hyrobooster hoses and the engine intercooler yet.
Re: Building a retro M37
Posted: Sat Mar 24, 2012 7:25 am
by SOTVEN
I LOVE IT!!! M37 GALACTICA!!! THE DASHBOARD IS AWESOME!! AND IT SEEMS YOU DID A GREAT JOB WITH THE EXHAUST TOO, VERY QUIET FOR A CUMMINS 6!! REALLY NICE!!
Re: Building a retro M37
Posted: Tue Mar 27, 2012 10:51 am
by k8icu
If I could give one little thing here. Maybe you might want to switch the Tac and the Speedo position on the dash. The Speedo is a farther look than the Tac and may be a distraction when driving. Might not, but that is the one thing I saw that for me would have to be changed. I think your work is great and it inspires me.
Re: Building a retro M37
Posted: Fri Mar 30, 2012 1:02 pm
by M37UK
retiredguy wrote:The gauge cluster looks pretty bright in the video, but in real time it is not so blinding. If i see it is too bright at night I do have a dash dimmer to install into the system. wiring is almost done, just have the signal switch to do and the horn relay. I didn't realize that doing a wiring harness from scratch took this much concentration. Especially when the wires from the small gauges to the sensors had the wiring color all the same. Black, grey and white x 7. but they are done and tested and they are all correct. One firewall plug (22 pin) and the second one about 3/4 full (14 pins). Soon on to sandblast, paint and assemble the rest. Oh ya, go to do the power steering/hyrobooster hoses and the engine intercooler yet.
Where did you get the firewall plug and socket from and do you have part numbers? I was looking out for one of those and think they are a great idea.
Looking and sounding great, well done.
Cheers
Stu
Re: Building a retro M37
Posted: Fri Mar 30, 2012 10:18 pm
by retiredguy
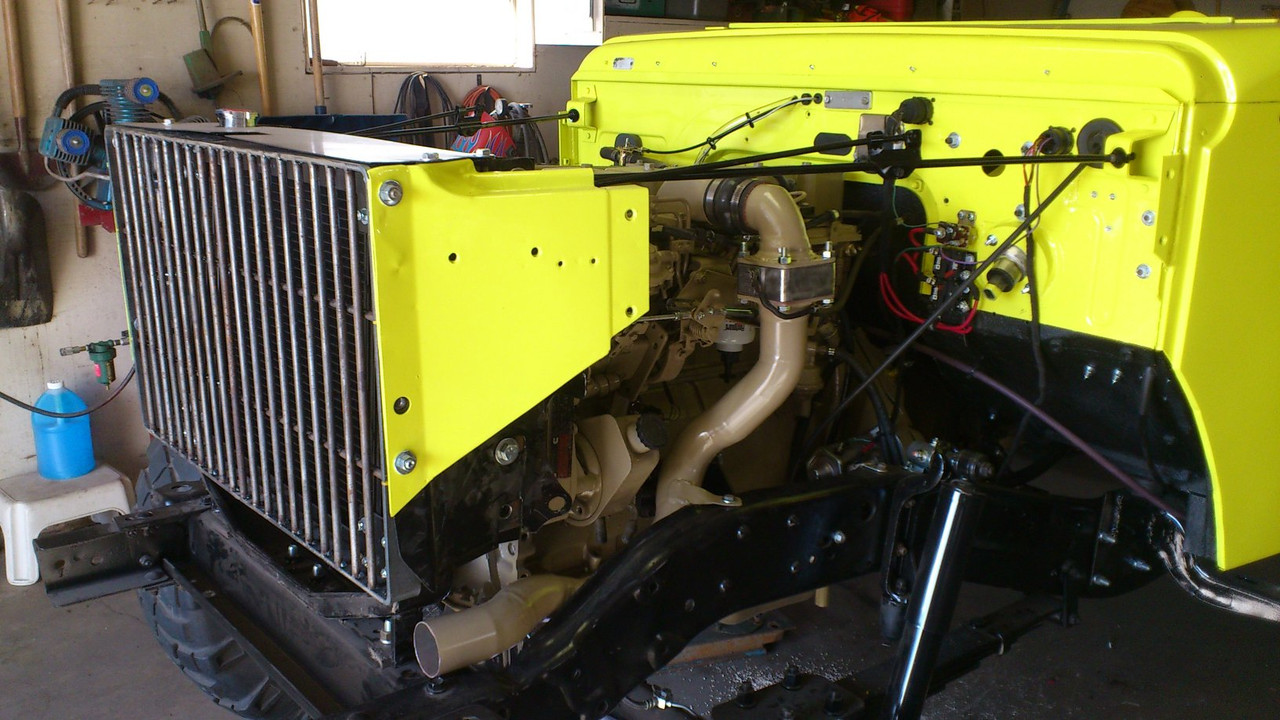
Another update. Oh ya, I will get you the part numbers for the firewall plug. IN the meantime here is some more pics.
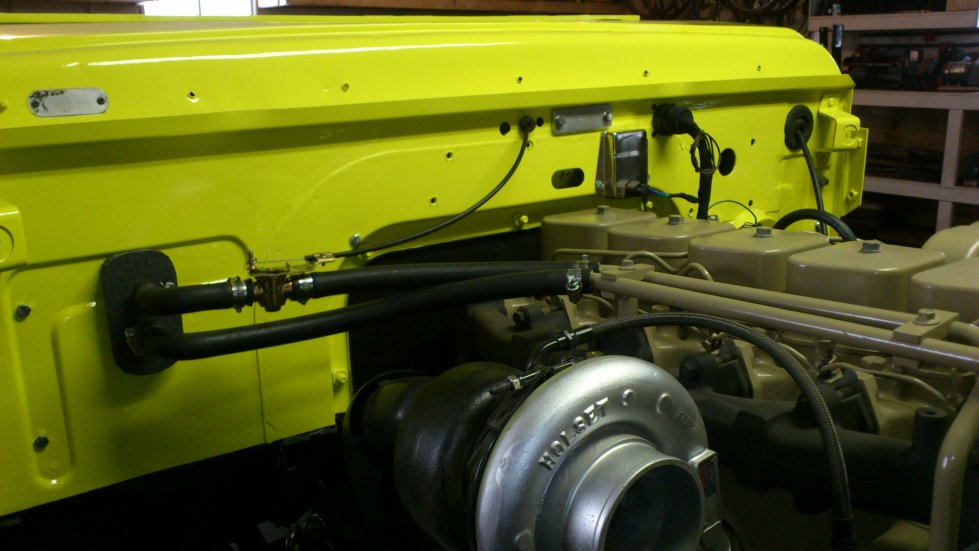
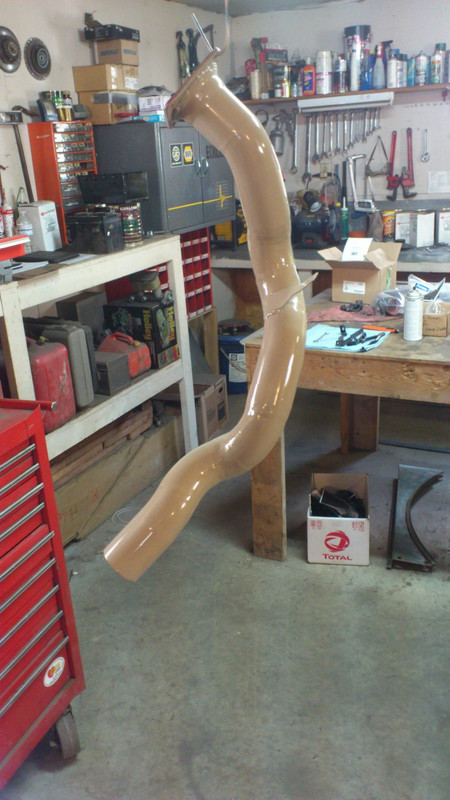
building the intercooler tubes. the one on the driver's side was most difficult due to the power steering pump interferance.

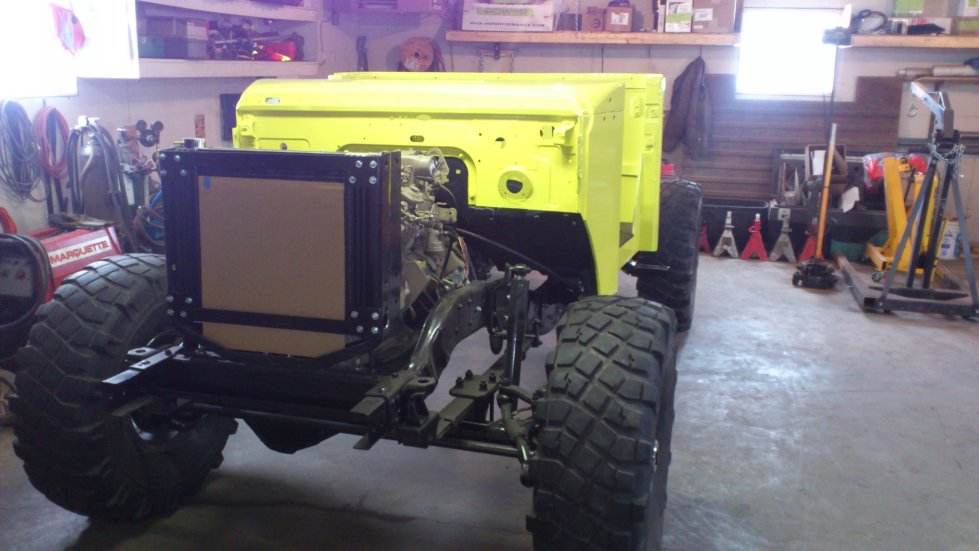
then built a new grille
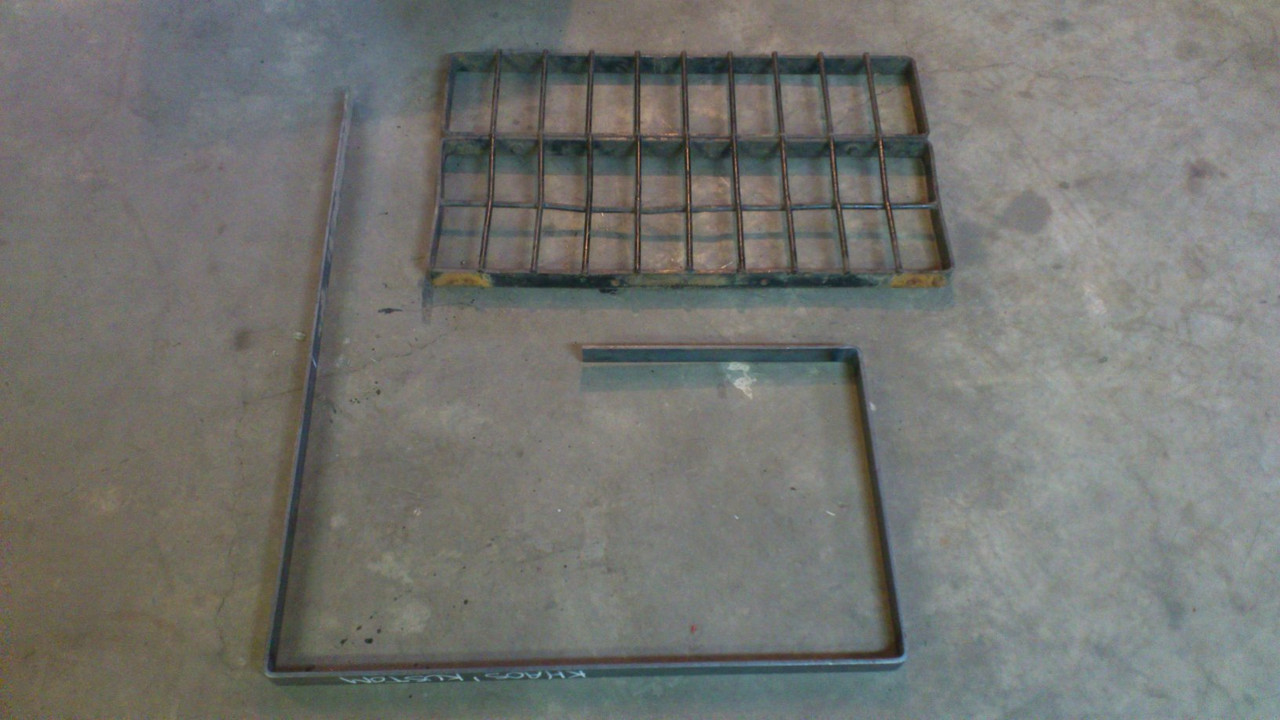
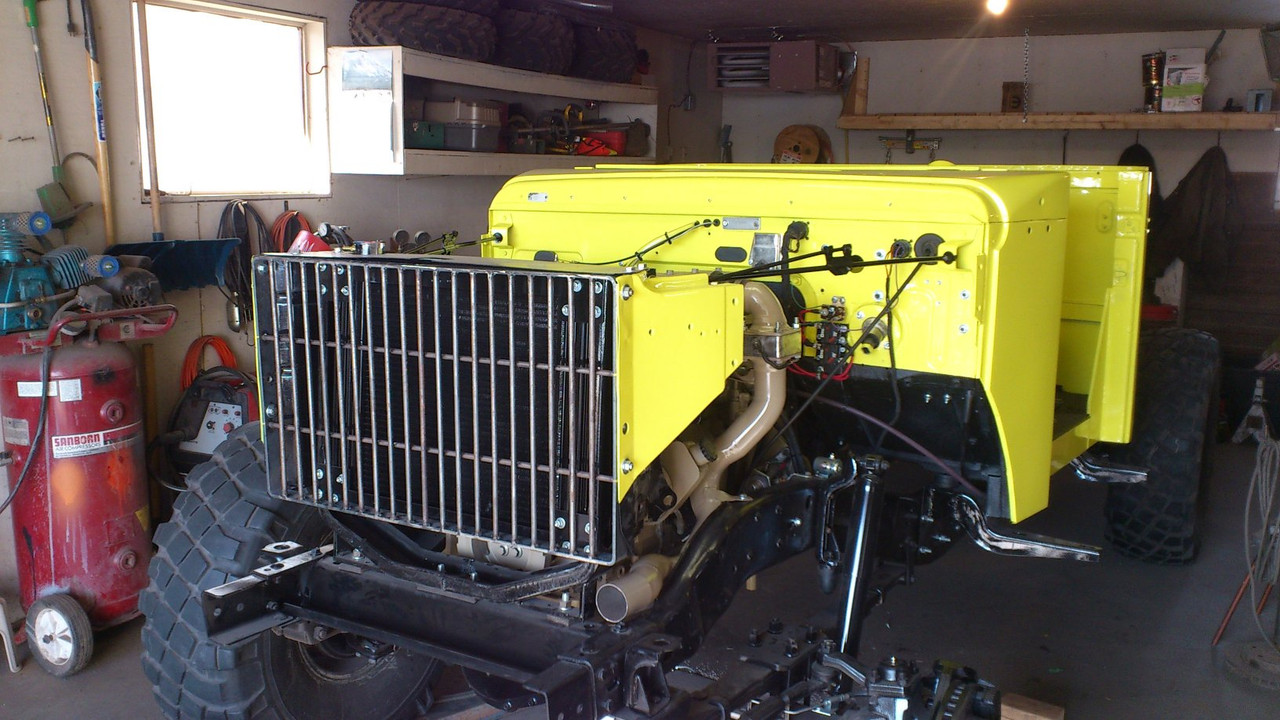
I made more bars because I did not like the wide open rad look. And bugs in the rad are bad enough but birds?........
Interior is done and all lights ad signals work including all gauges. Ordered all the body parts to finish and Monday the remainder is going to the sandblaster. Exept for the hard top. That will be done after the truck is on the road. .....
I will post an updated picture of the dash soon. I did put a dash light dimmer swith in, Hidden from view. Did not like the look of the knob, too new looking.