This will be the last update for the steering box rebuild as it is back on the truck.
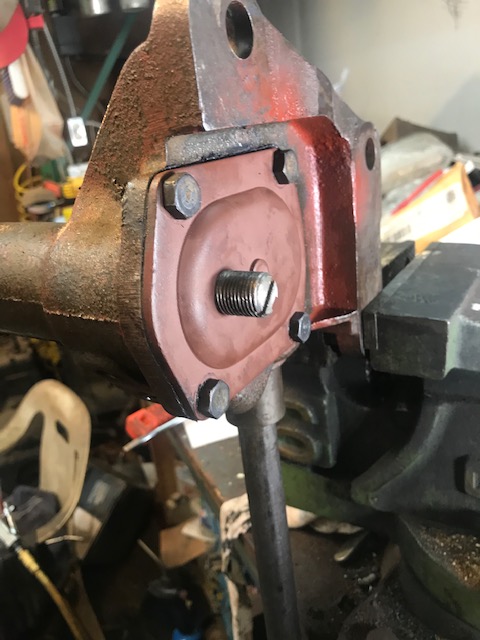
With the sector shaft in, the cover with its adjusting screw mounted was bolted on to the housing. It was time to set the preload.
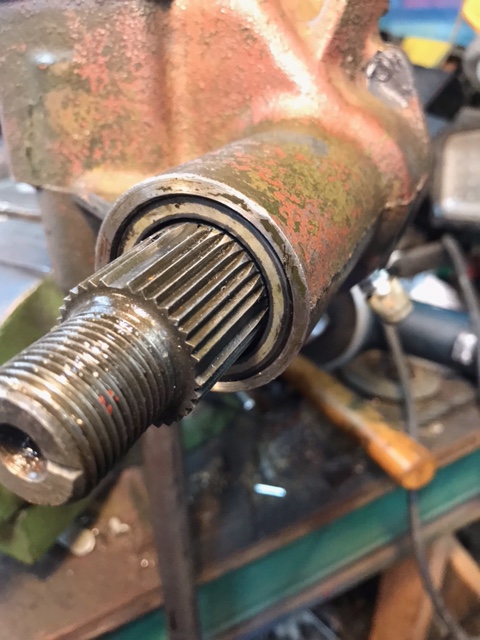
The manual says to turn the shaft in one direction until it stops turning. Then turn it all the way in the other direction counting the turns. I made a mark on the shaft with a marker to keep track of the starting point. I counted 5 and almost a half a turn past that.
Then you are supposed to turn back half the number, so that’s 2.5 turns and almost a 1/4 turn. That puts the worm in the dead center where you make your adjustment.
The manual says screw in the adjusting screw/bolt reducing the back lash until you feel a drag as the worm passes dead center.
I did all that but screwing in the adjuster didn’t seem to change the back lash on mine. In fact, it got so tight that when I turned the shaft one direction it would stop the worm from turning the full 5 turns. What the heck! I ended up making it tight enough I could feel where it wanted to stop but I could still turn past it. I decided I would try adjusting it again once it was mounted on the truck frame.
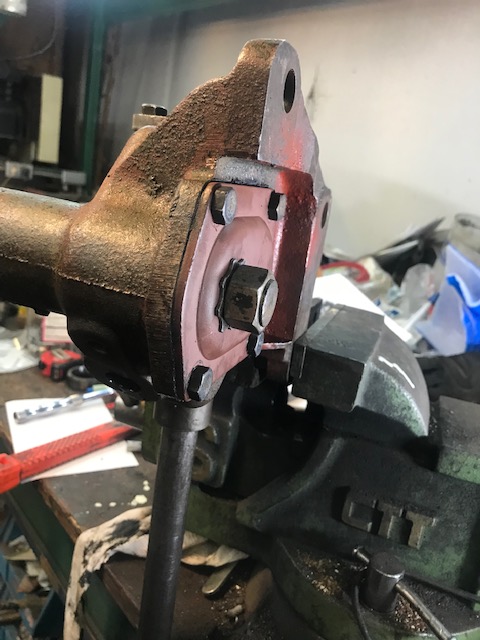
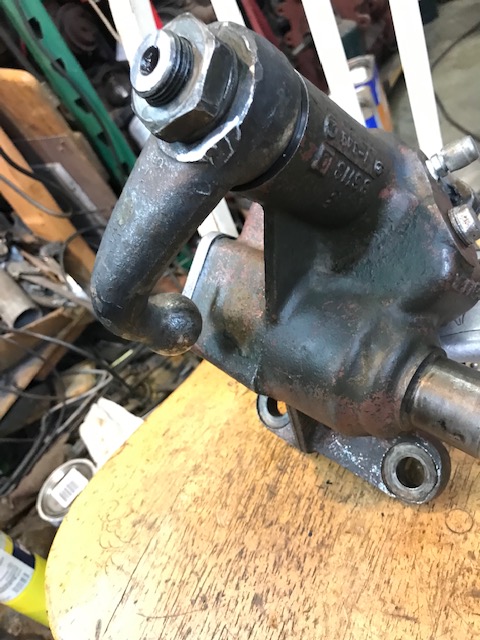
Sector shaft adjusting screw without the star washer. You must take off the star washer to be able to turn it
Cap nut on the end of the adjusting shaft:
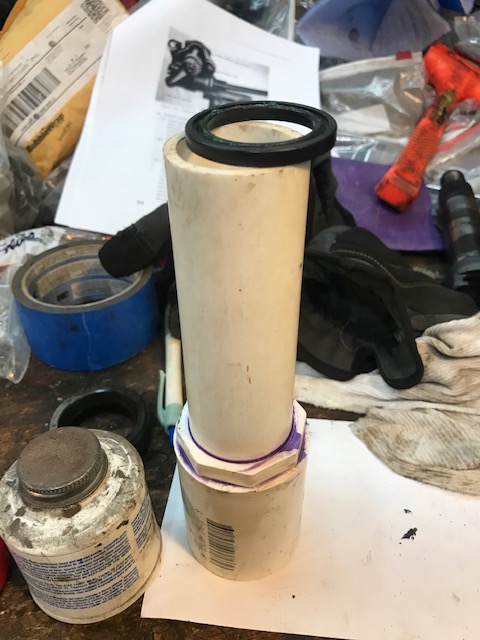
I got my sector shaft seal from Midwest Military with the rest of the parts. The seal has to be pushed on over the sector shaft end that pokes out from the hosing. I looked at sockets and such to see what might work. I searched through my PVC tools I have from past work and found one that was the right size to drive it on.
Sector shaft seal on end of PVC tool.
Driving the sector shaft seal in:
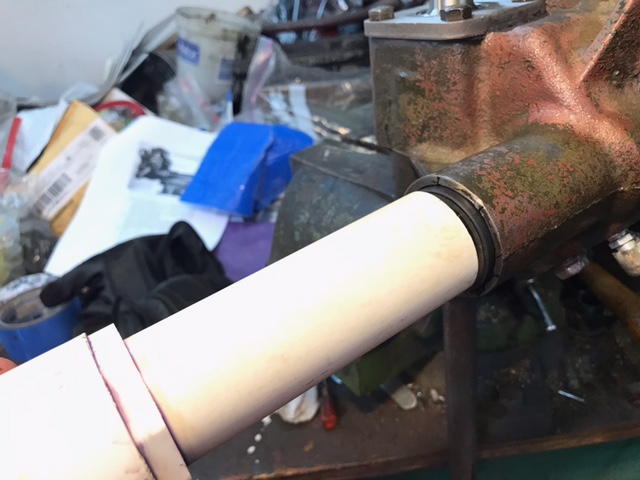
Sector shaft seal in place:
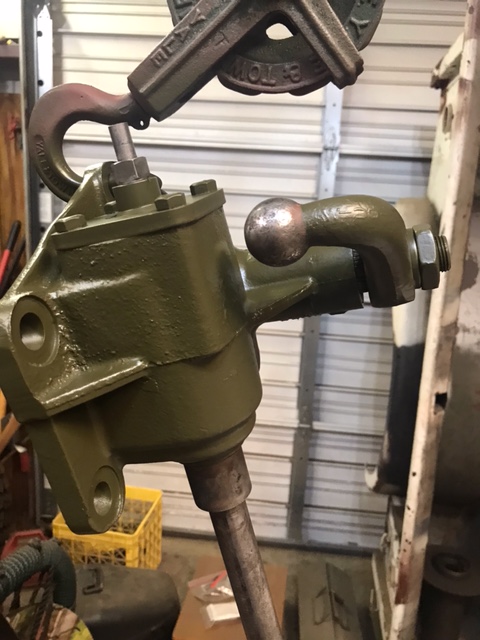
Pitman arm installed:
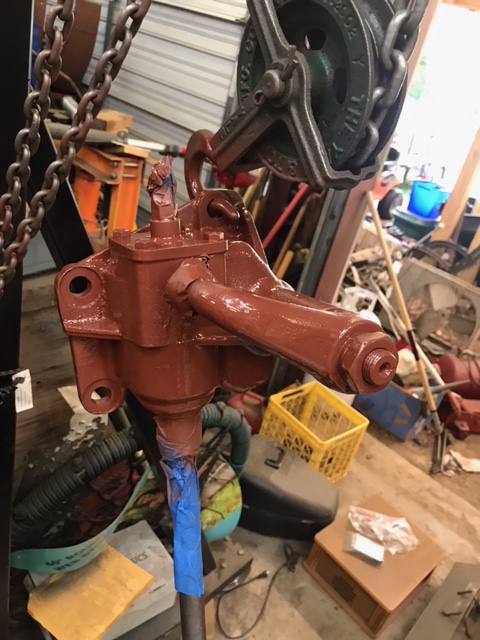
Steering box primed:
Steering box painted:
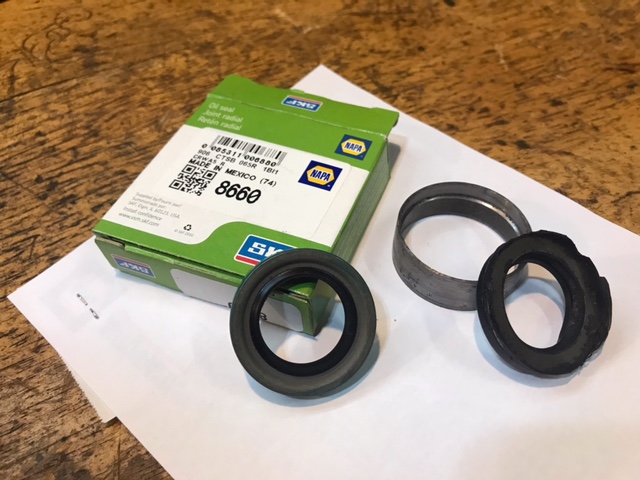
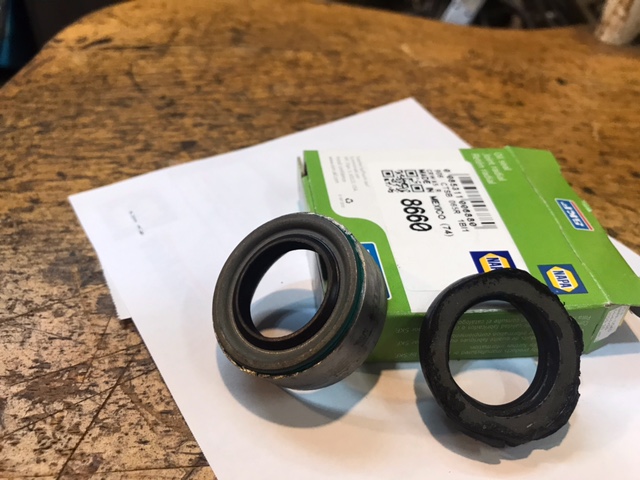
The original upper steering tube seal was not really that bad, but I wanted a new one to replace it. I searched around on some of the cross-reference documents until I found one that was the same size. New upper tube seal and seal and bearing holder:
Seal driven into collar:
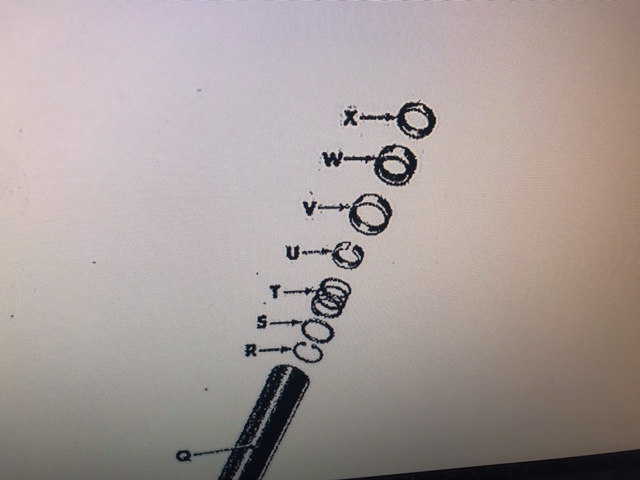
The manual does not do a good job of explaining the way the upper spring, collar bearings and seal goes on. The flange as far as I can tell needs to point upward and goes up into the base of the bearing.
Manual of upper steering tube:
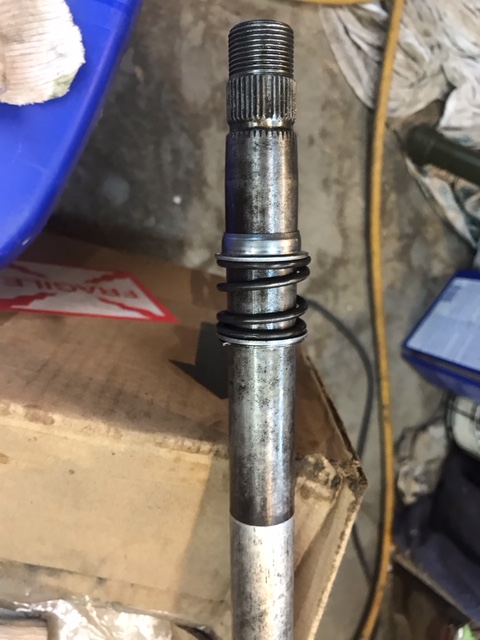
Upper column spring and collar mounted on the steering shaft.
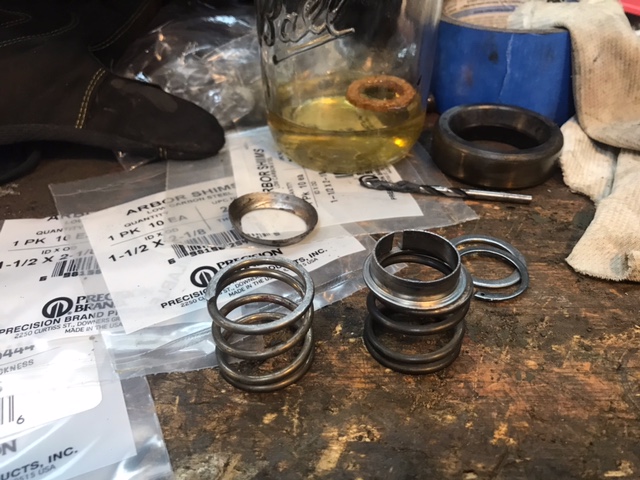
The original seal on the bottom of the steering tube was rotten cork. It fell apart before I could even try to remove it. I got my new cork seal from Midwest Military with the other parts. MidM said to boil the cork in hot water for a few minutes before installing it on the shaft. I am not a fan of introducing something water soaked to be sealed inside a tube of metal. To me that invites rust. I did what the manual said and soaked it in gear oil for a few days.
Soaking the cork ring. The tube springs:
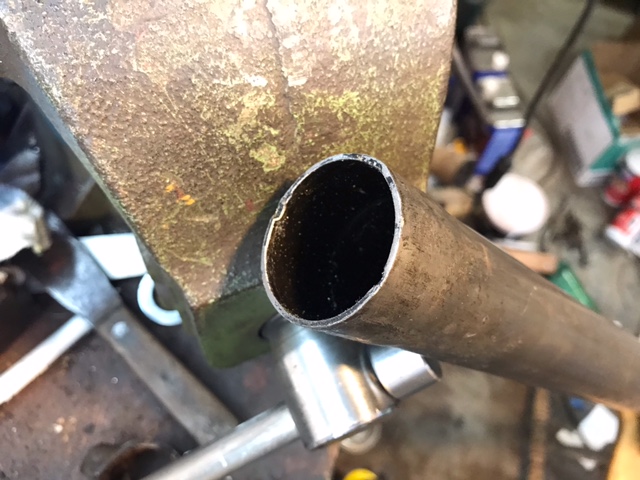
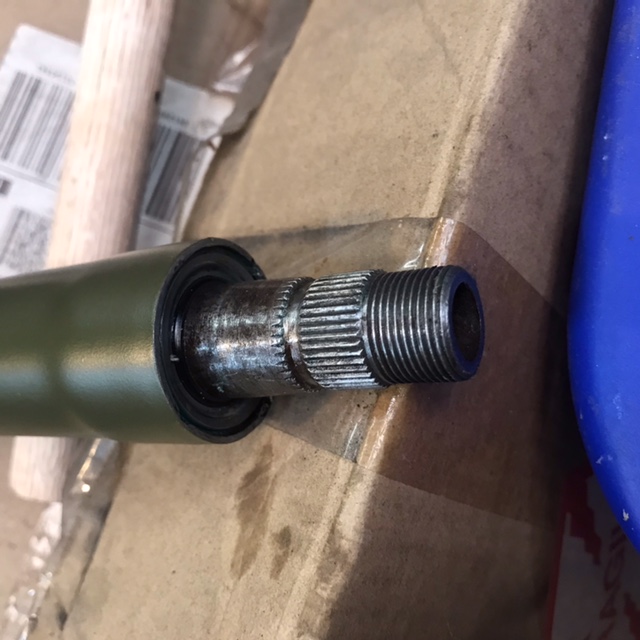
The steering wheel end of the tube is flared out. The combination of the bearings, collar and the seal get driven down into that flared out part.
End of the upper tube:
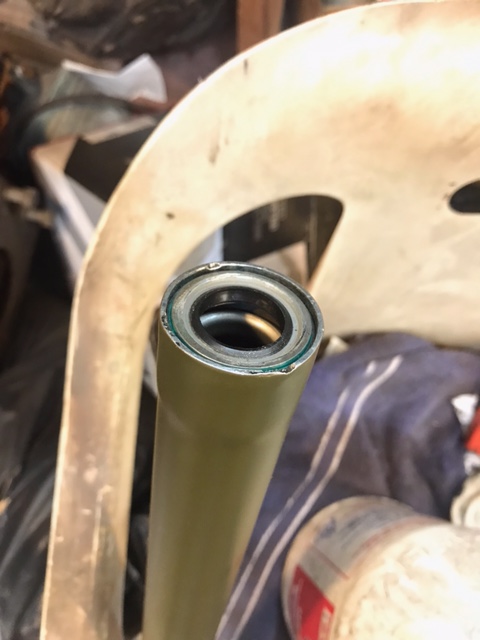
Upper Tube seal in place
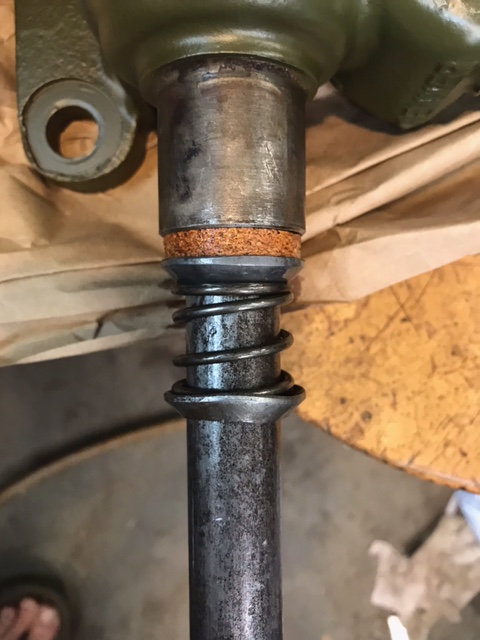
Lower tube seal and spring:
When you push the steering tube over the shaft you need to have the compression clamp with its bolt on the end of the tube. (Look at the Box is done photo.) The tube needs to go down to 1/8 of an inch gap between it and the steering box. I had to find a socket that would fit over the steering column threaded end so I could use the plastic hammer to drive the column down. Once it is in place the bolt gets tightened up.
Upper Tube seal and steering shaft in:
Column holders in place:
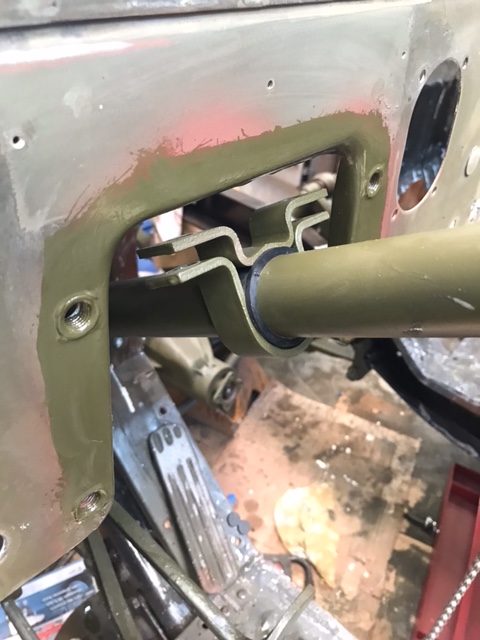
Bolted down:
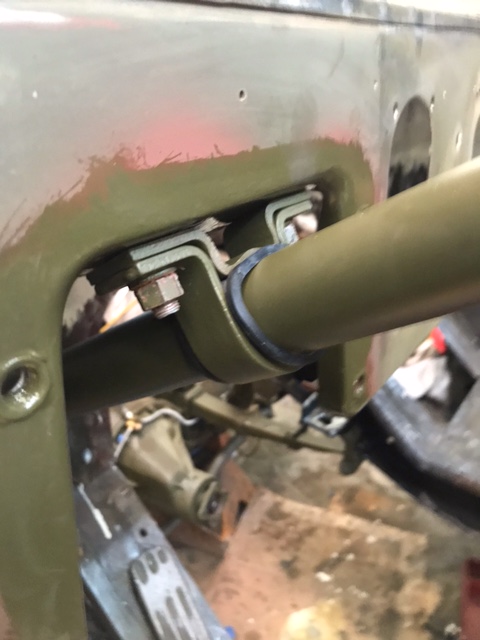
Box is done:
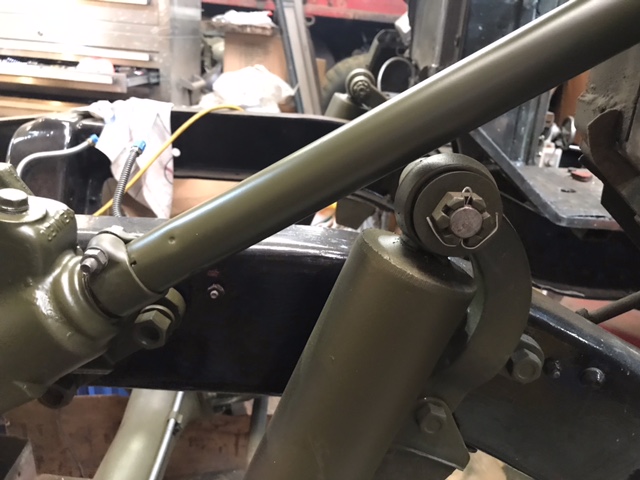
Once the box was mounted, I put the steering wheel on and adjusted the sector shaft a little tighter so I could still feel the close spot between the sector shaft and the worm, but it would not stop the shaft from turning. I figure that as it wears with use it will not have any resistance.